Overview
To enable customers to reach your Phone Agent, you’ll need to connect it to a phone number. This number can then be shared on your website, Google Maps listing, business cards, or any other customer touchpoint. There are two ways to get a phone number in Droxy:- Get a free US/Canada number through Droxy (paid plans only)
- Import your existing Twilio number (any country)
Adding a Phone Number
- Navigate to Settings > Integrations in your Droxy dashboard
- You should see the Phone Numbers integration in the list. Click on it.
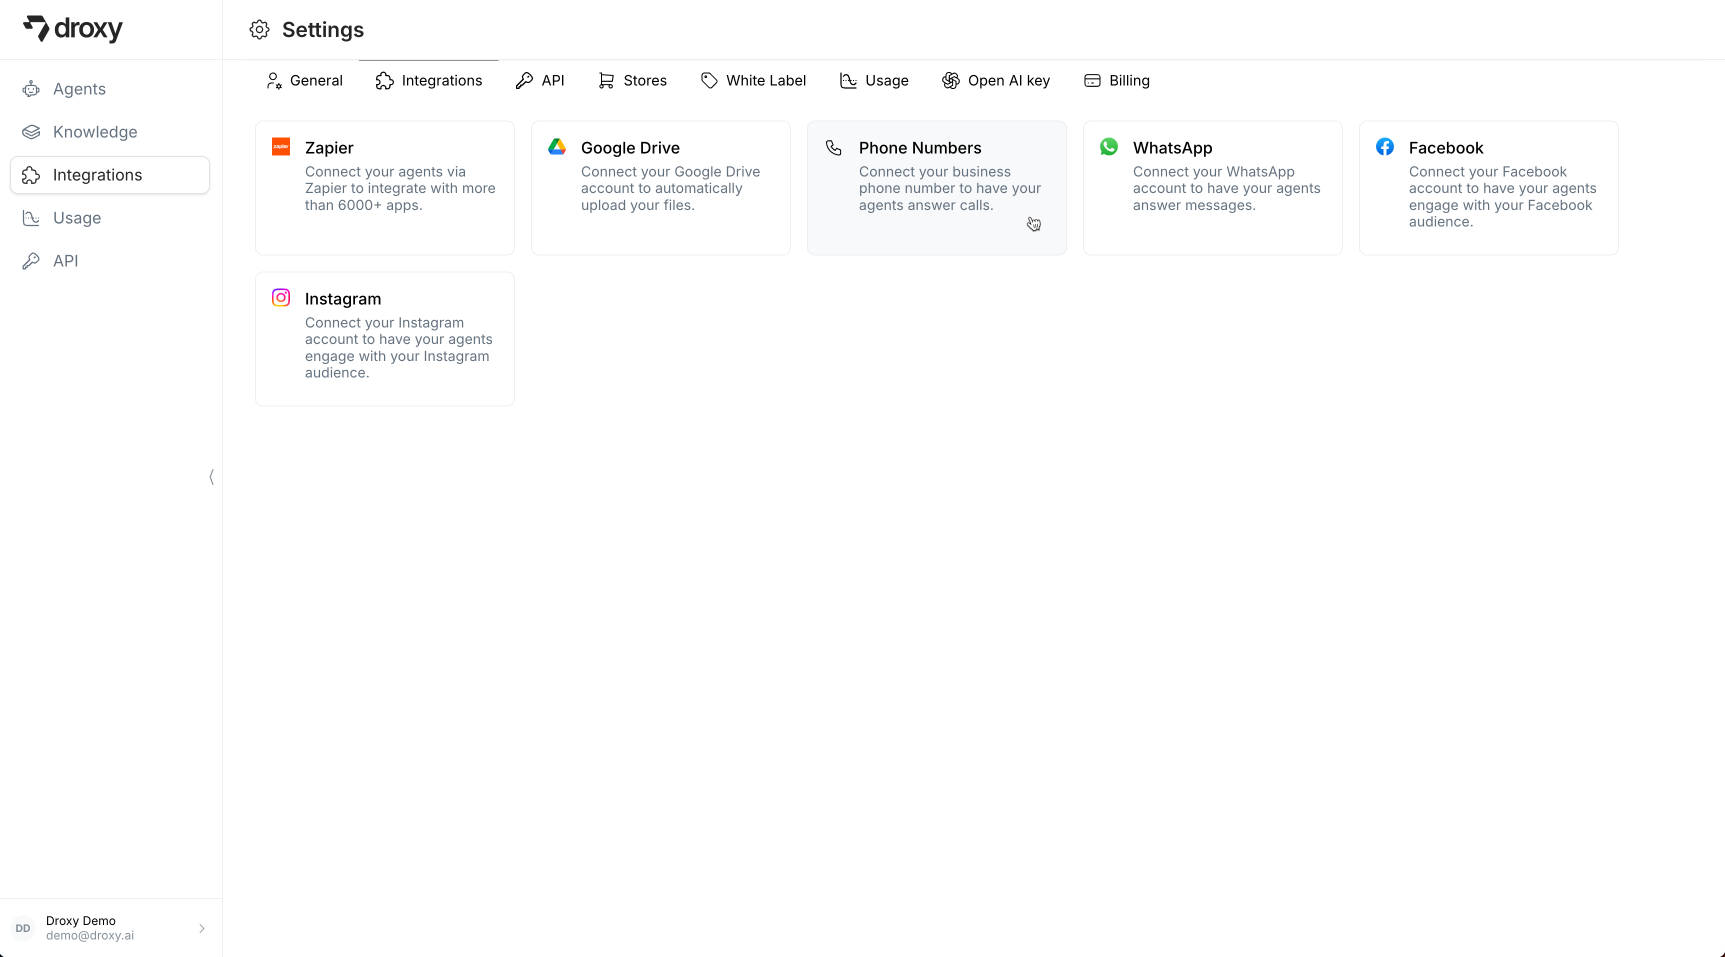
- You should see the Phone Numbers page where you can manage existing numbers and add new ones.
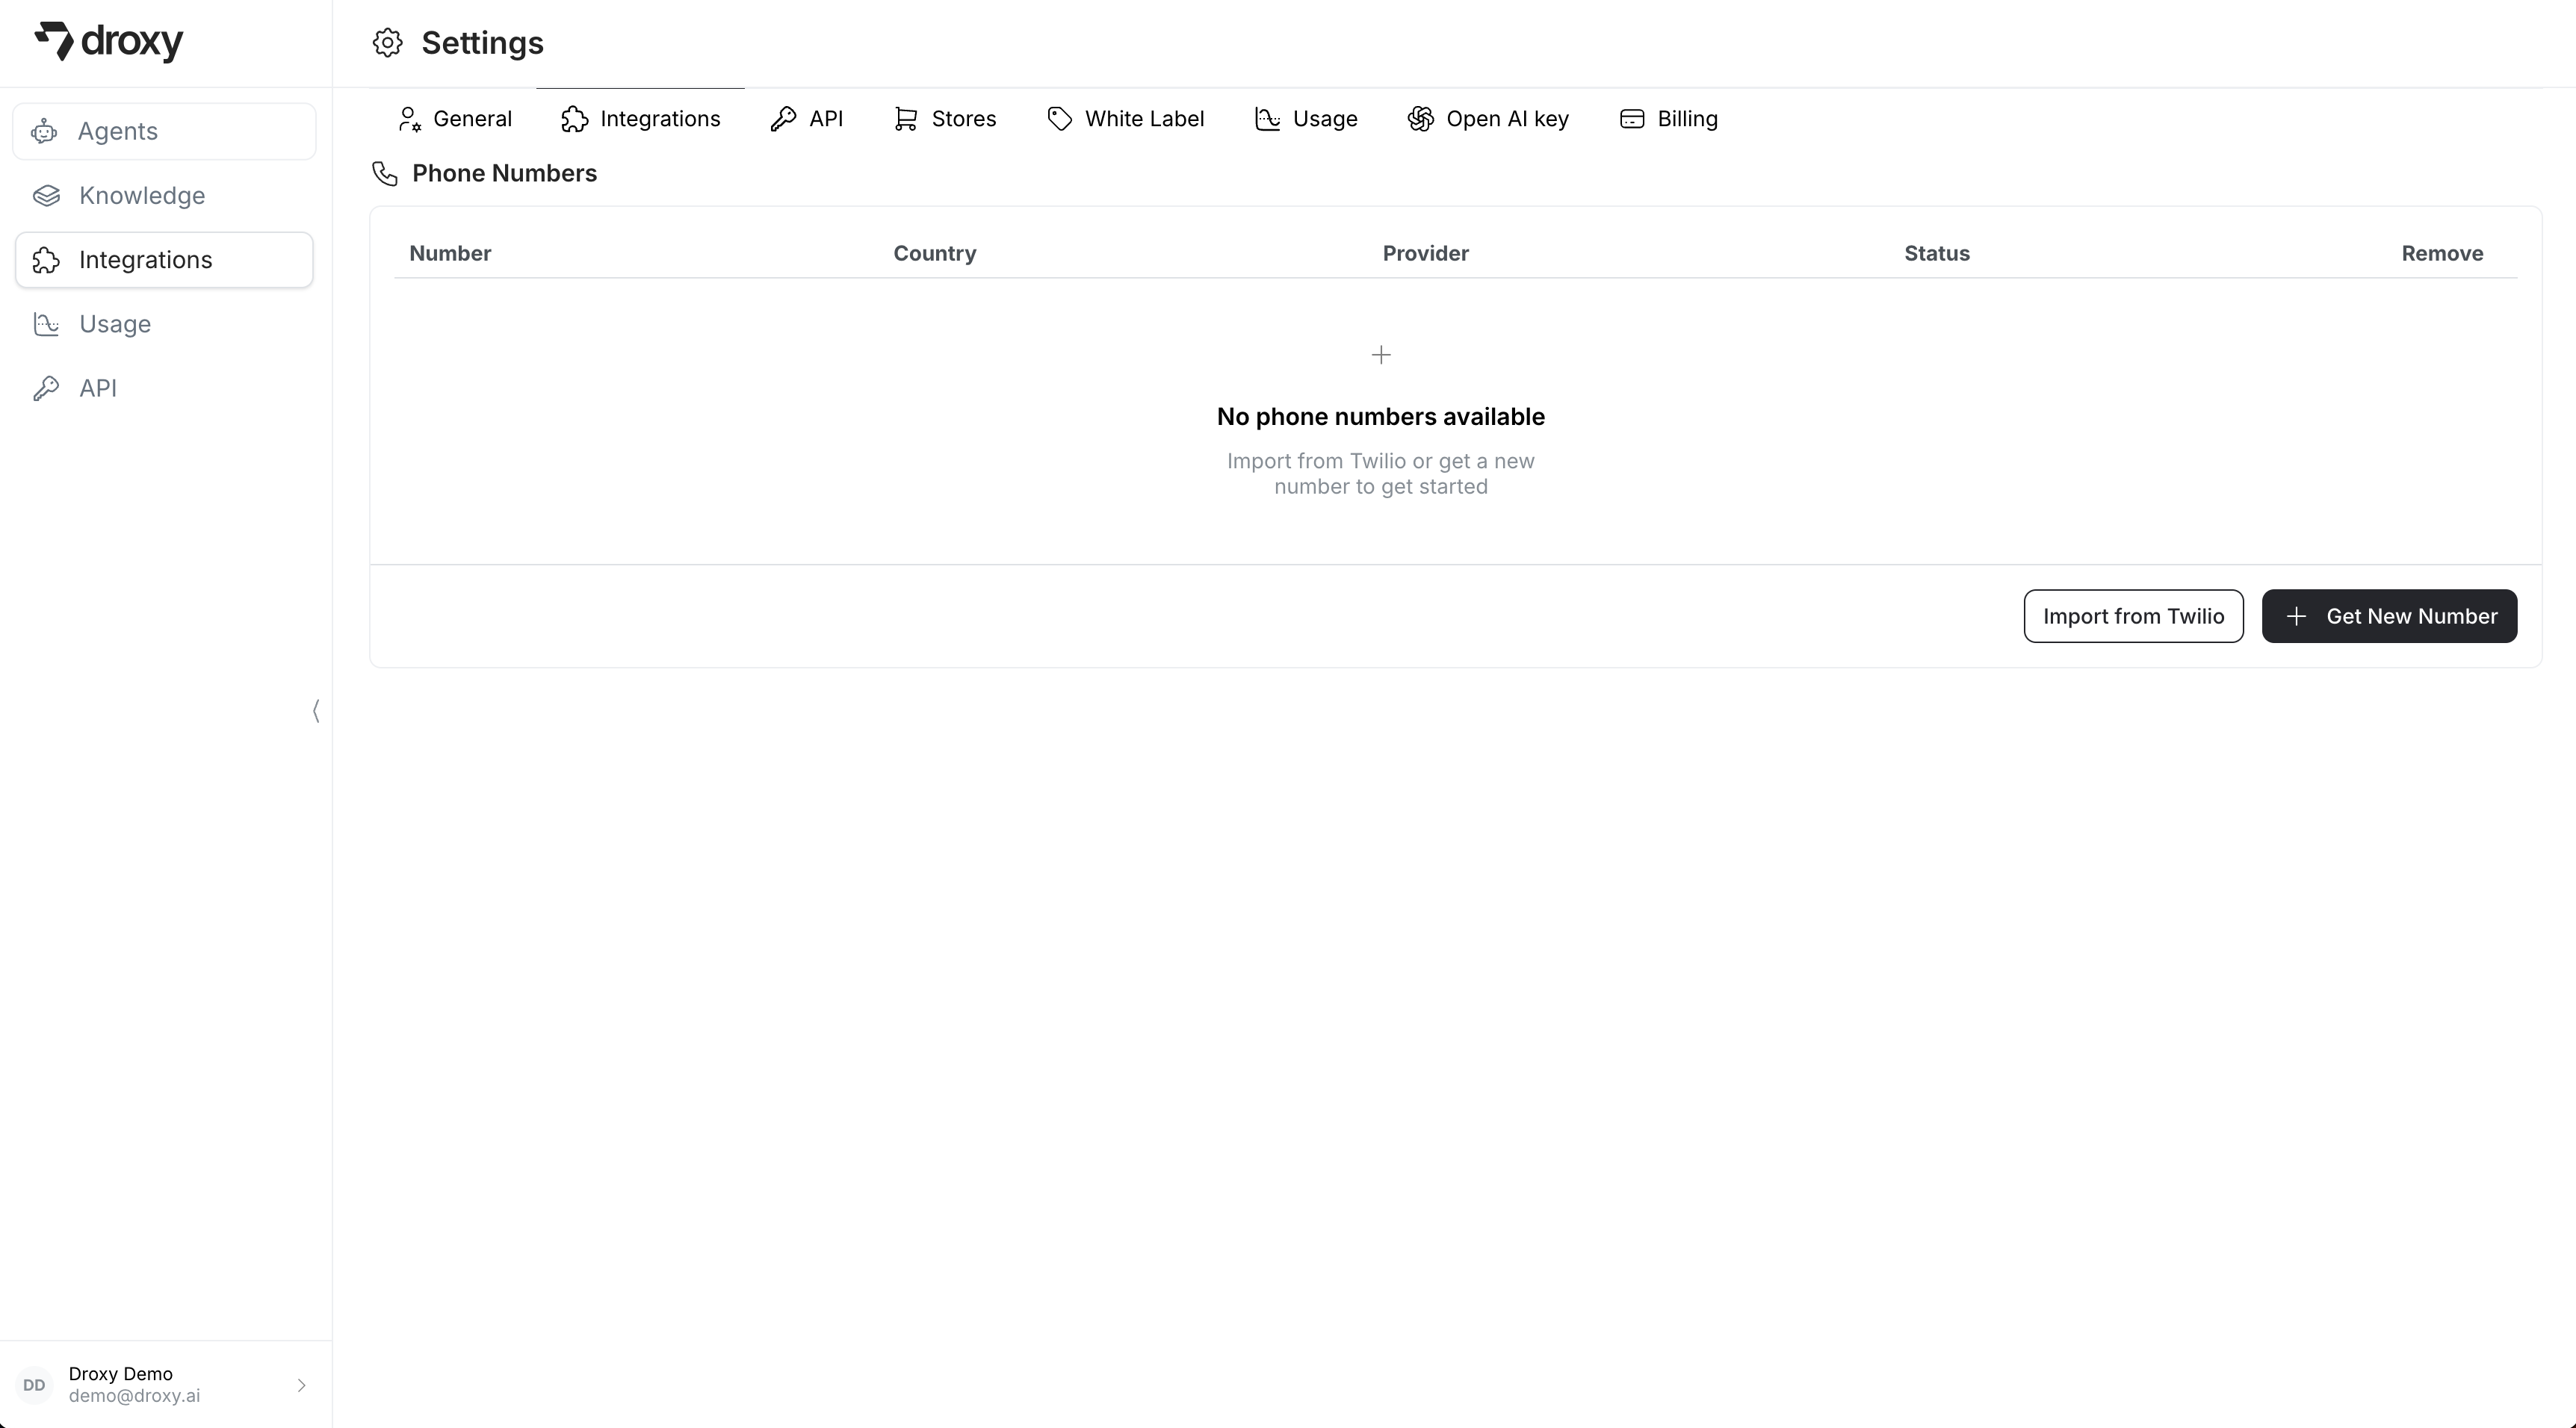
Option 1: Get a Number Through Droxy
If you’re on a paid plan, you can get a free phone number for use in the US or Canada:- Click the Get New Number button
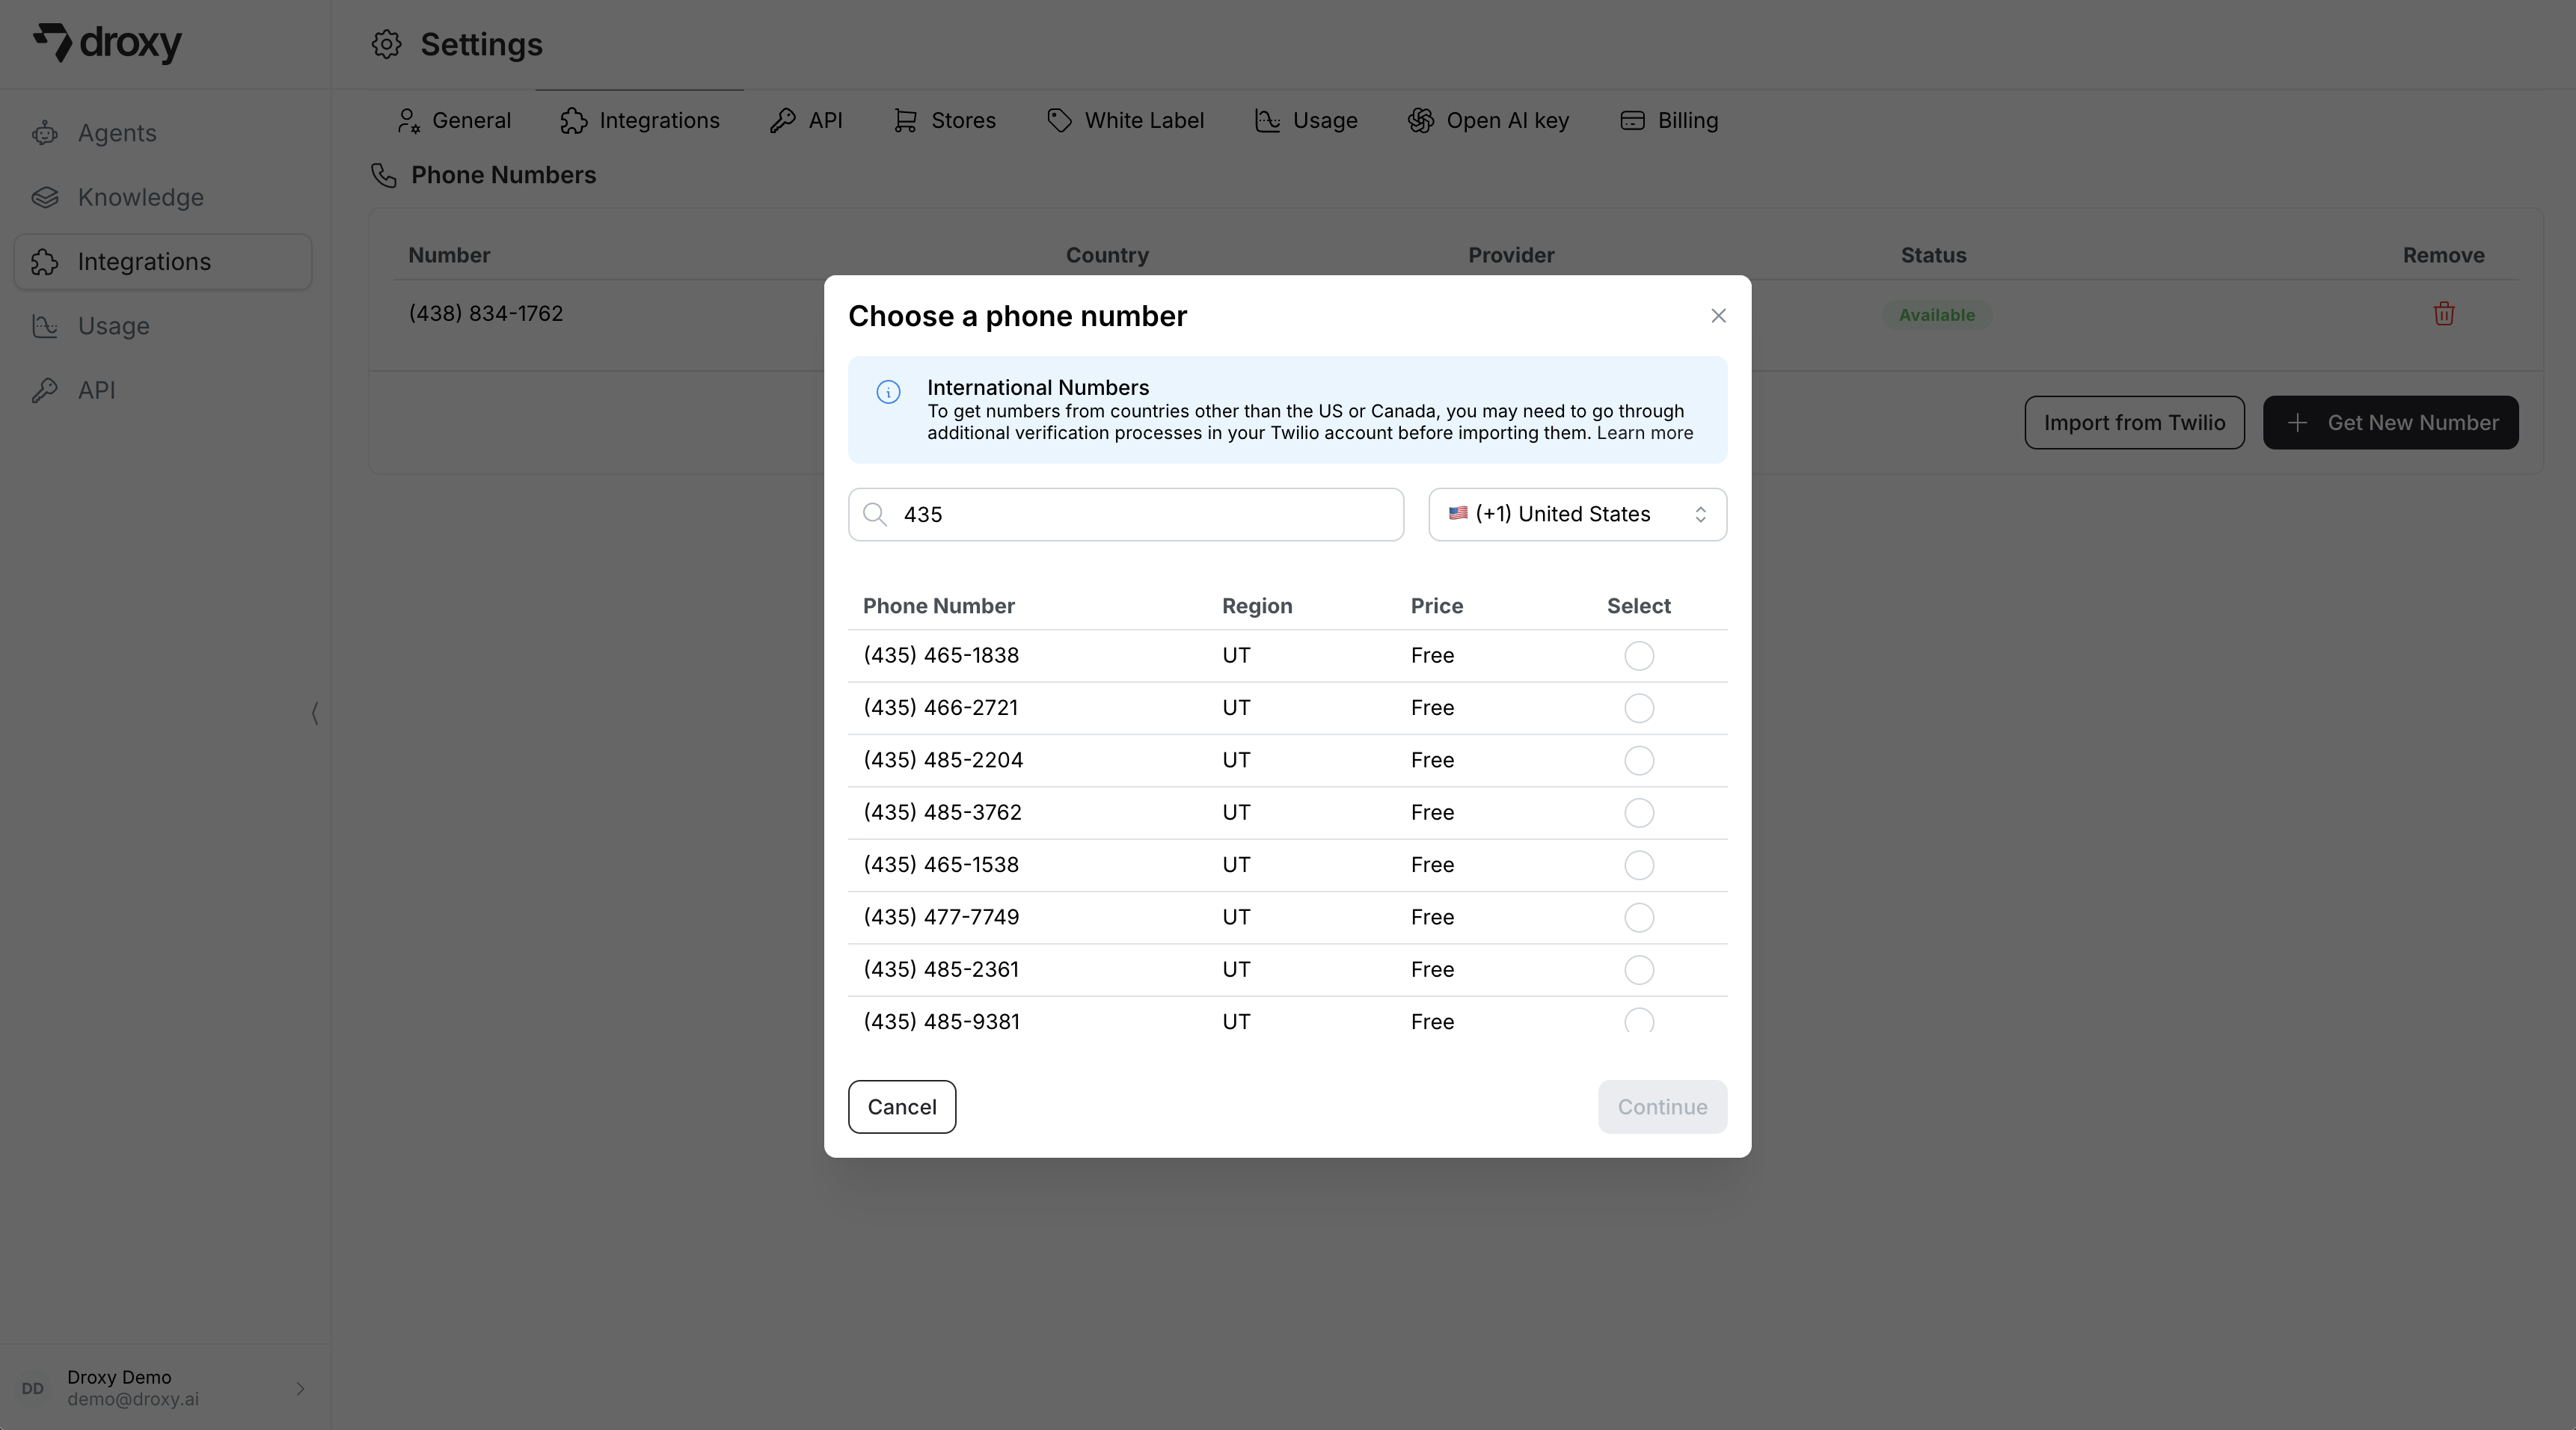
- Select your desired country (US/Canada)
- Browse available numbers by region/area code
- Select your preferred number from the list
- Click Continue to add the number to your account
Option 2: Import from Twilio
For numbers outside the US/Canada, or if you prefer to use your own Twilio account, you can import an existing Twilio number:Numbers outside the US/Canada require additional verification processes in Twilio due to telephony provider requirements. We recommend importing these through your Twilio account for a smoother experience.
- First, get a number from Twilio by following this official guide for your desired country and region
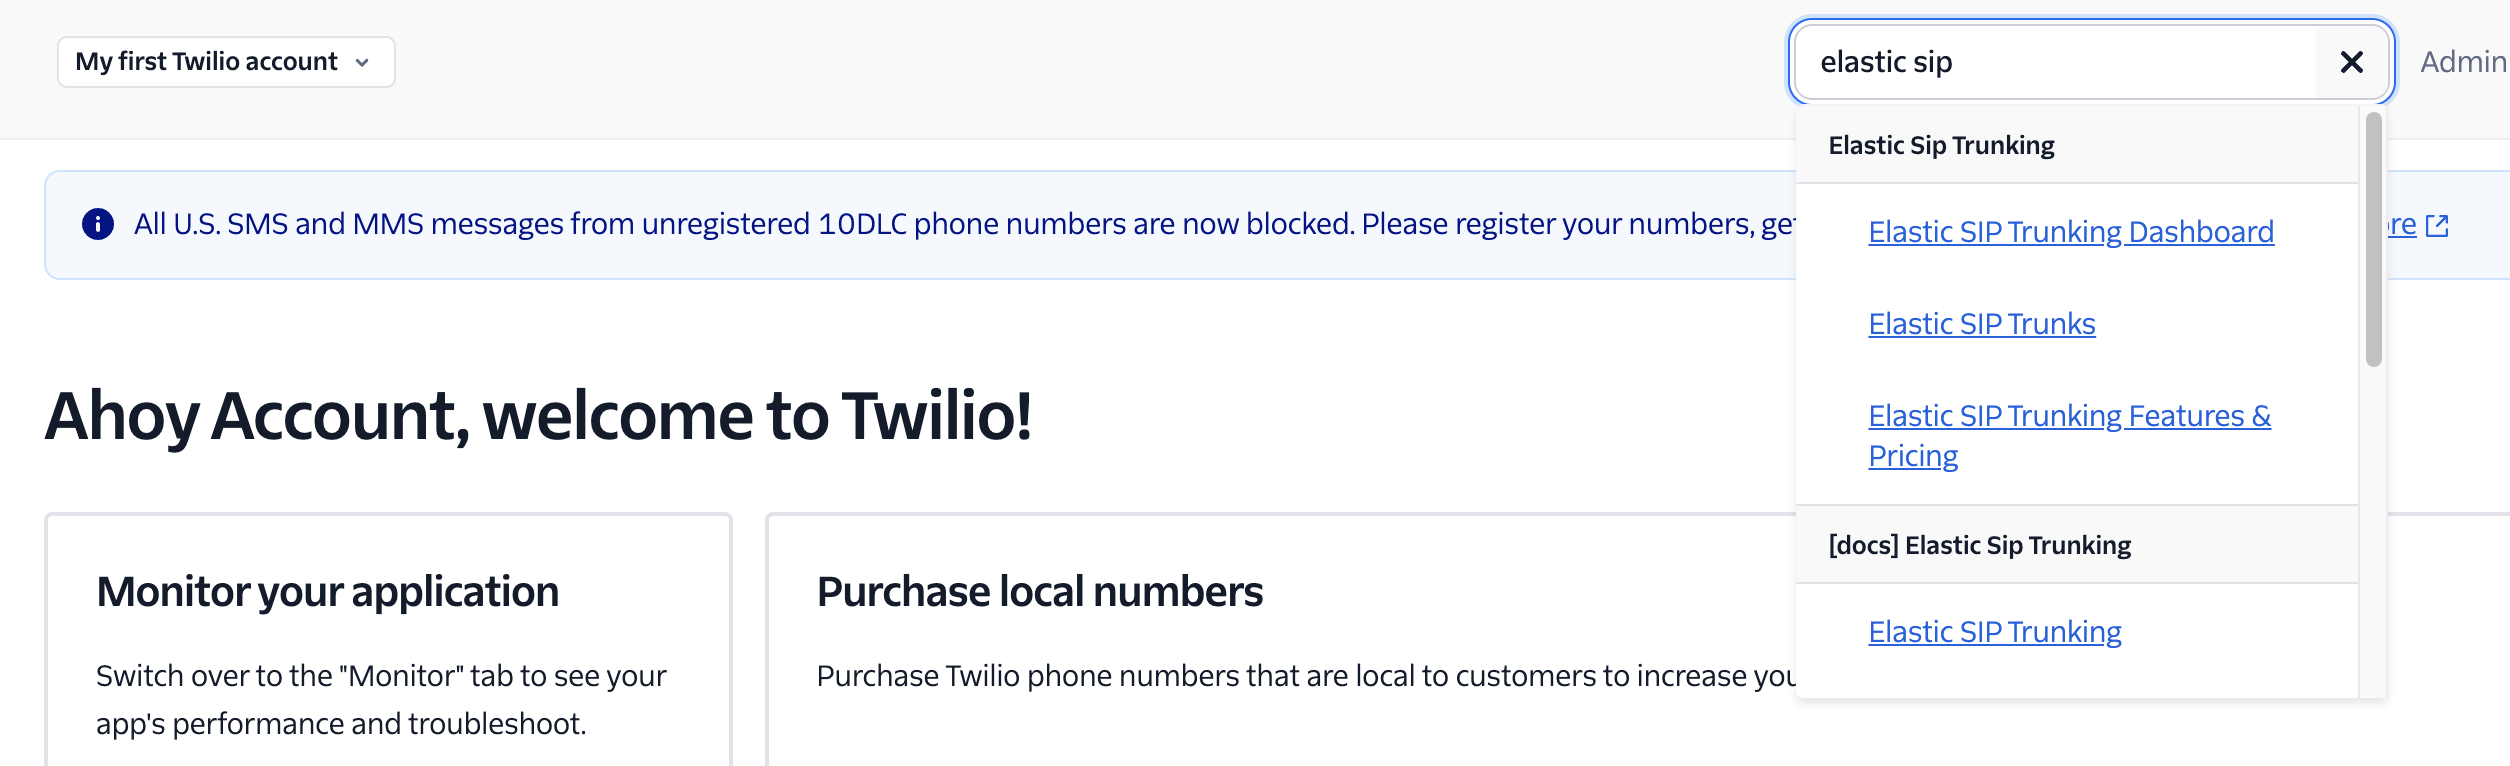
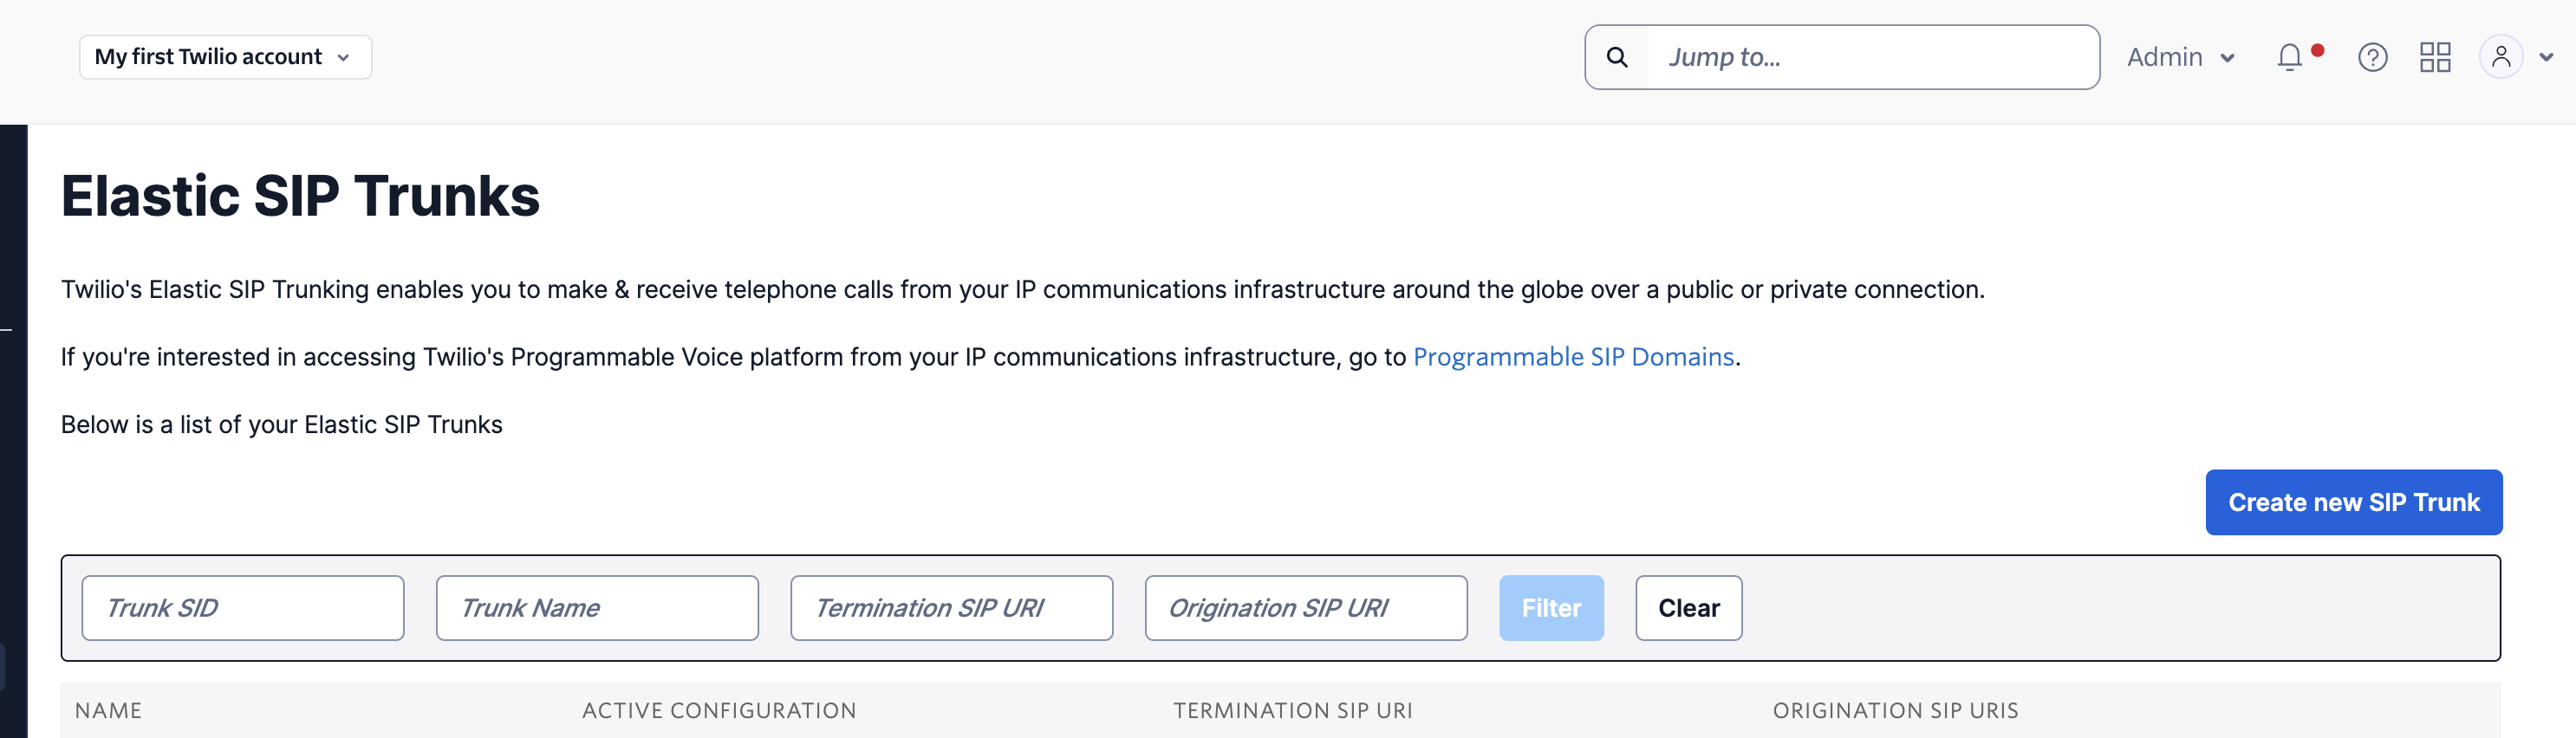
- Set up an Elastic SIP Trunk in your Twilio account to connect calls to Droxy’s voice agent:
The Elastic SIP Trunk setup is required to route incoming calls from your Twilio number to Droxy’s voice agent infrastructure. For more detailed information about Elastic SIP Trunks, you can read Twilio’s official documentation. Once you’ve completed these steps and imported your number, you can attach it to your Phone Agent and start receiving calls!
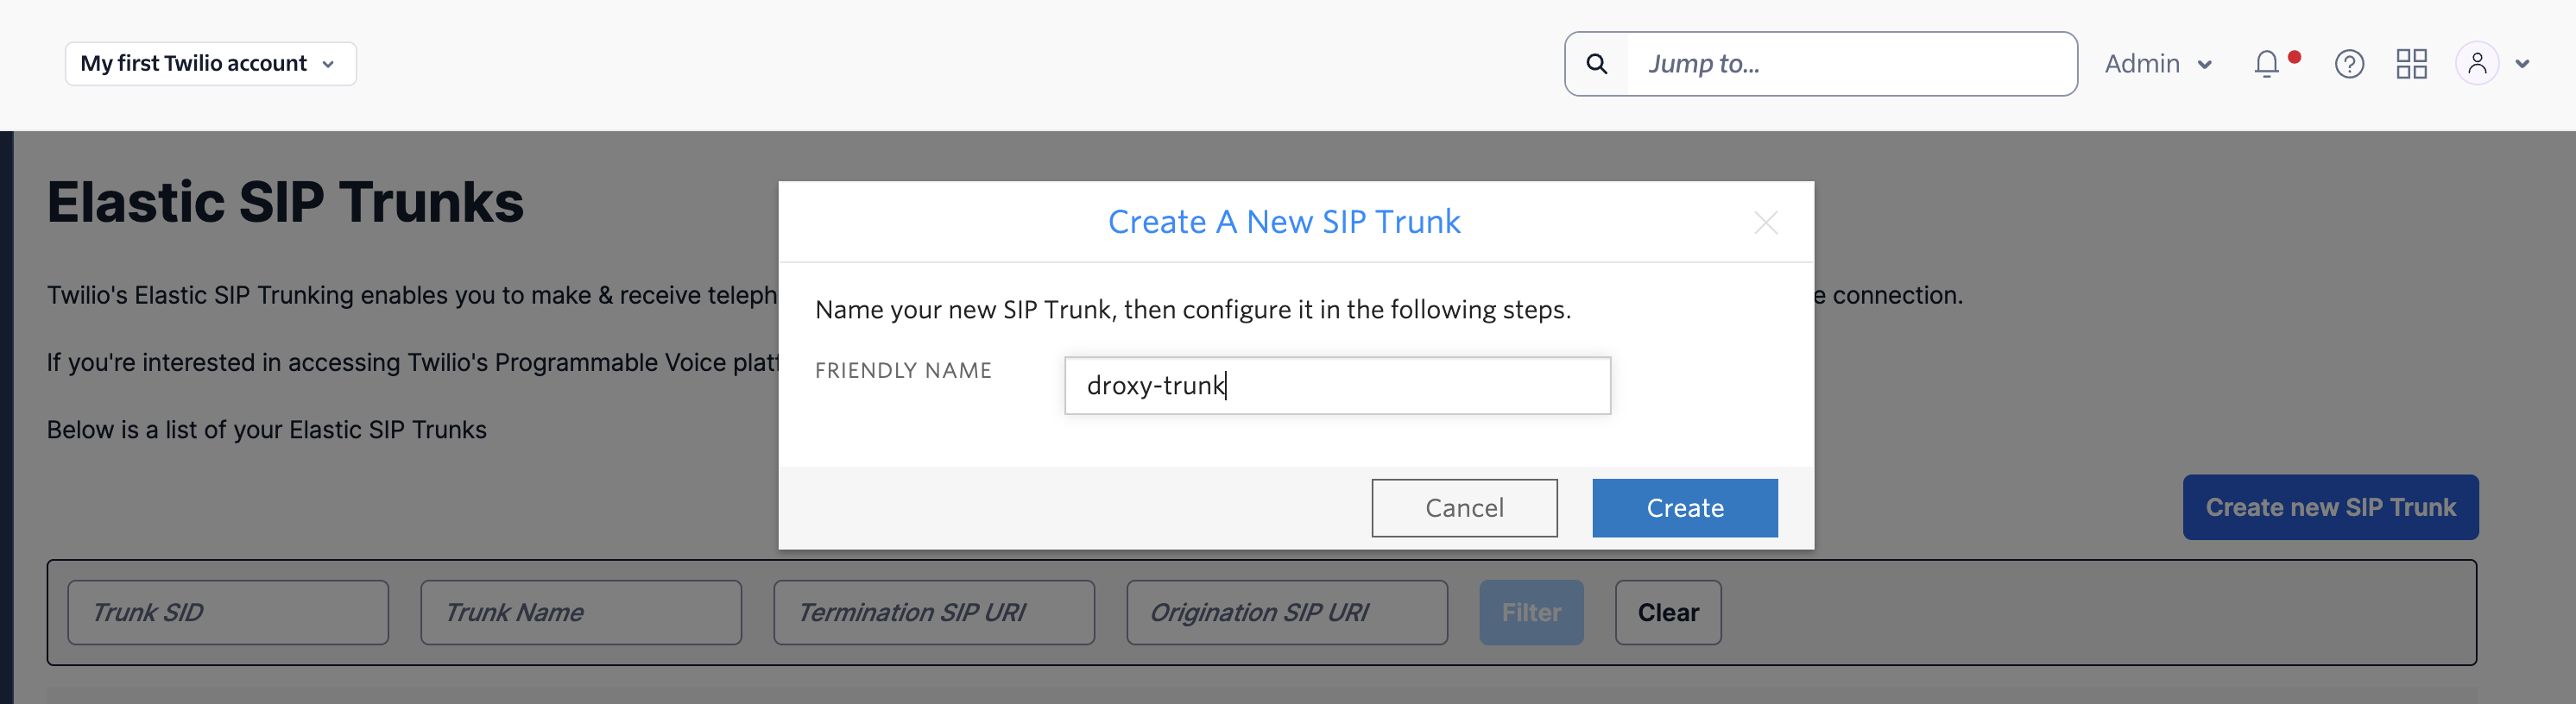
droxy-trunk) and click Create
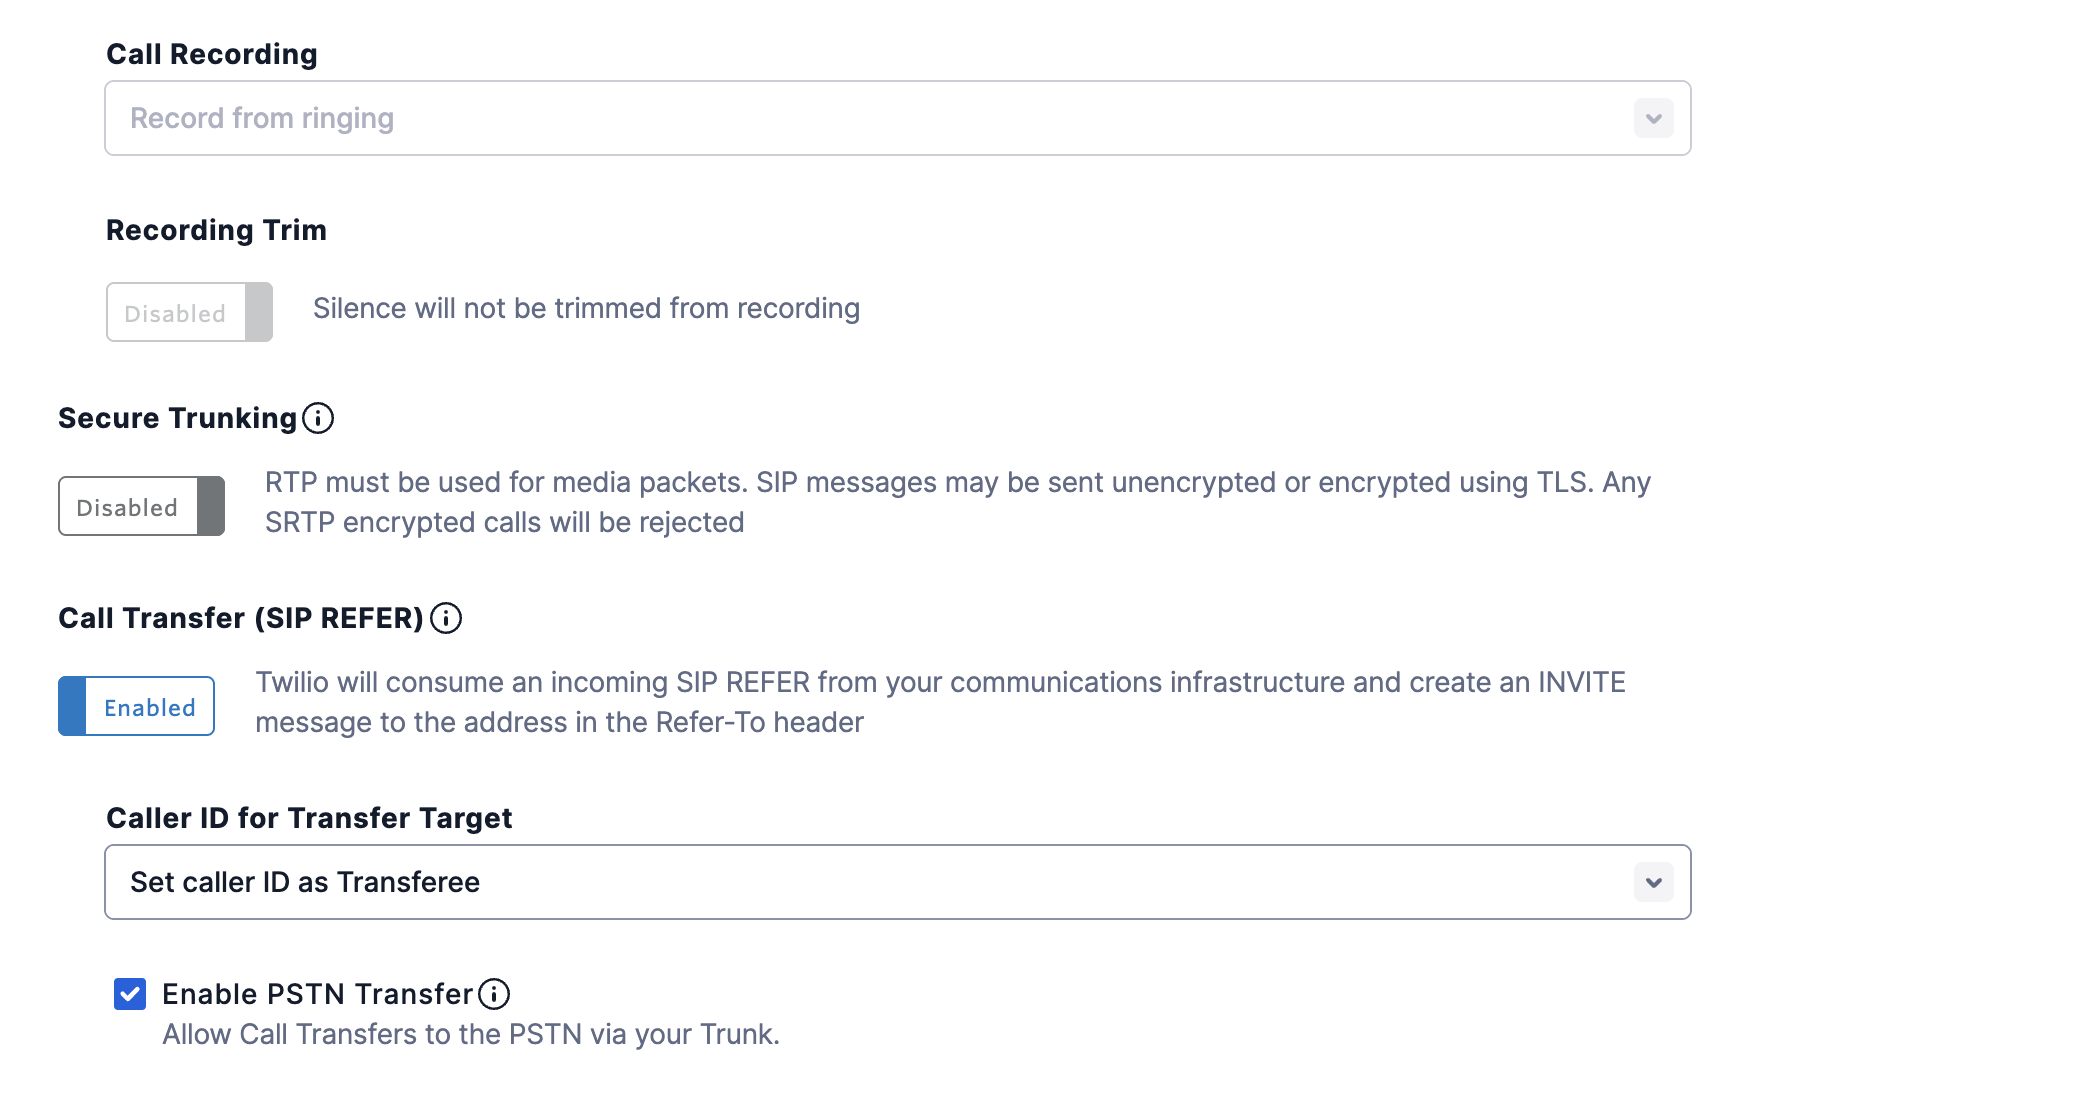
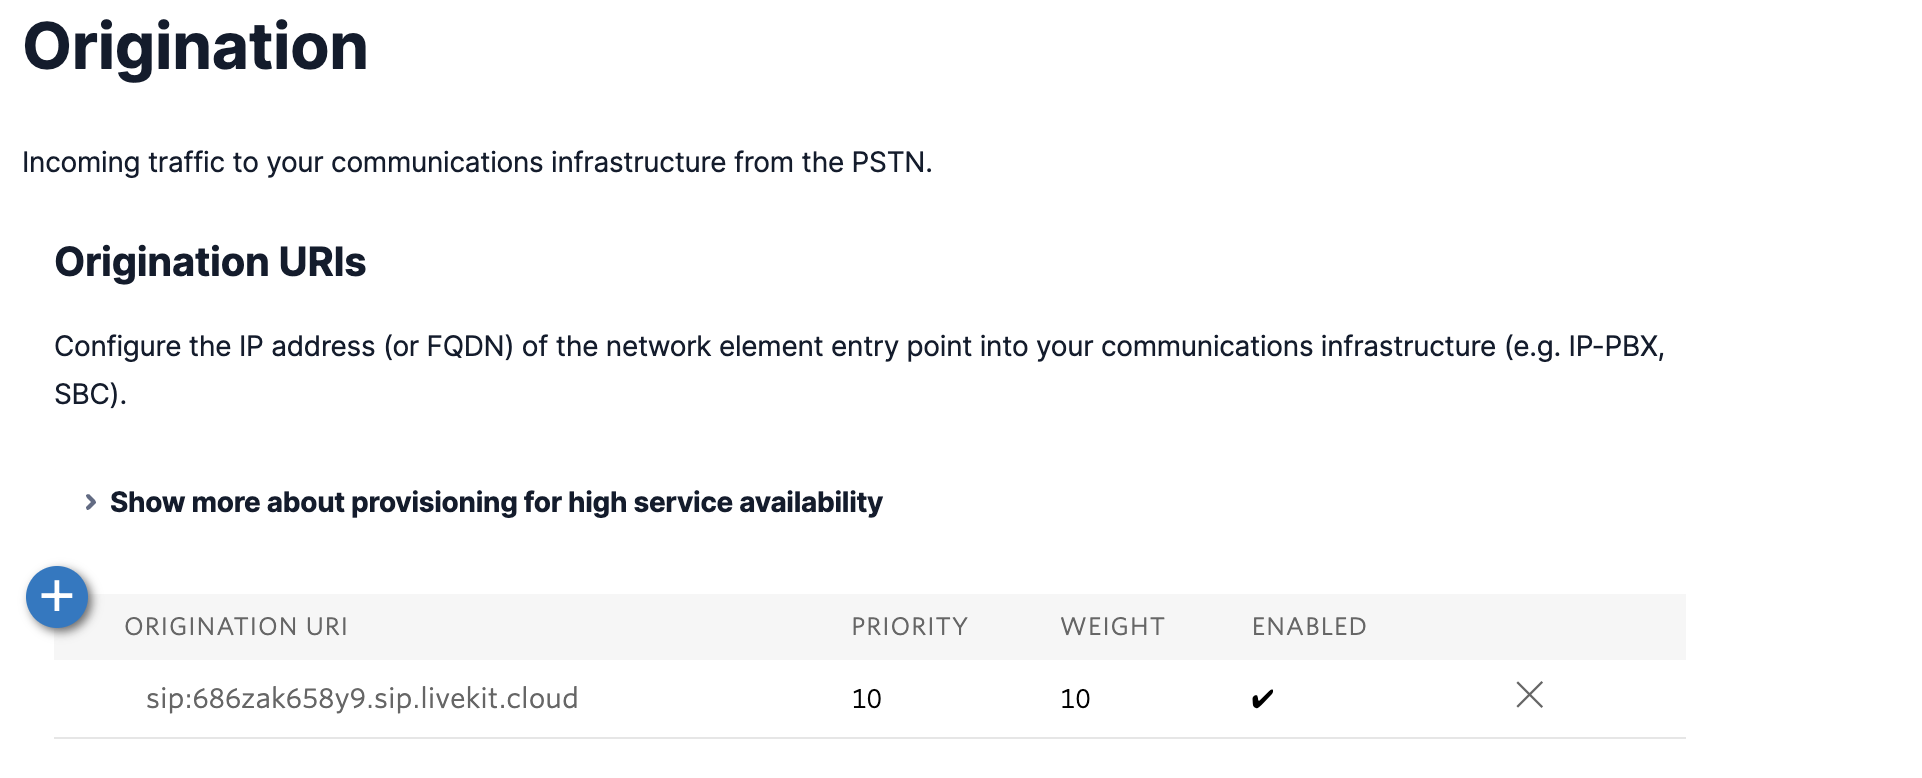
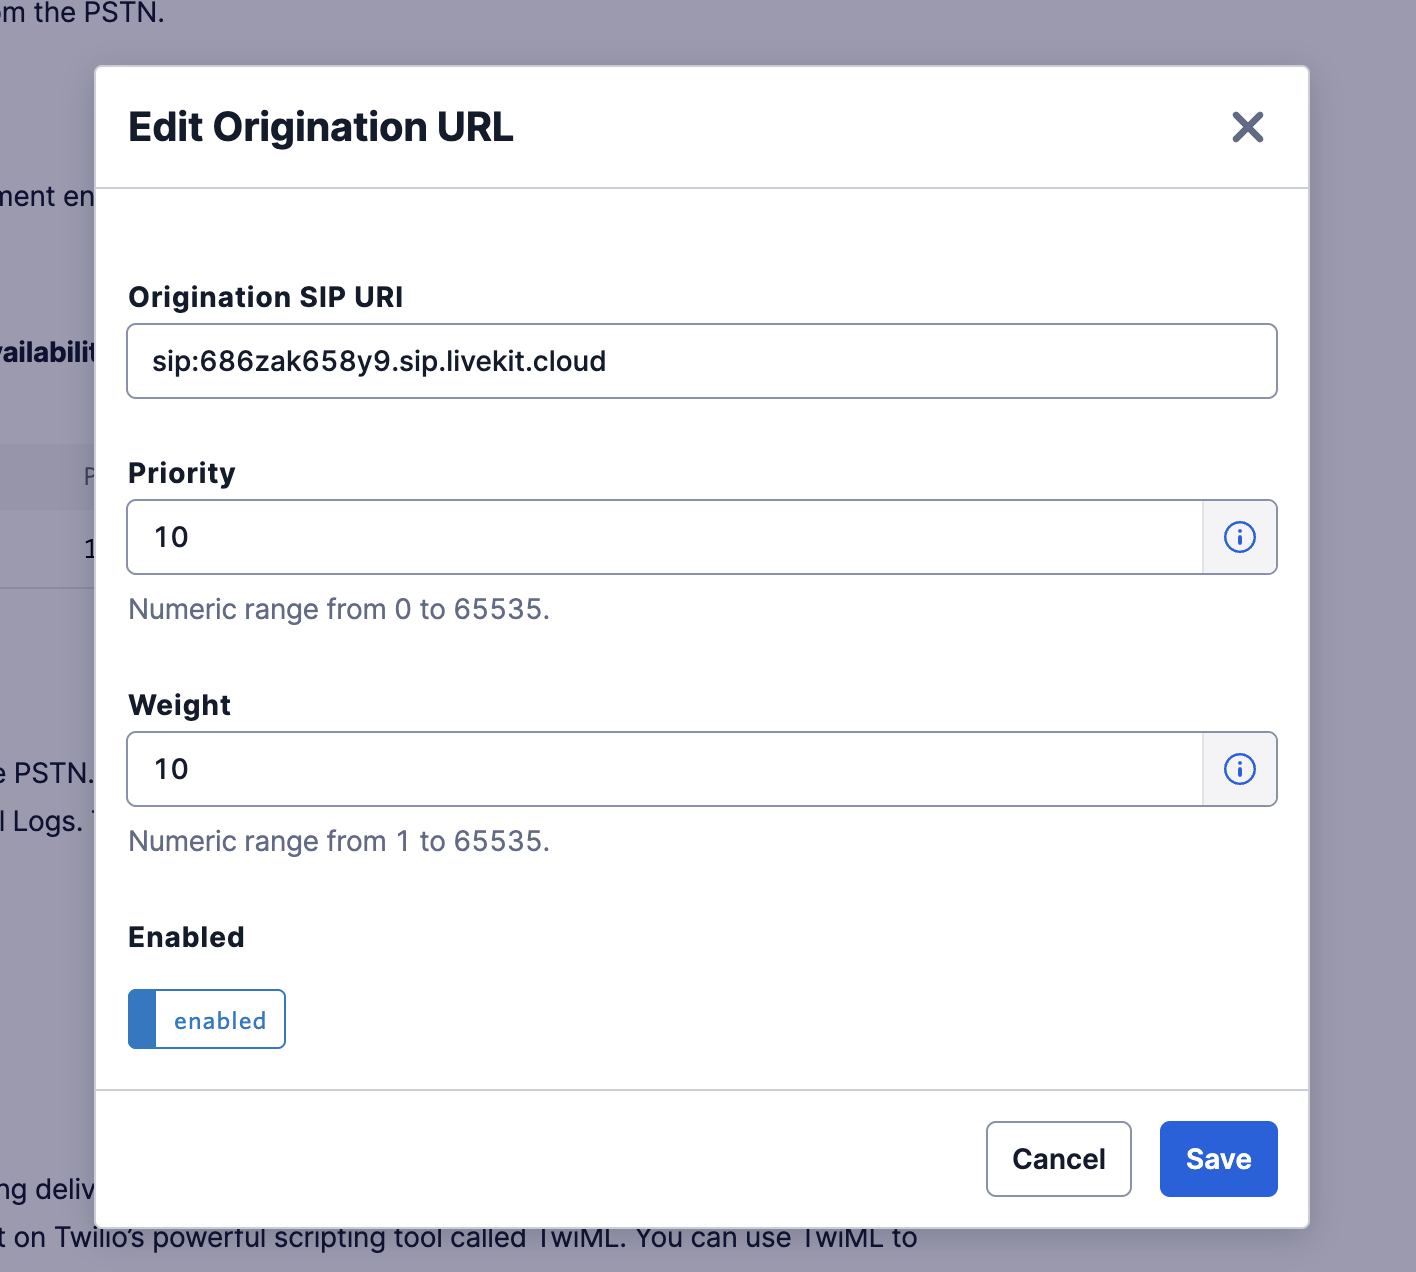
sip:686zak658y9.sip.livekit.cloud as the Origination SIP URI and click Save
- In your Integrations > Phone Numbers page, click Import from Twilio
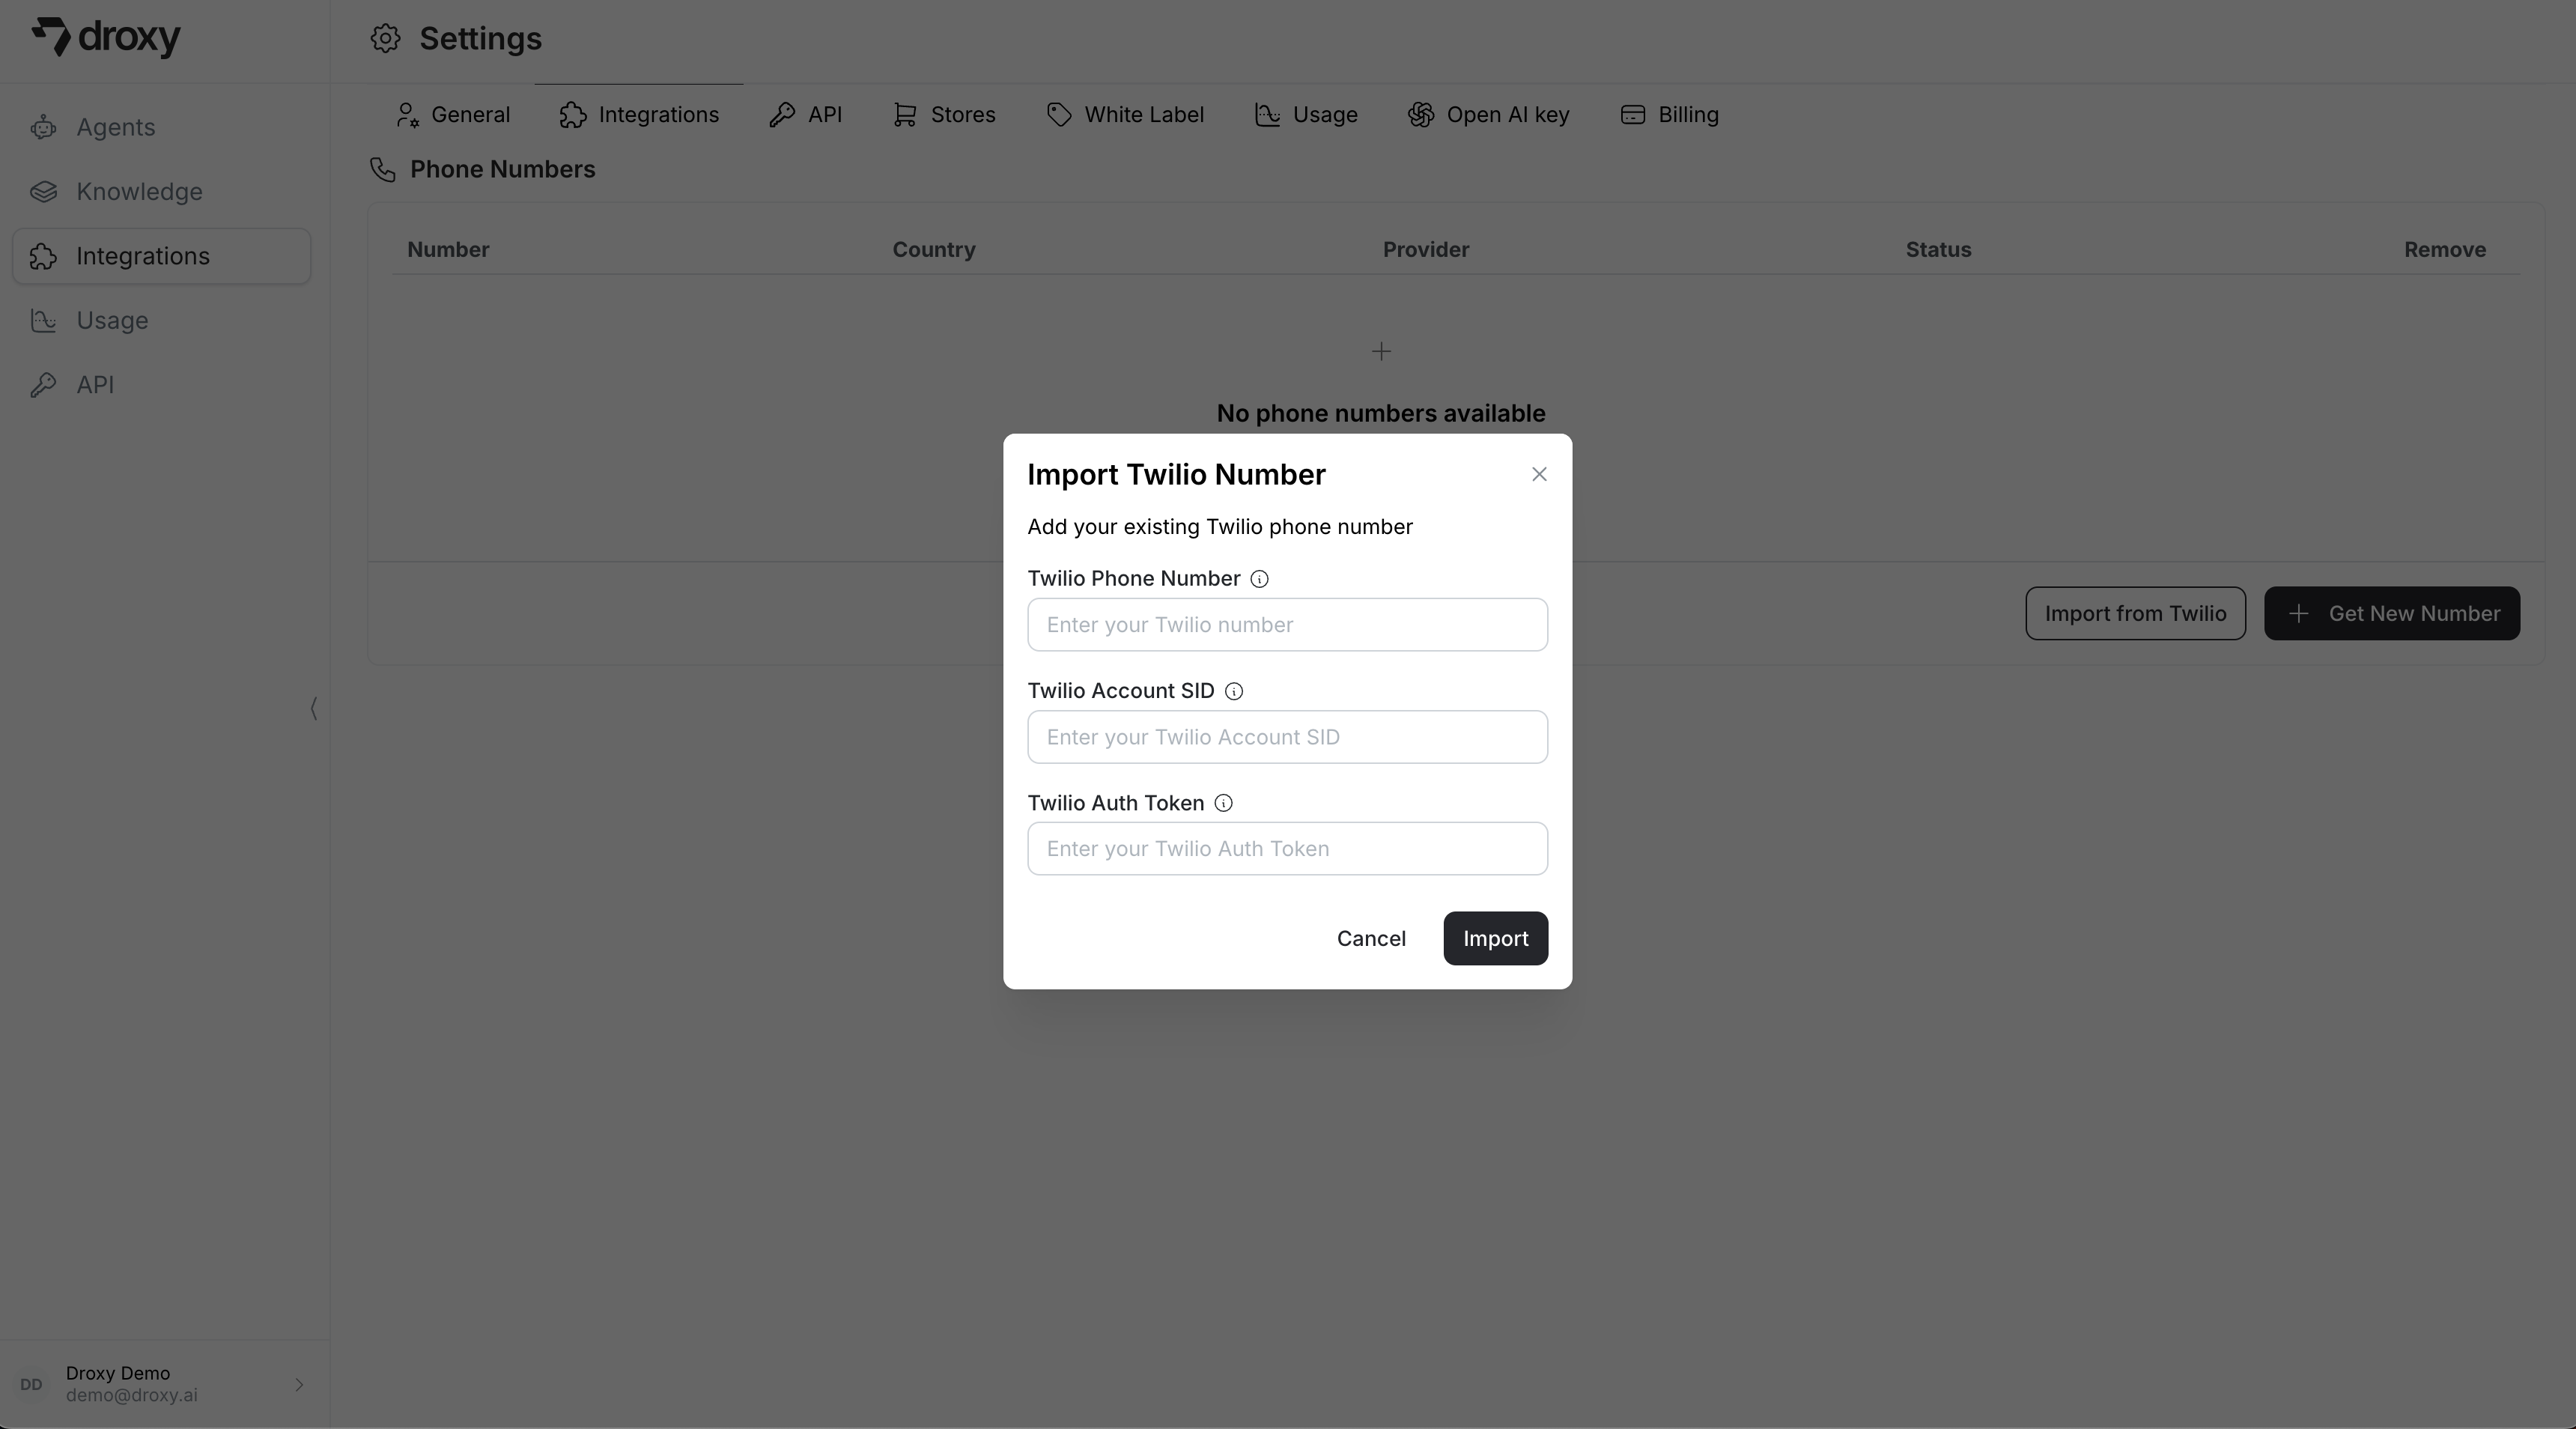
- You’ll need to provide:
- Your Twilio phone number (in international format, e.g., +1XXXXXXXXXX)
- Twilio Account SID (found in your Twilio Console)
- Twilio Auth Token (found in your Twilio Console)
- Click Import to complete the process
Managing Phone Numbers
After adding a phone number, you will see it in the list below. You can then follow this guide to connect it to a Phone Agent.You can only connect one number to each Phone Agent. Once connected, you can disconnect it and connect to a different number.
