What is a Shopify Agent?
It is an LLM-based agent that has access to your Shopify store’s products and website content. The agent can answer complex questions about your products, make context-aware personalized recommendations to your visitors, and more. You can embed the agent on your Shopify store’s website in one simple click of a button.Setting Up Your Shopify Agent
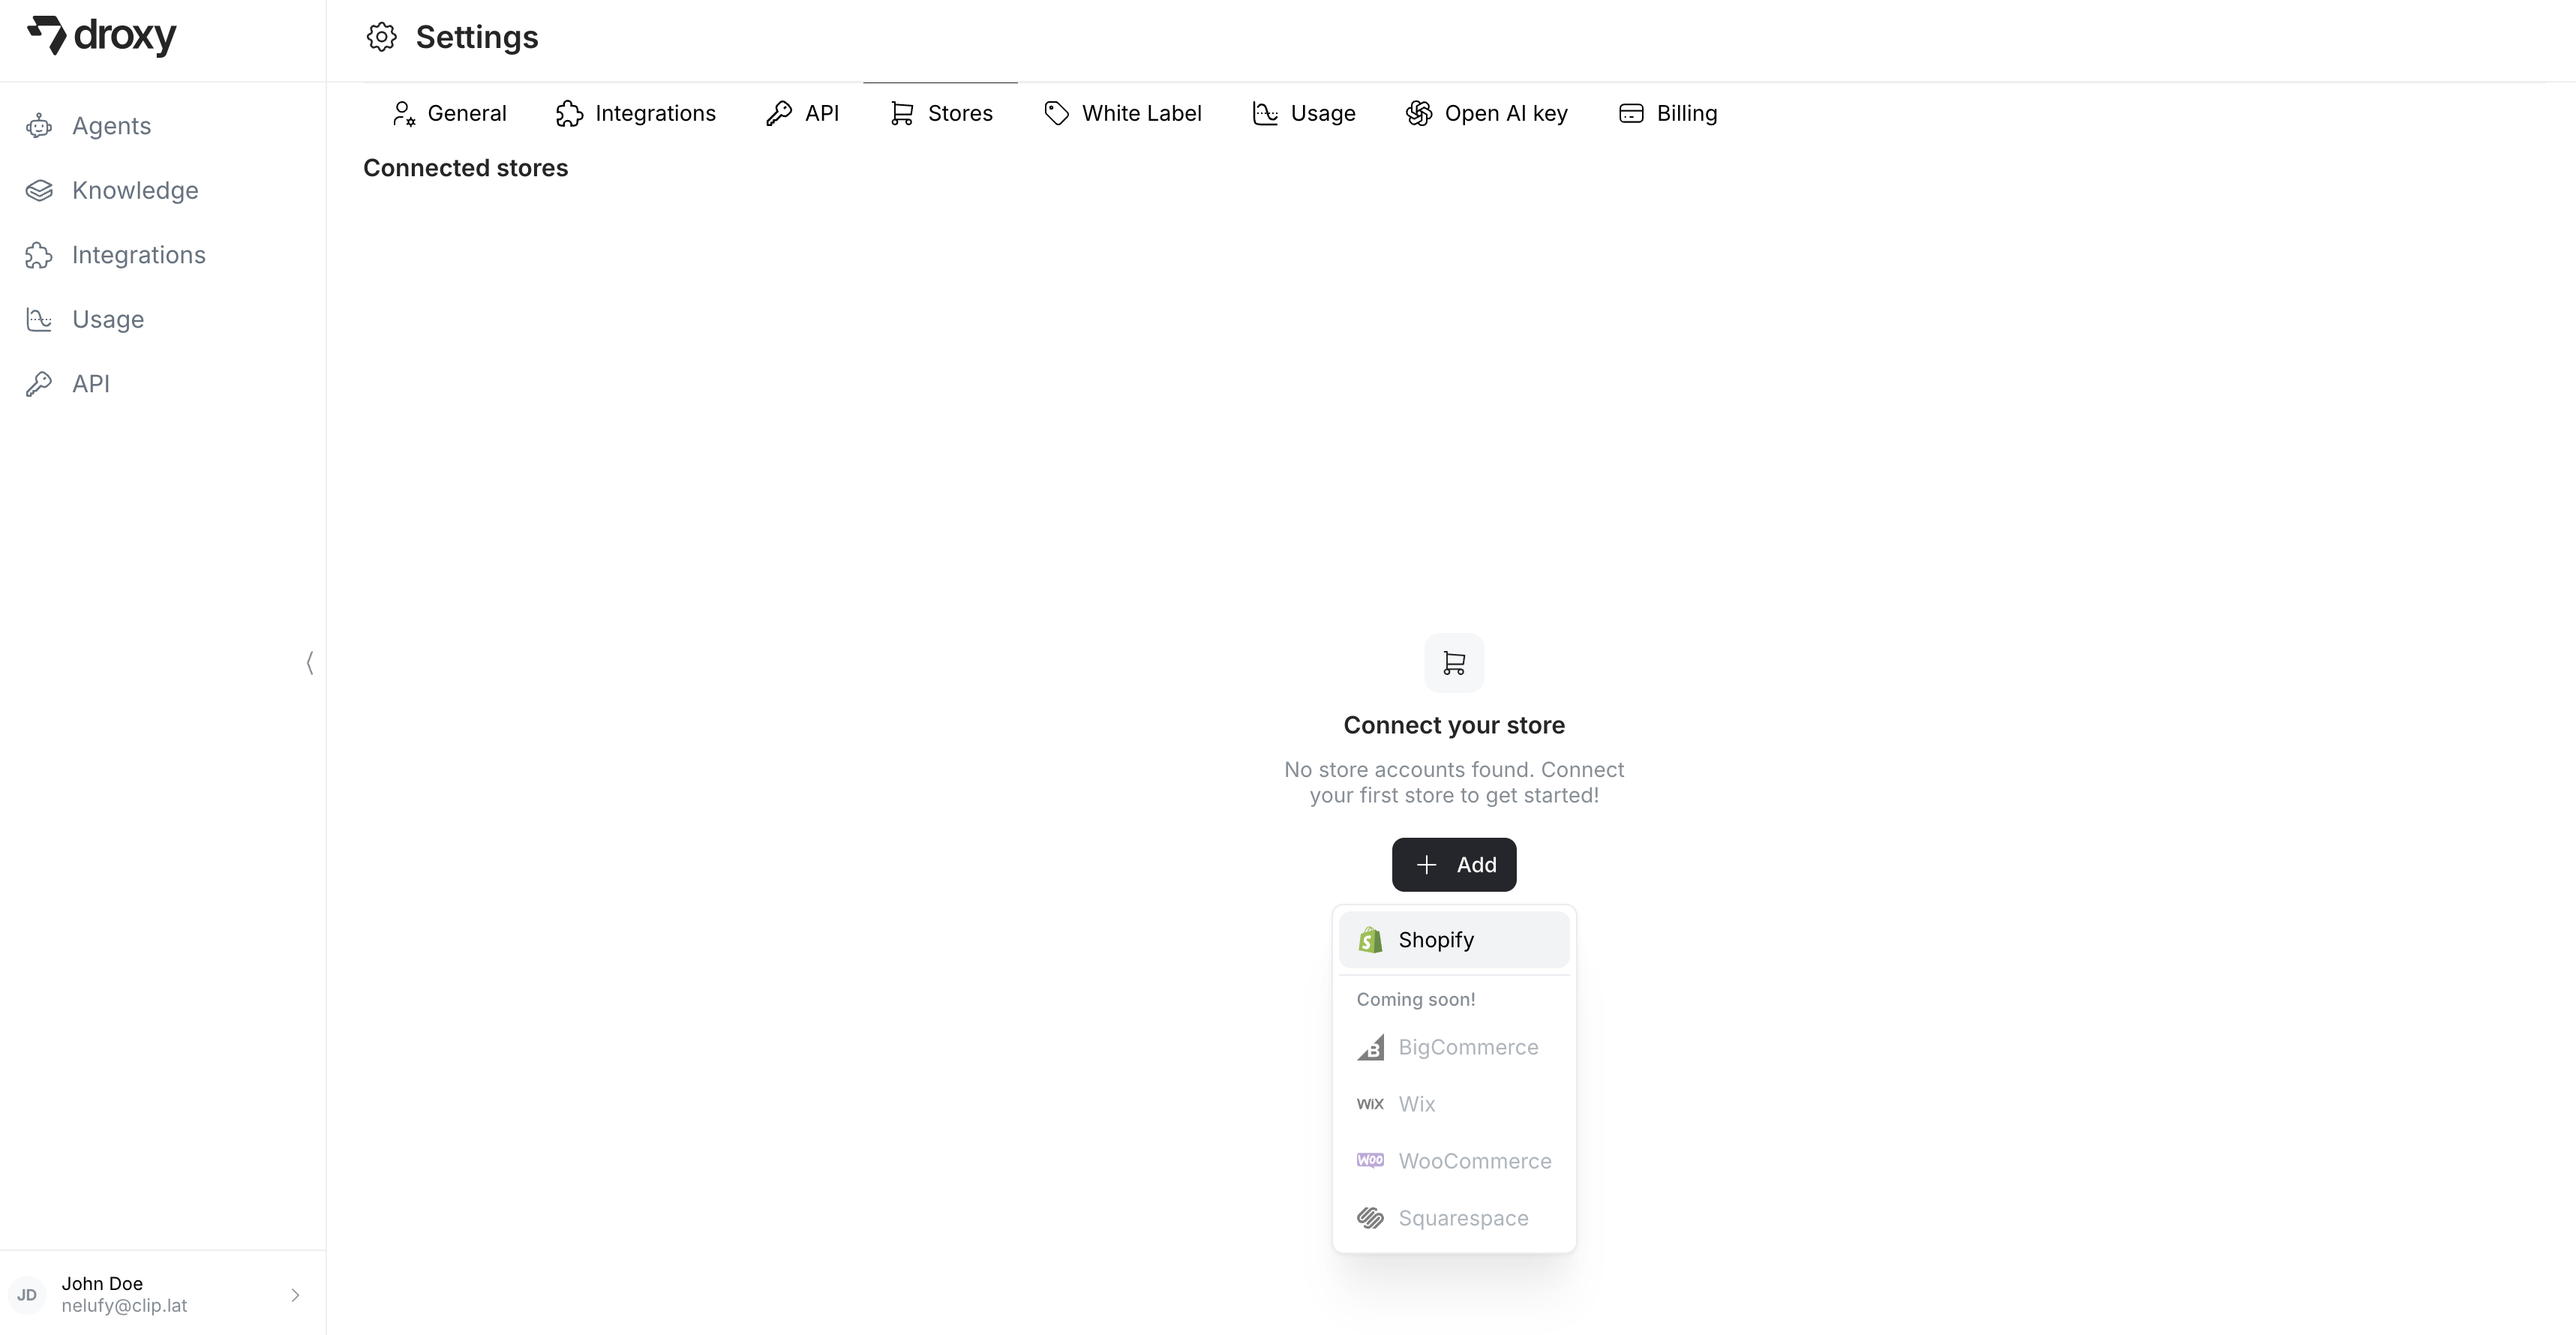
If you do not have your Shopify store connected to Droxy yet, you can do so by following the instructions below.1. Connect Your Shopify Store
To begin integrating your Shopify store with Droxy:- Navigate to Settings and select the Stores tab
- Click on Add and select Shopify from the available options
Once you connect your Shopify account, your billing will be processed through Shopify instead of Droxy. You’ll maintain access to all your existing features and can upgrade, downgrade or cancel your subscription at any time through Shopify.
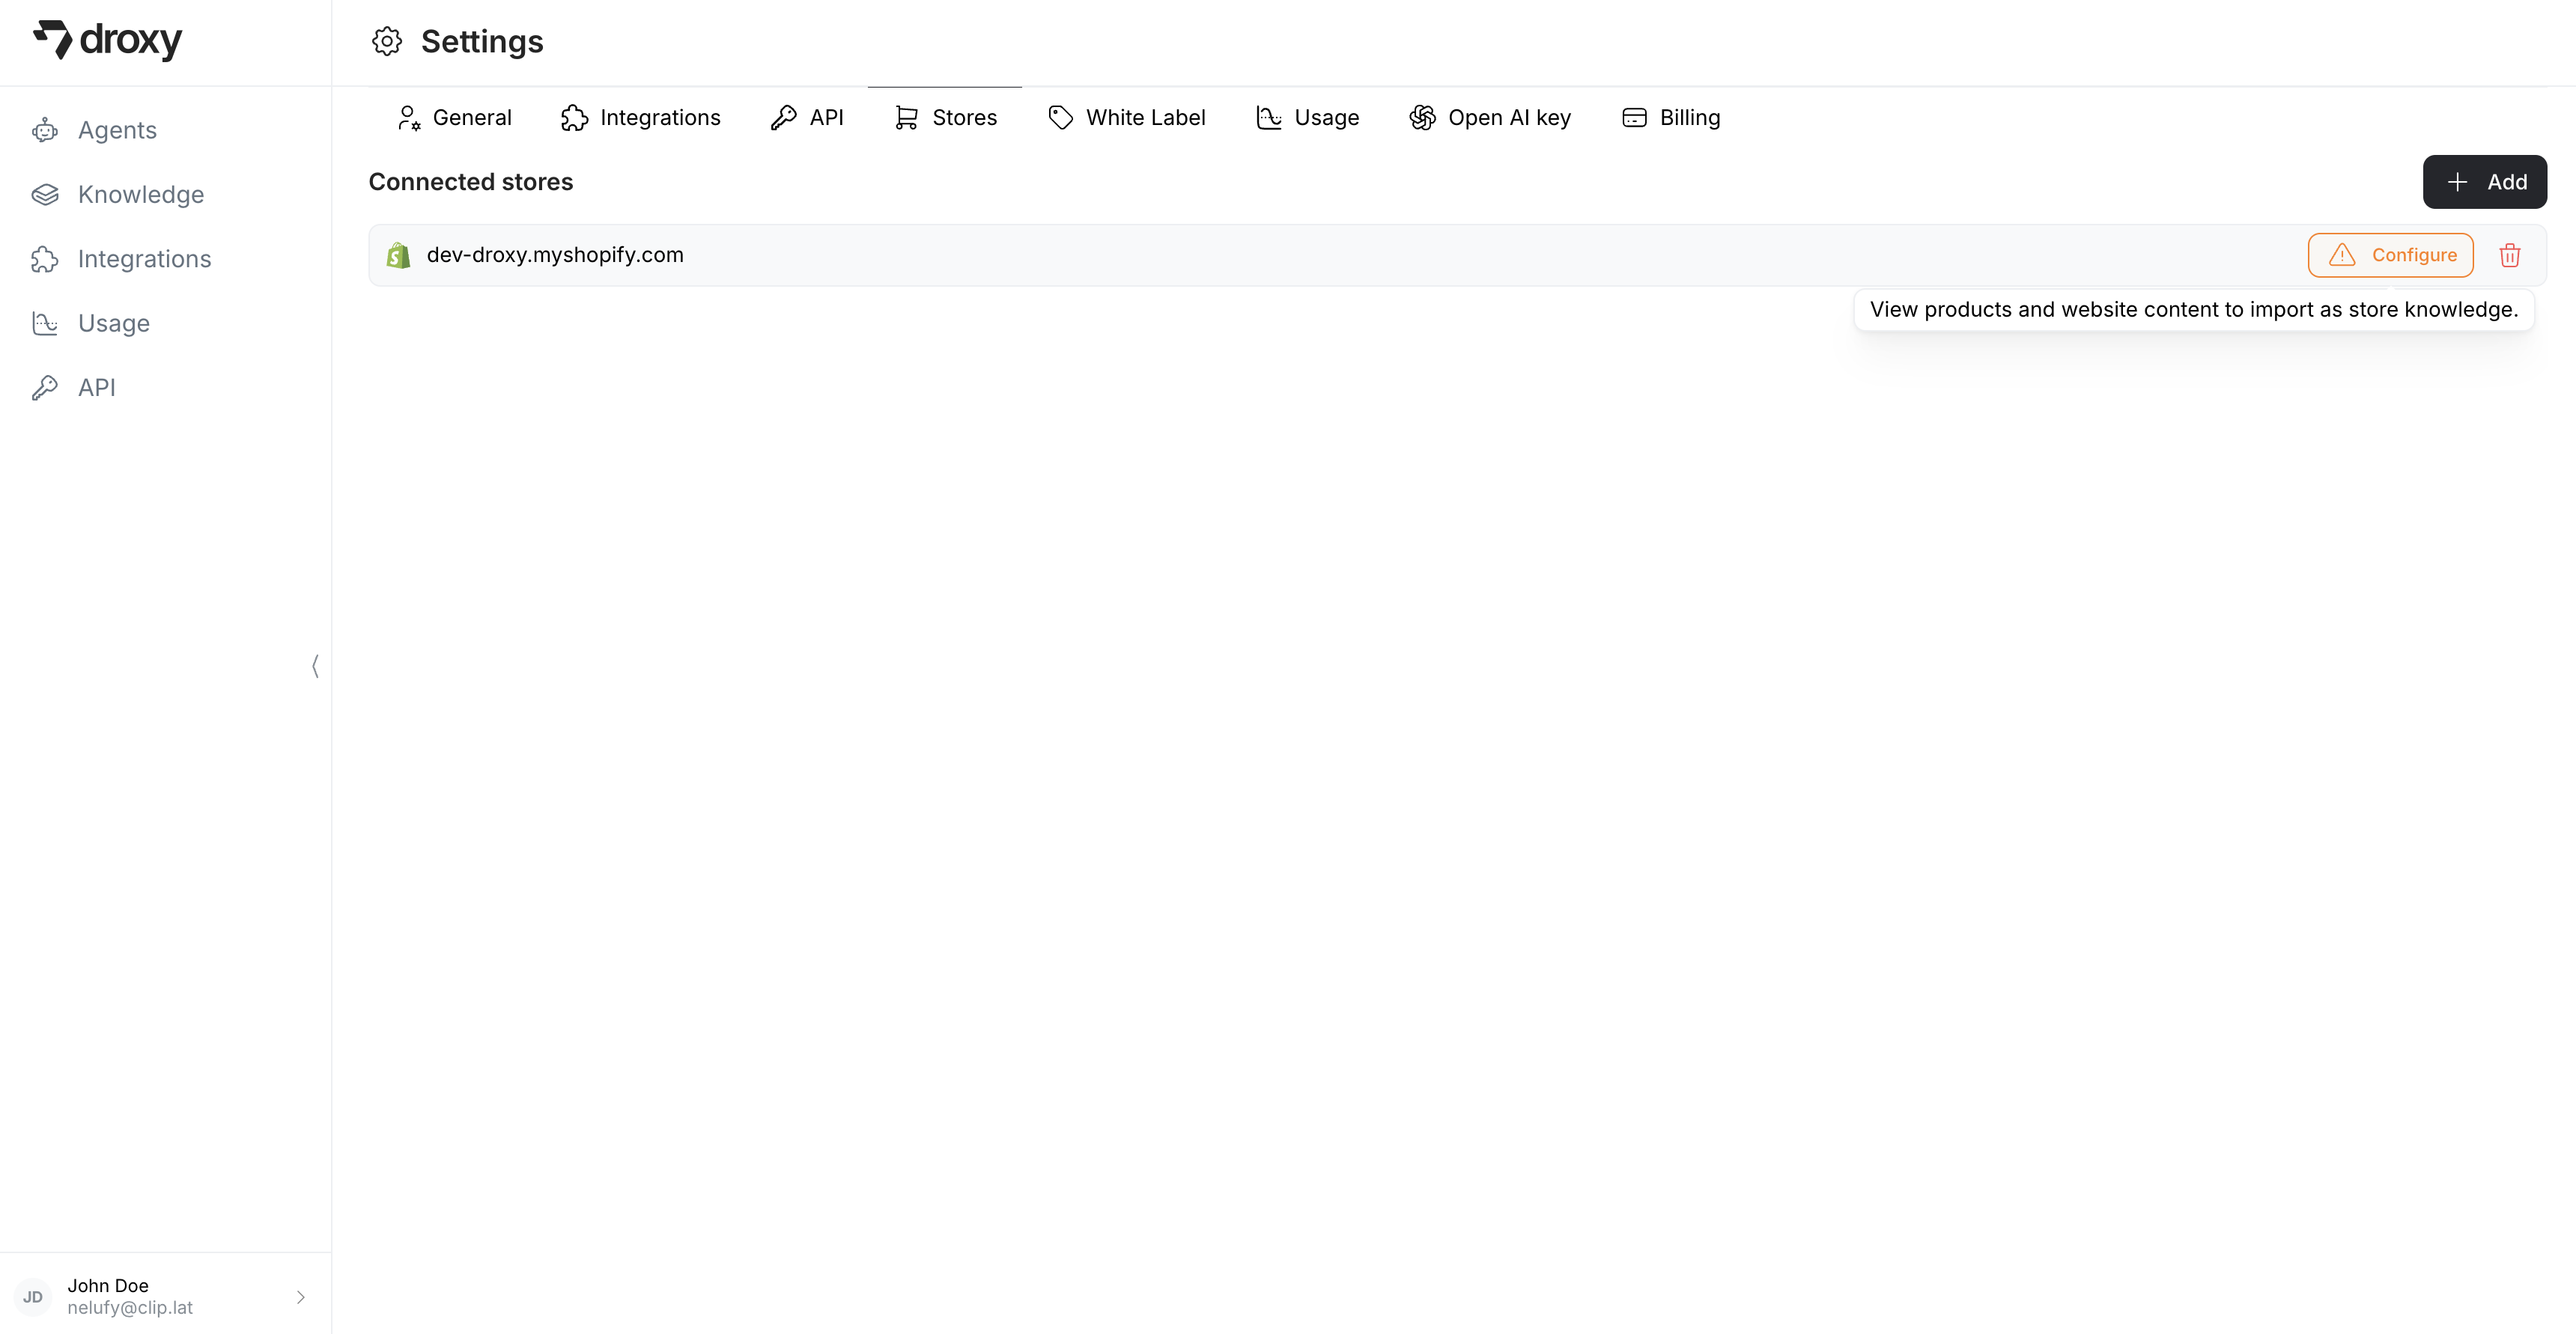
2. Configure Your Store
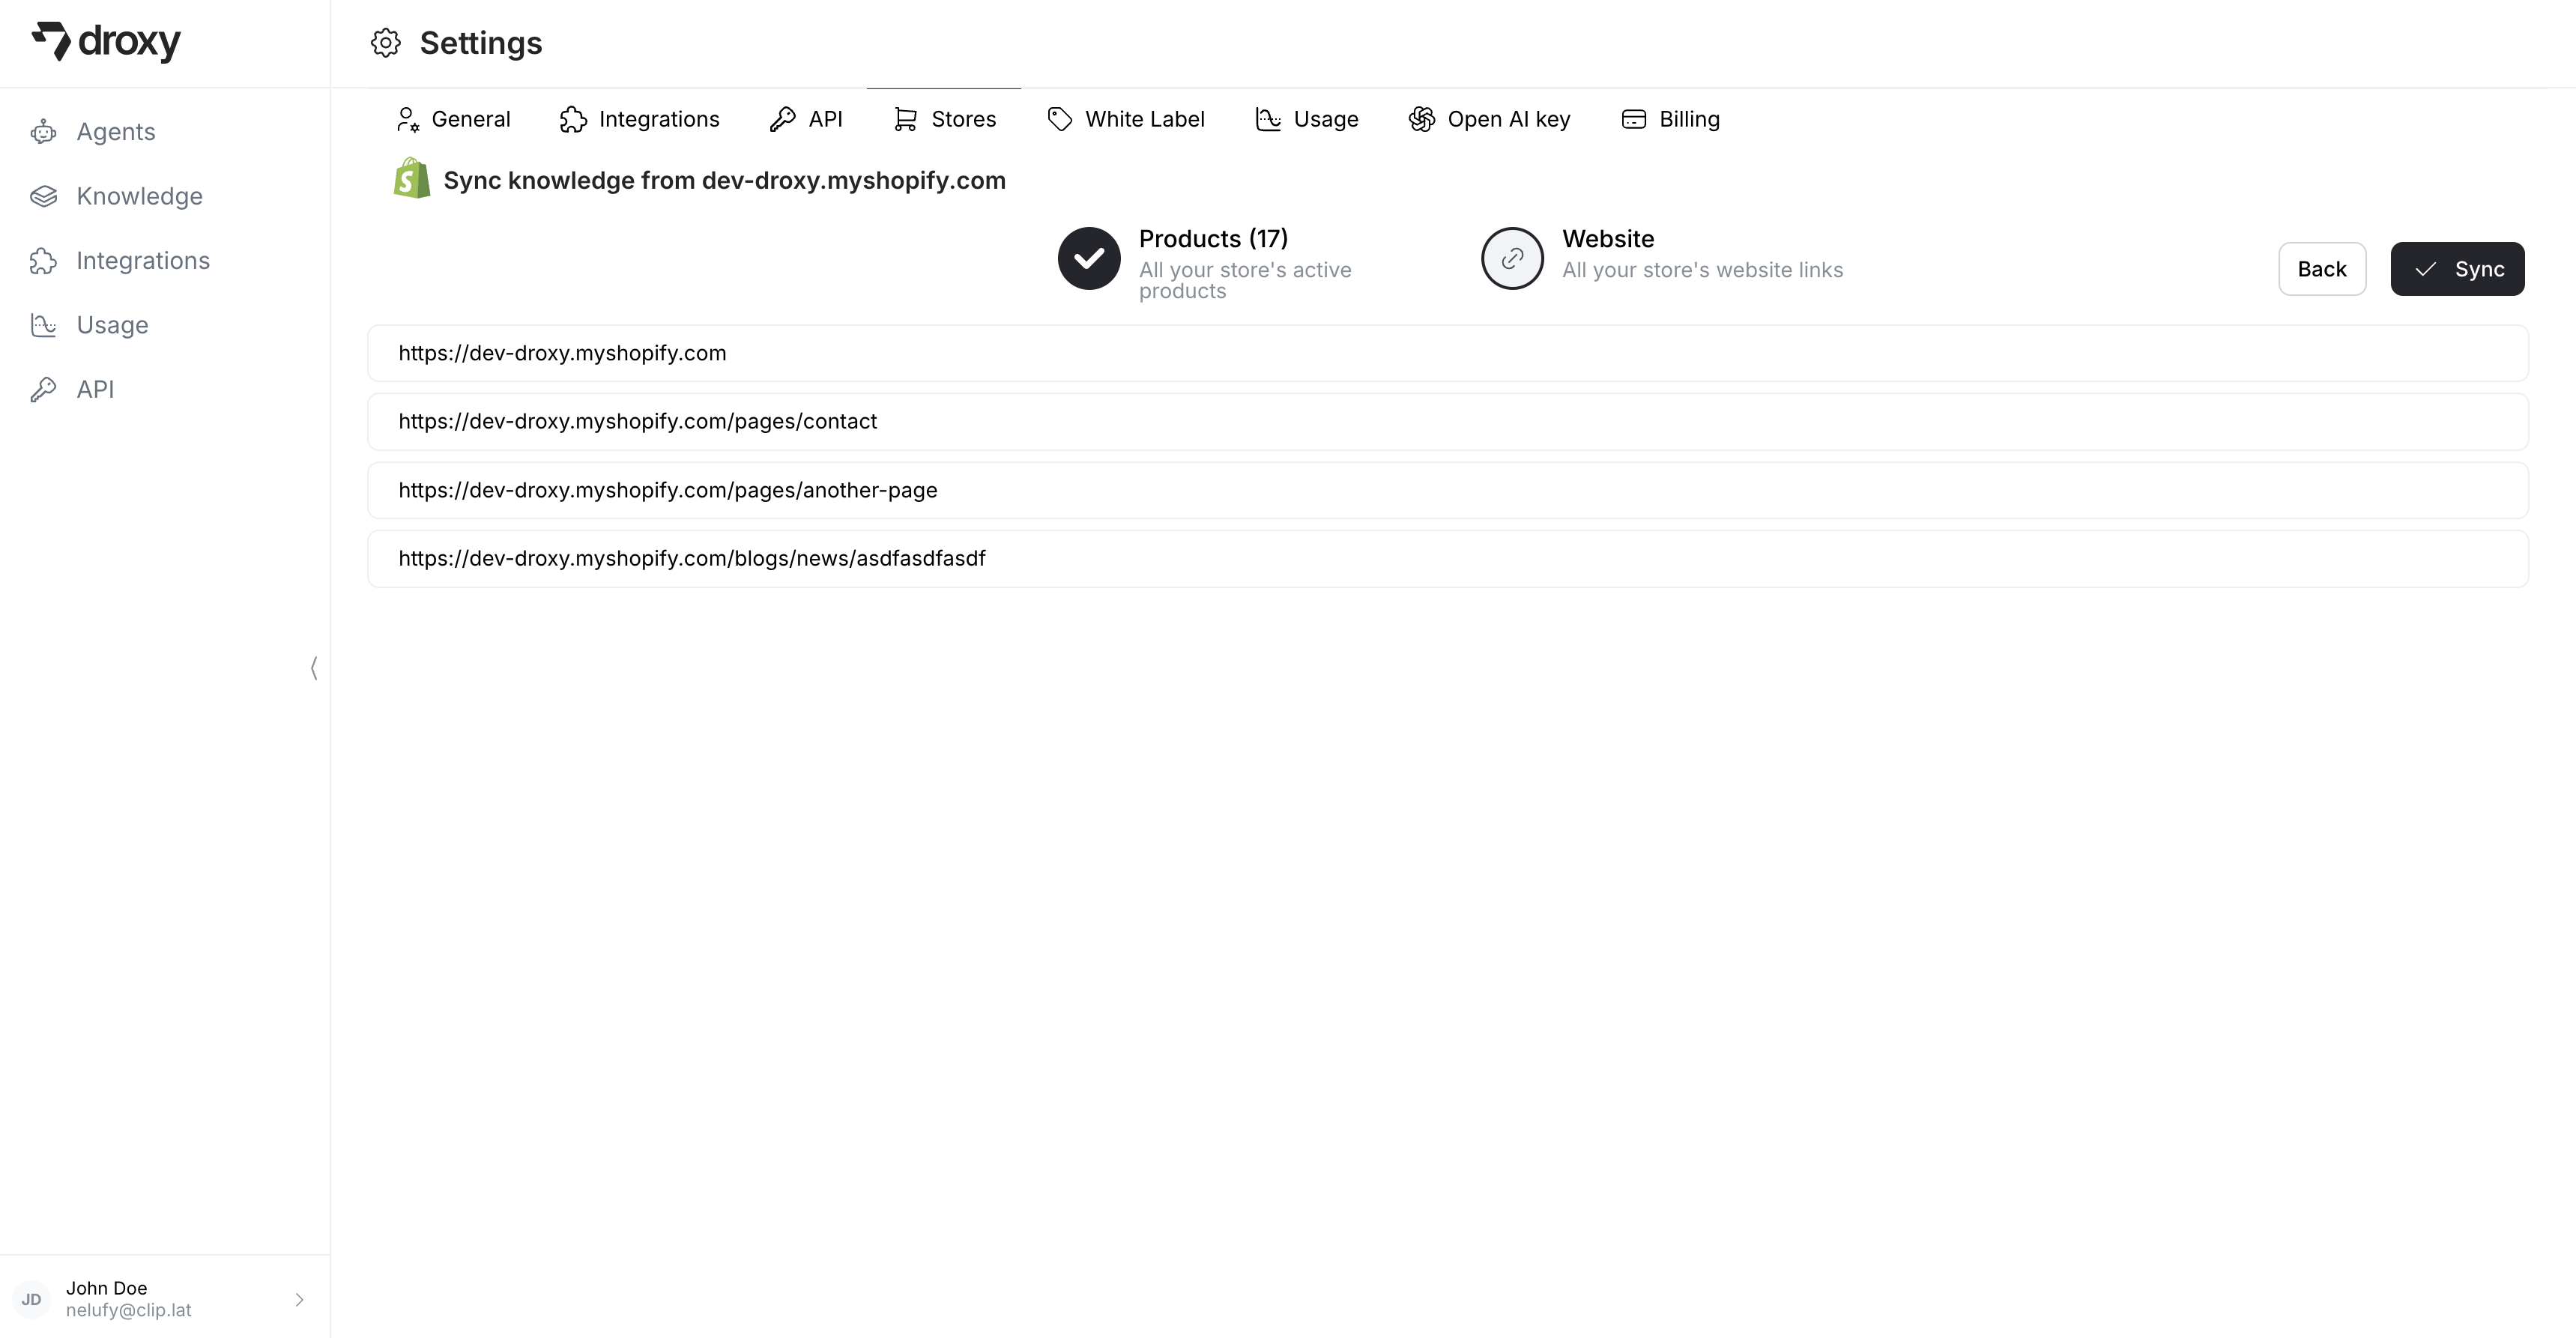
The configuration process involves two main steps with the goal of syncing your Shopify store’s products and website content into Droxy’s knowledge base.Products Import
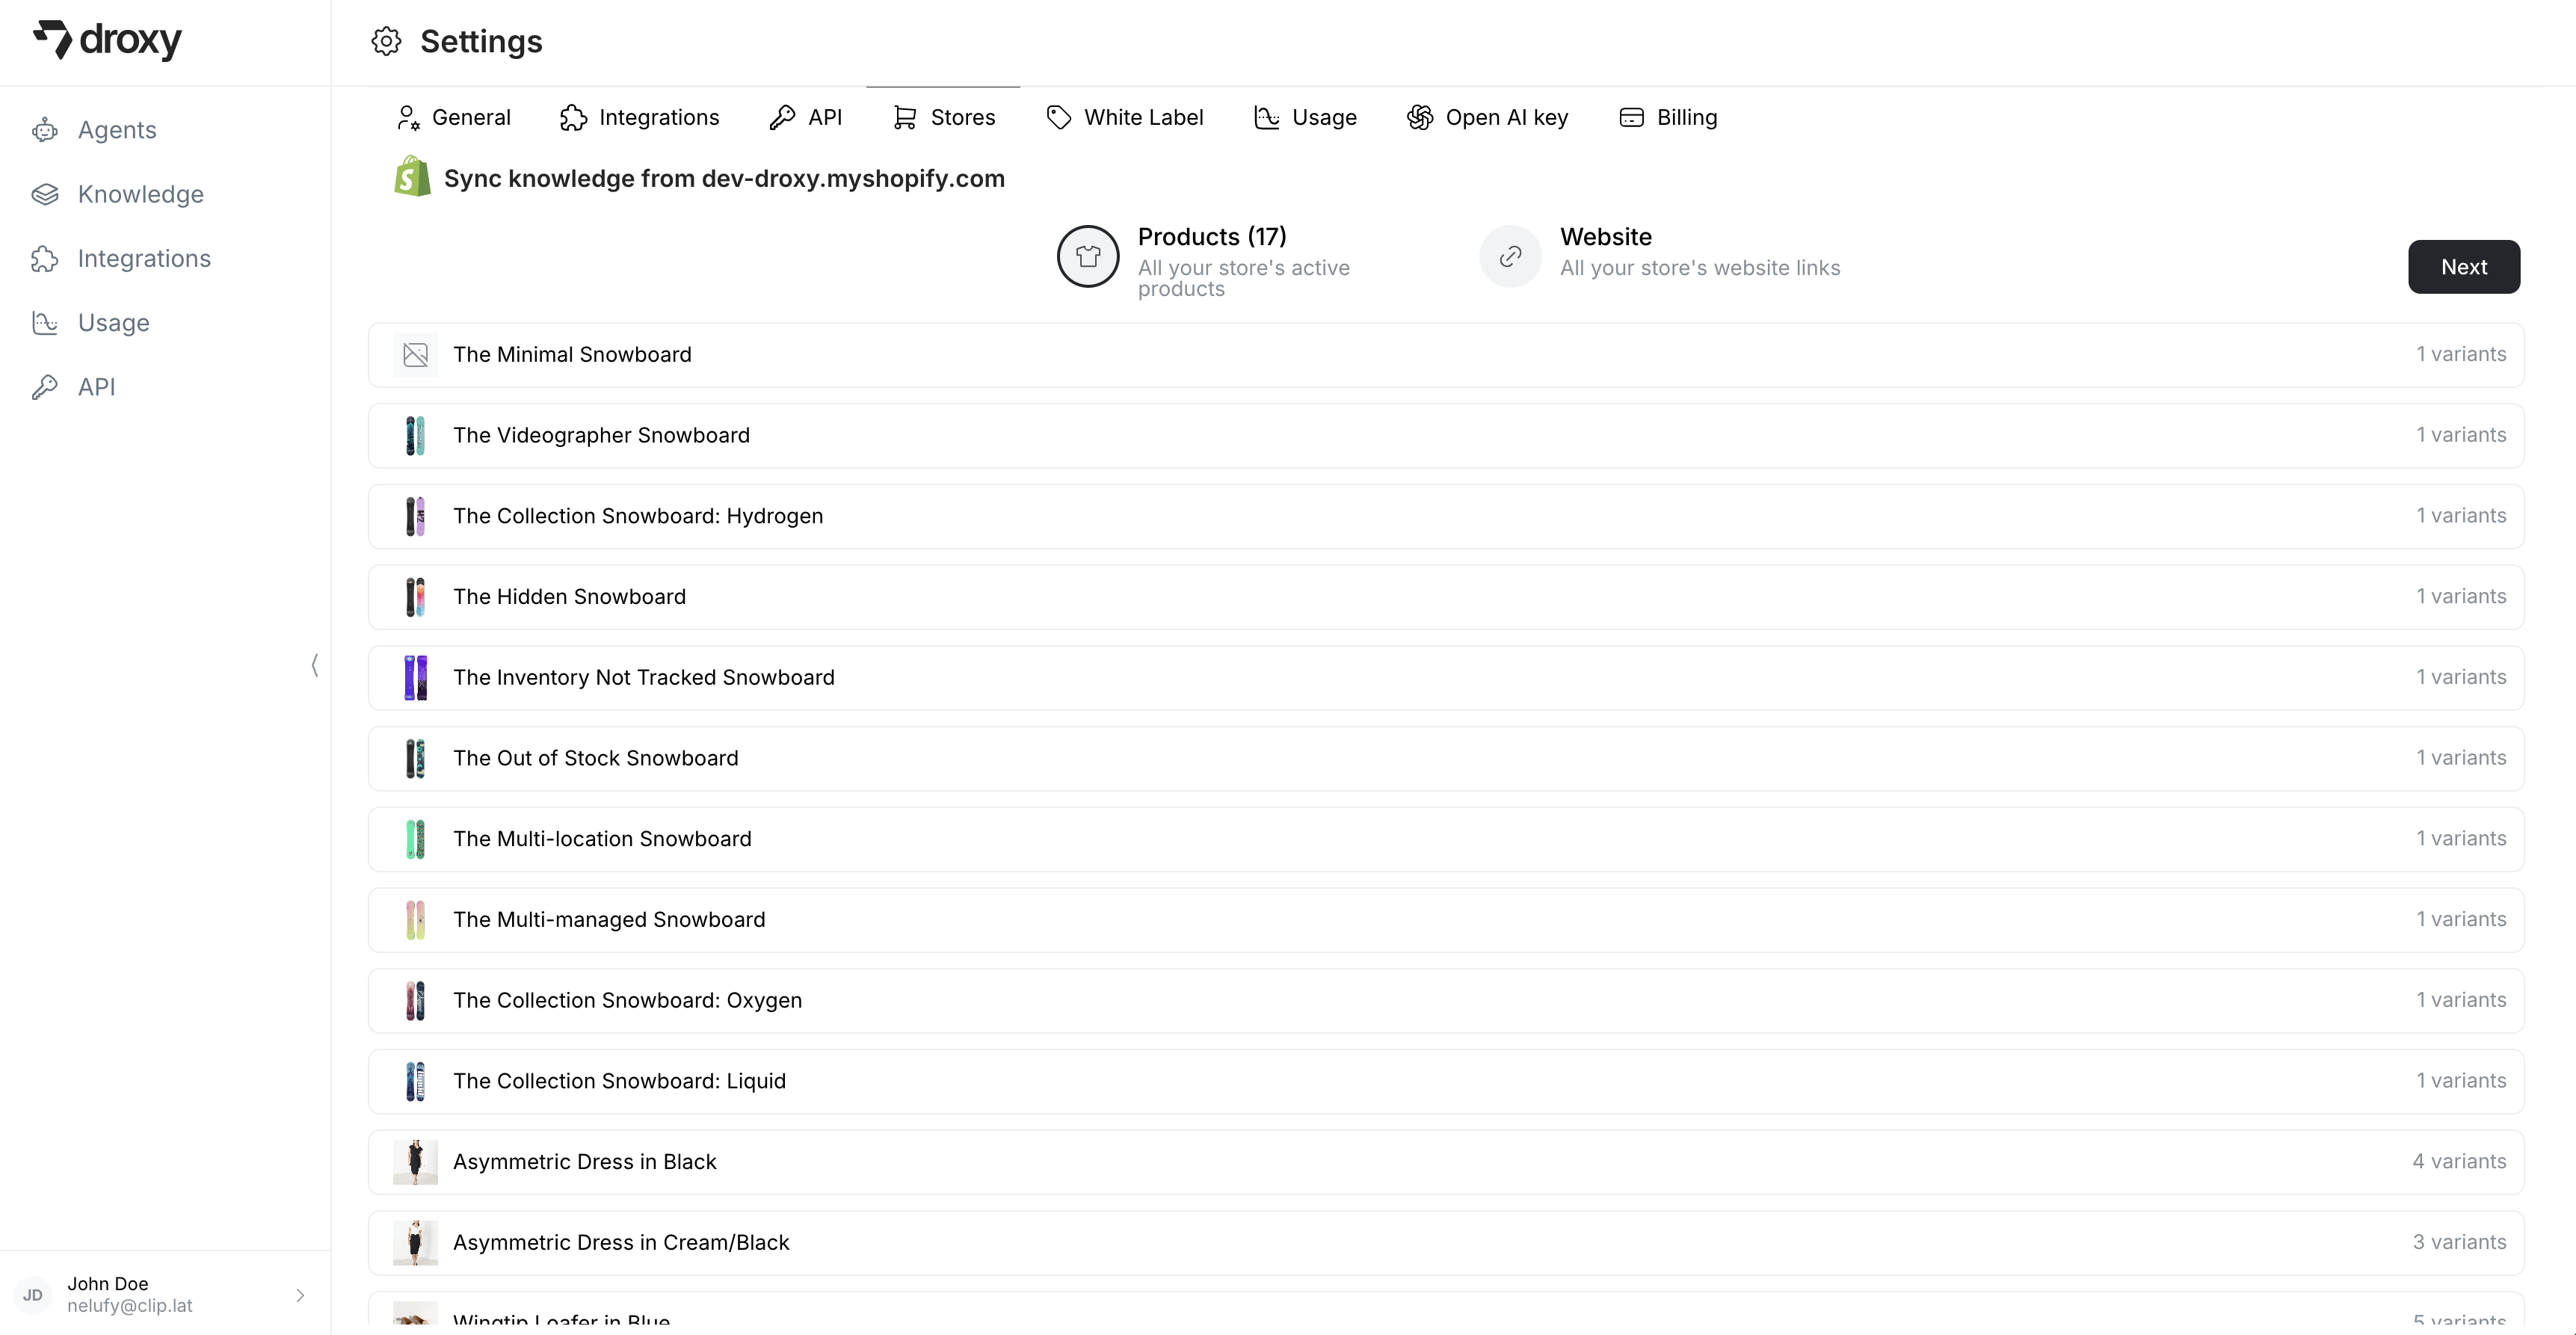
Website Content
3. Select Shopify Agent
In the Droxy dashboard, go to the Agents section and click on +Add. Then select Shopify Agent.
4. Select Connected Store
After syncing your store, you’ll need to select which store to use for your agent. In the agent creation interface, you’ll see your connected Shopify store listed: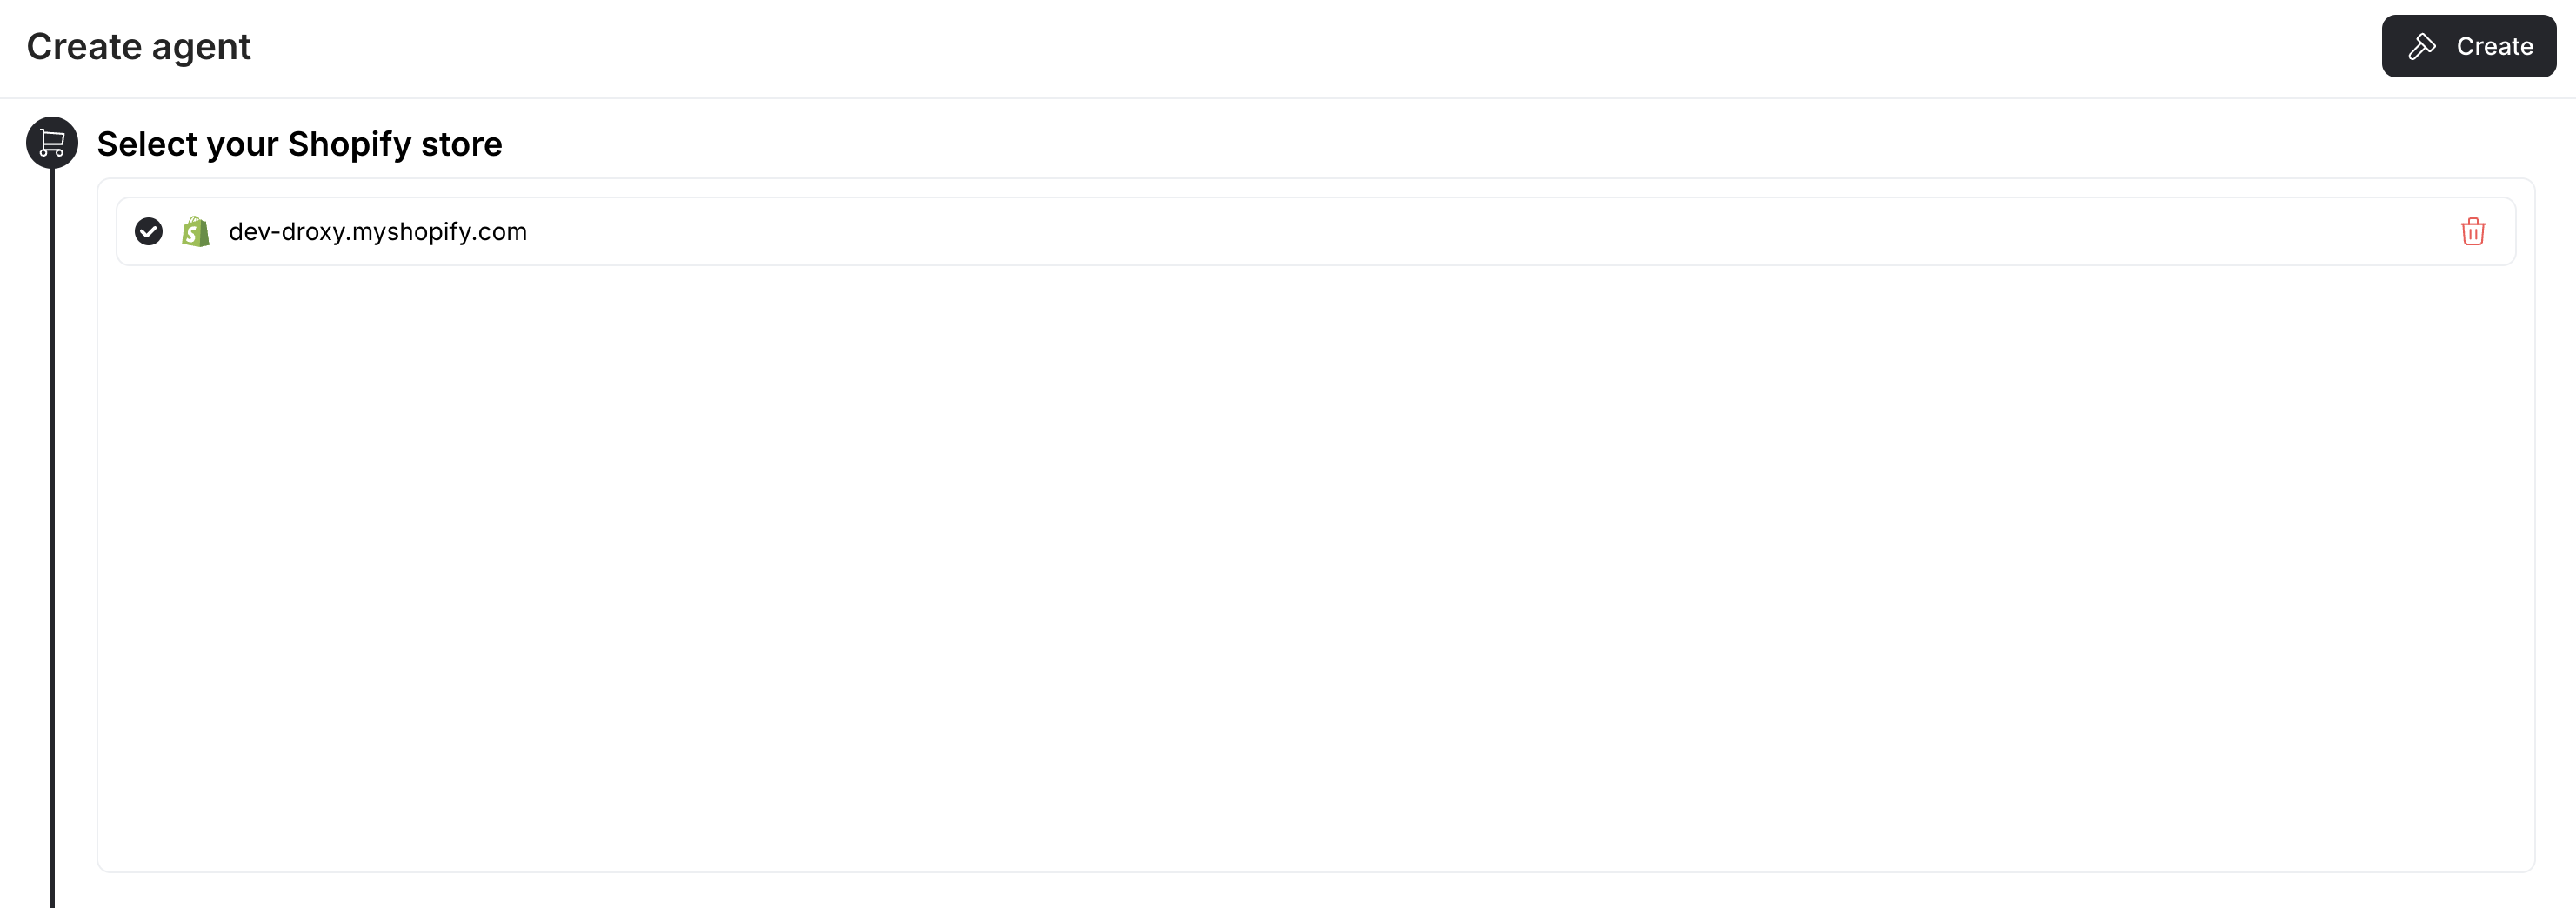
5. Add Additional Knowledge
Beyond your store’s product and website content, you can add extra knowledge to enhance your agent’s capabilities: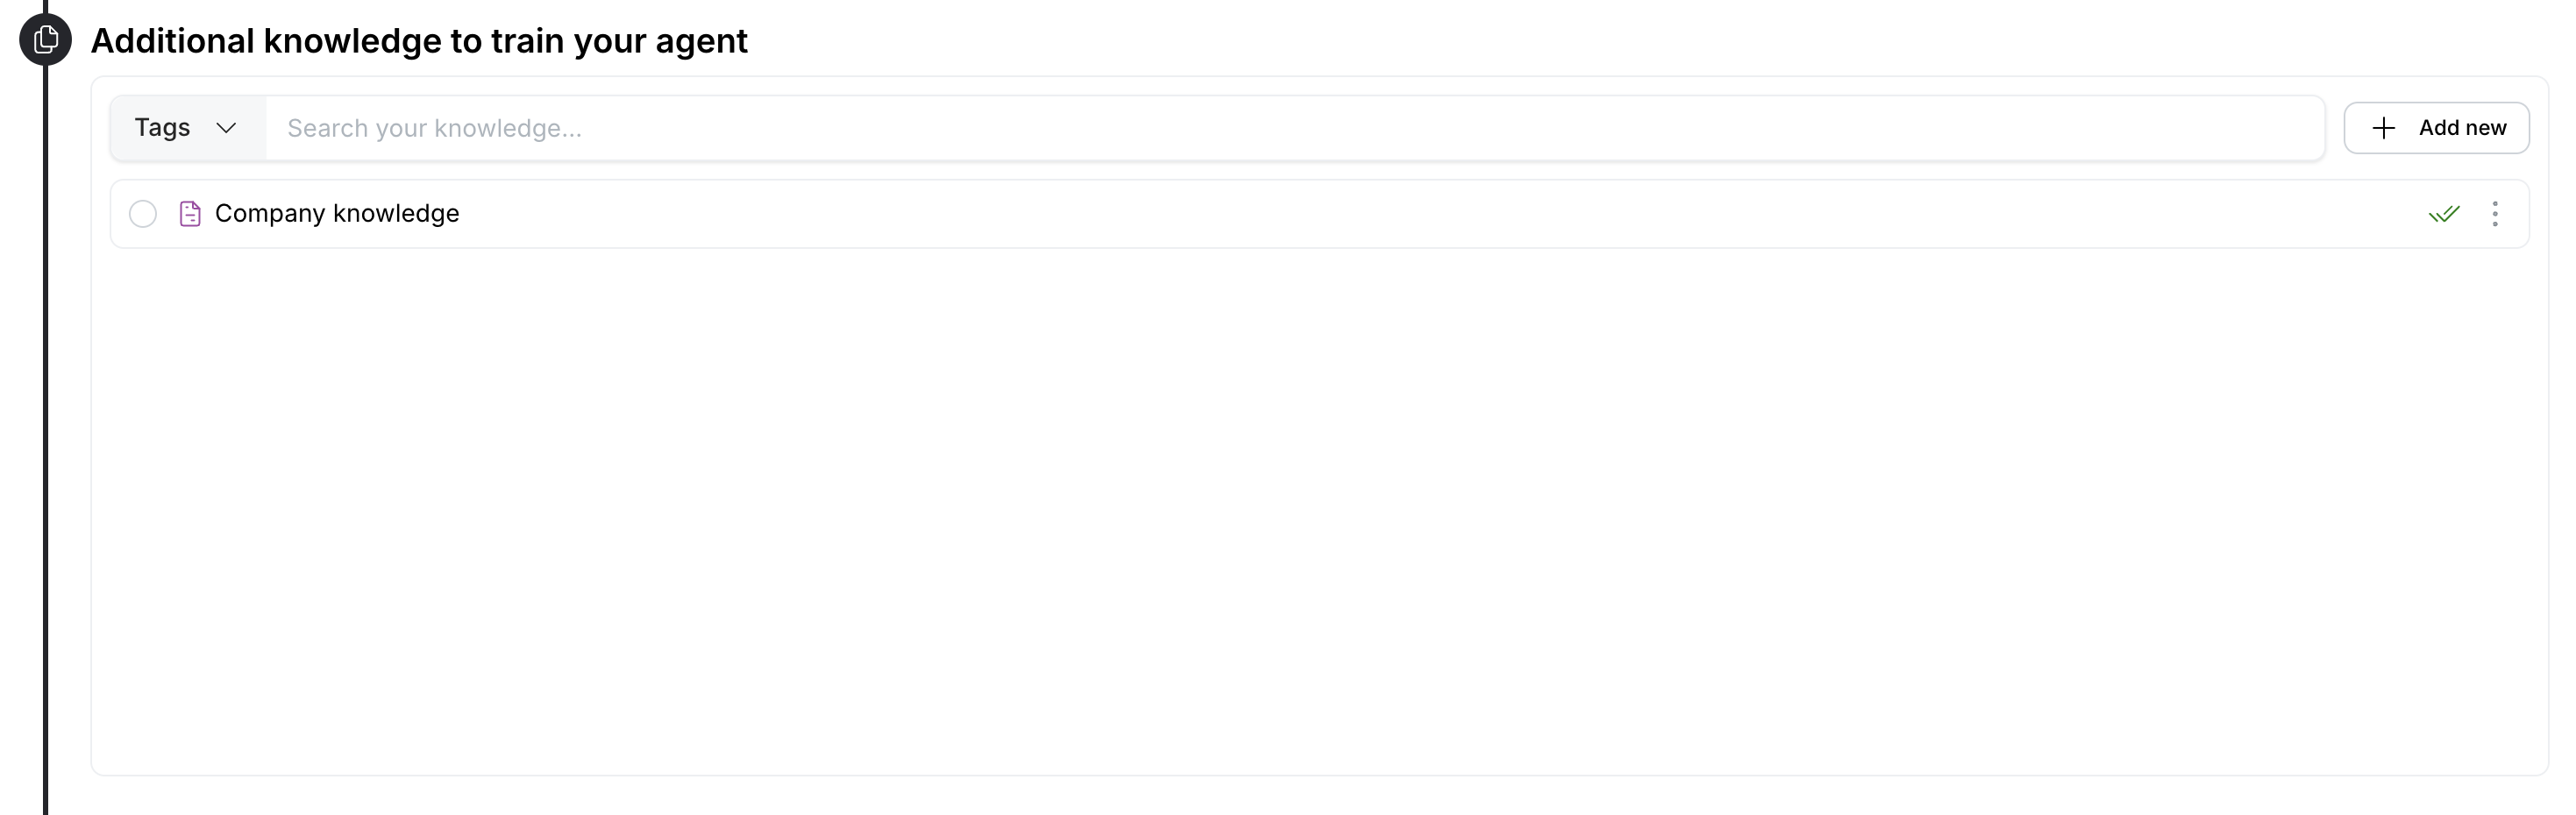
- Company policies
- Return procedures
- Shipping information
- FAQs
- Other relevant documentation
6. Configuration
Configure your agent’s behavior and capabilities:
- Behavior: Define the agent’s role, personality, and communication style. Be specific about how the agent should interact with customers. Use the built-in prompt generator to have optimized prompts automatically generated or modify them to match your needs.
- Model: Select the LLM powering your agent (e.g., GPT-4o mini, Claude Sonnet 4.6, Gemini 3 Flash). Each model consumes different amounts of tokens and has different capabilities.
- Knowledge Restrictions: Choose whether to restrict the agent’s responses to only your provided knowledge content. Make sure to specify to the agent what to answer if the knowledge base doesn’t contain an answer.
- Emoji Support: Enable or disable emoji usage in conversations
7. Customization
Personalize your chat widget’s appearance to match your brand: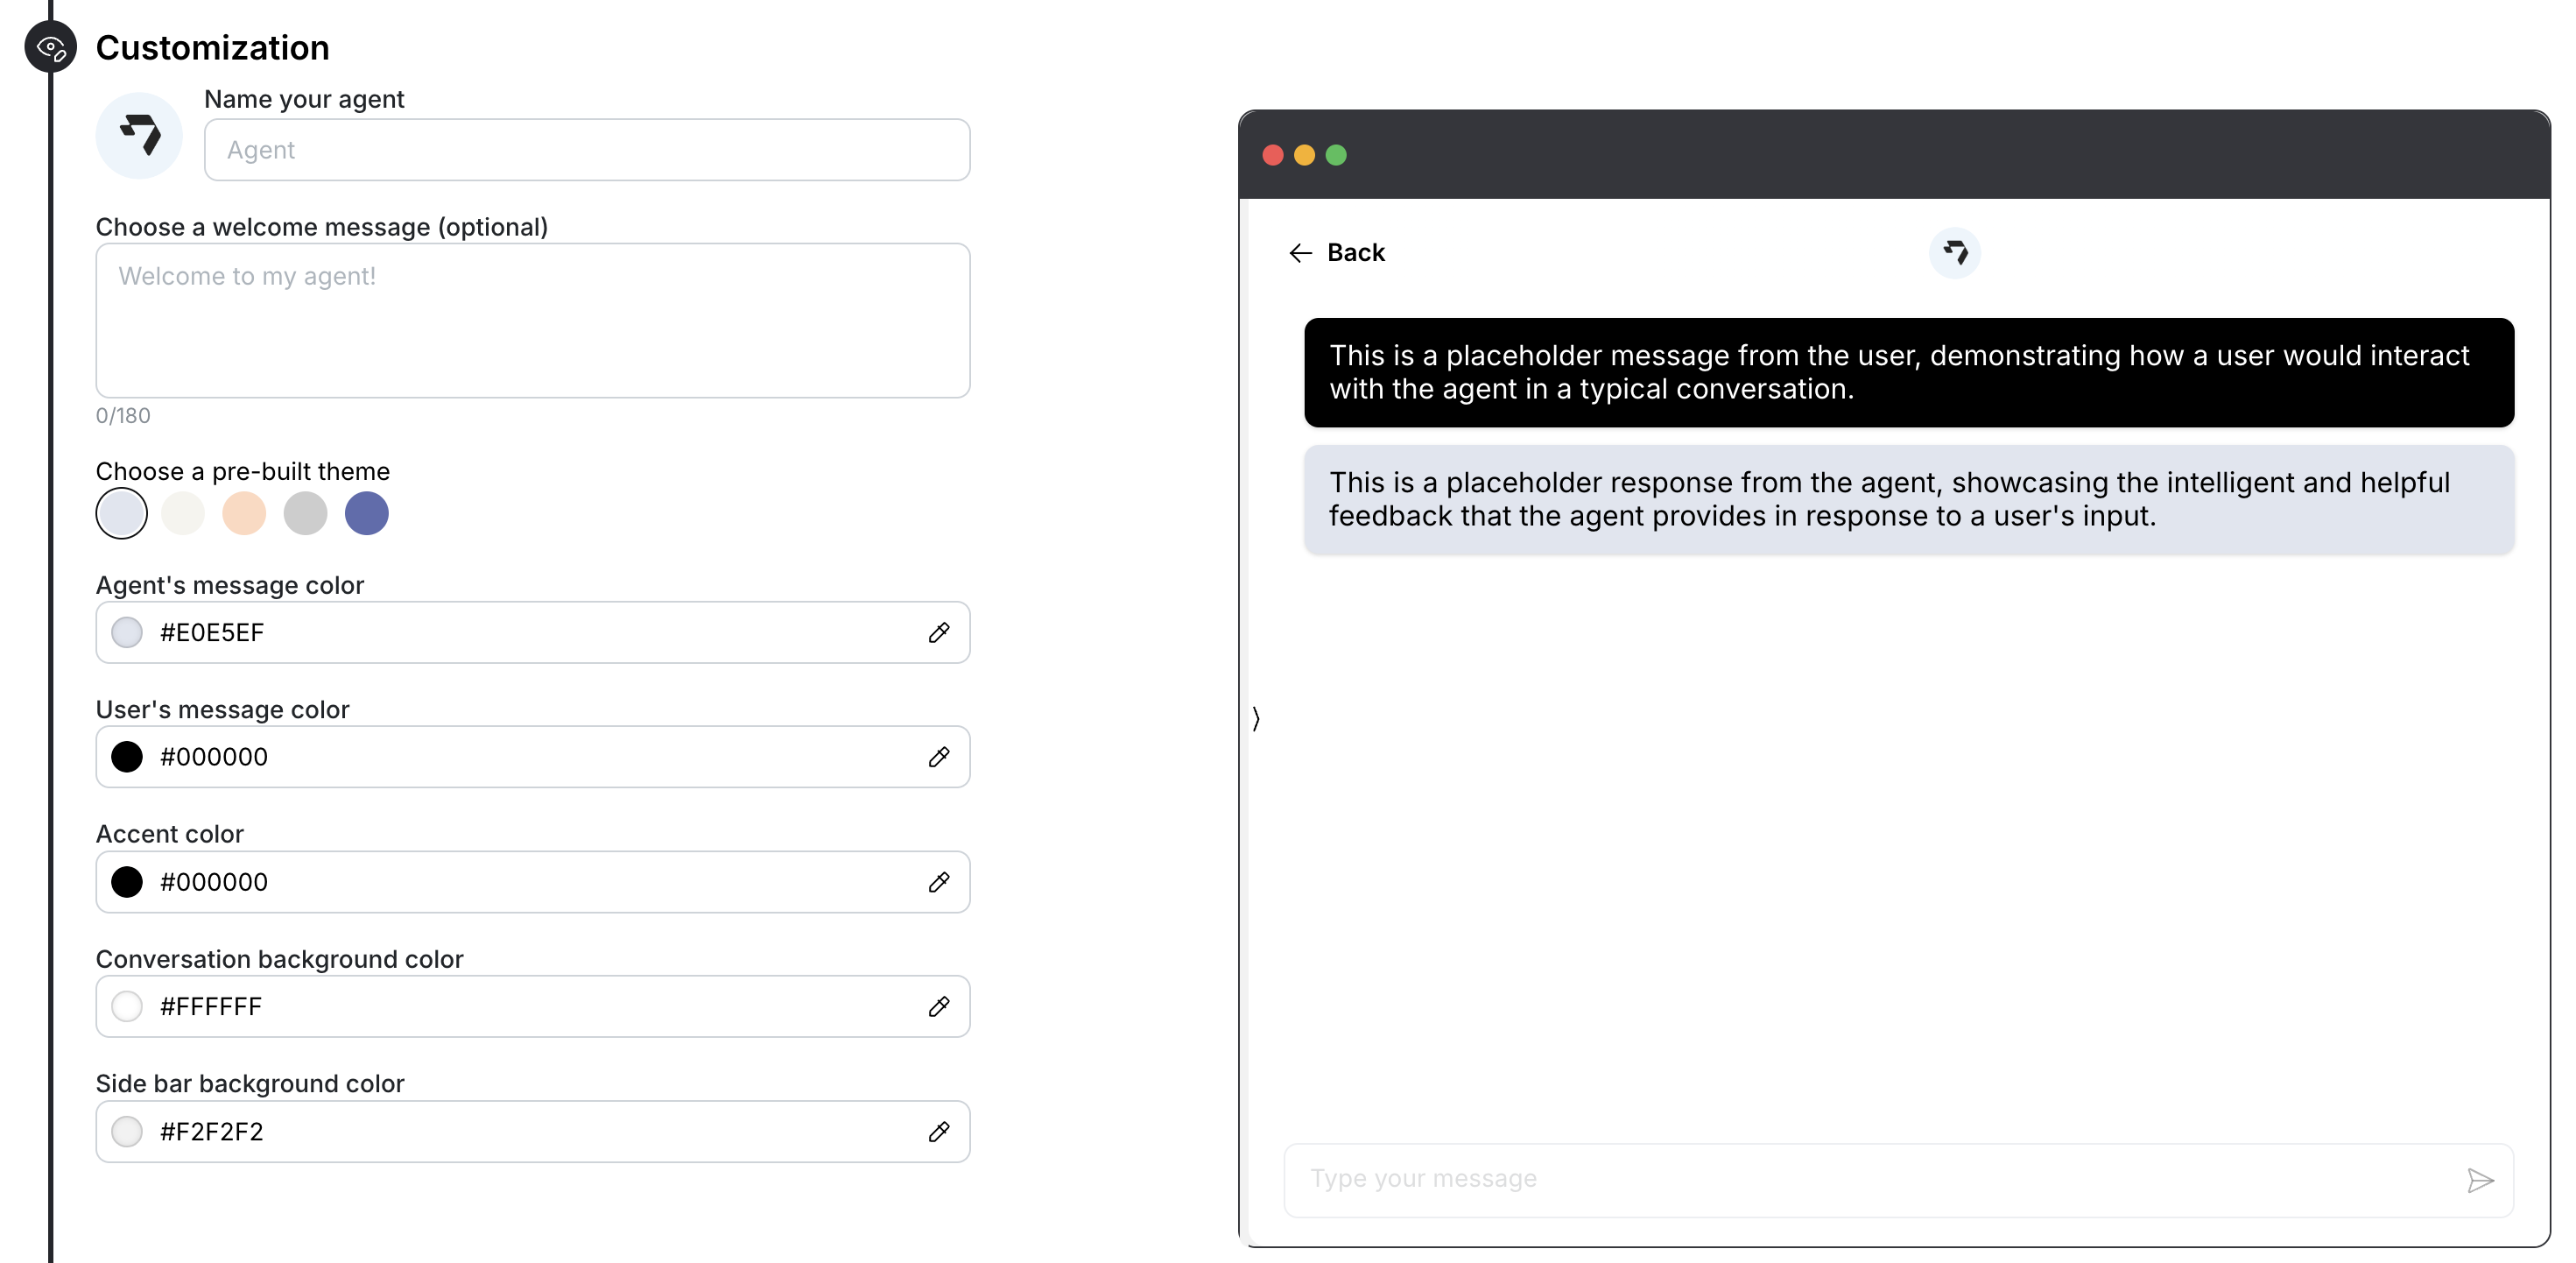
- Agent Name: Give your agent a name that reflects its role and your brand
- Welcome Message: Set an optional greeting message (up to 180 characters) that appears when customers start a conversation
- Theme Selection: Choose from pre-built color themes or create your own custom theme
- Appearance: Fully customize the look and feel of your chat widget including:
- Agent’s message color
- User’s message color
- Accent color
- Conversation background
- Side bar background
8. Tools
You can enable the following tools to enhance your chat widget’s functionality:
- Lead Form: Collect visitor contact information (email, phone, name) to capture and store leads for follow-up, seamlessly integrated into natural conversations.
- Calendly: Allow visitors to book meetings directly through the chat interface with automated scheduling. Perfect for sales teams, consultations, and support calls.
- Email Handoff: Transfer chat conversations to email when needed, especially useful for complex inquiries requiring detailed follow-up or when immediate chat resolution isn’t possible.
Embed the Agent on Your Shopify Store
Once you’ve configured and tested your agent, embedding it on your Shopify store is a simple one-click process:- Click the Embed on store button in the top-right corner of your agent’s manage page
- Wait a few minutes for the installation to complete

The chat widget typically appears within 1-2 minutes of clicking the embed button. Once active, all your store visitors will be able to interact with your agent.