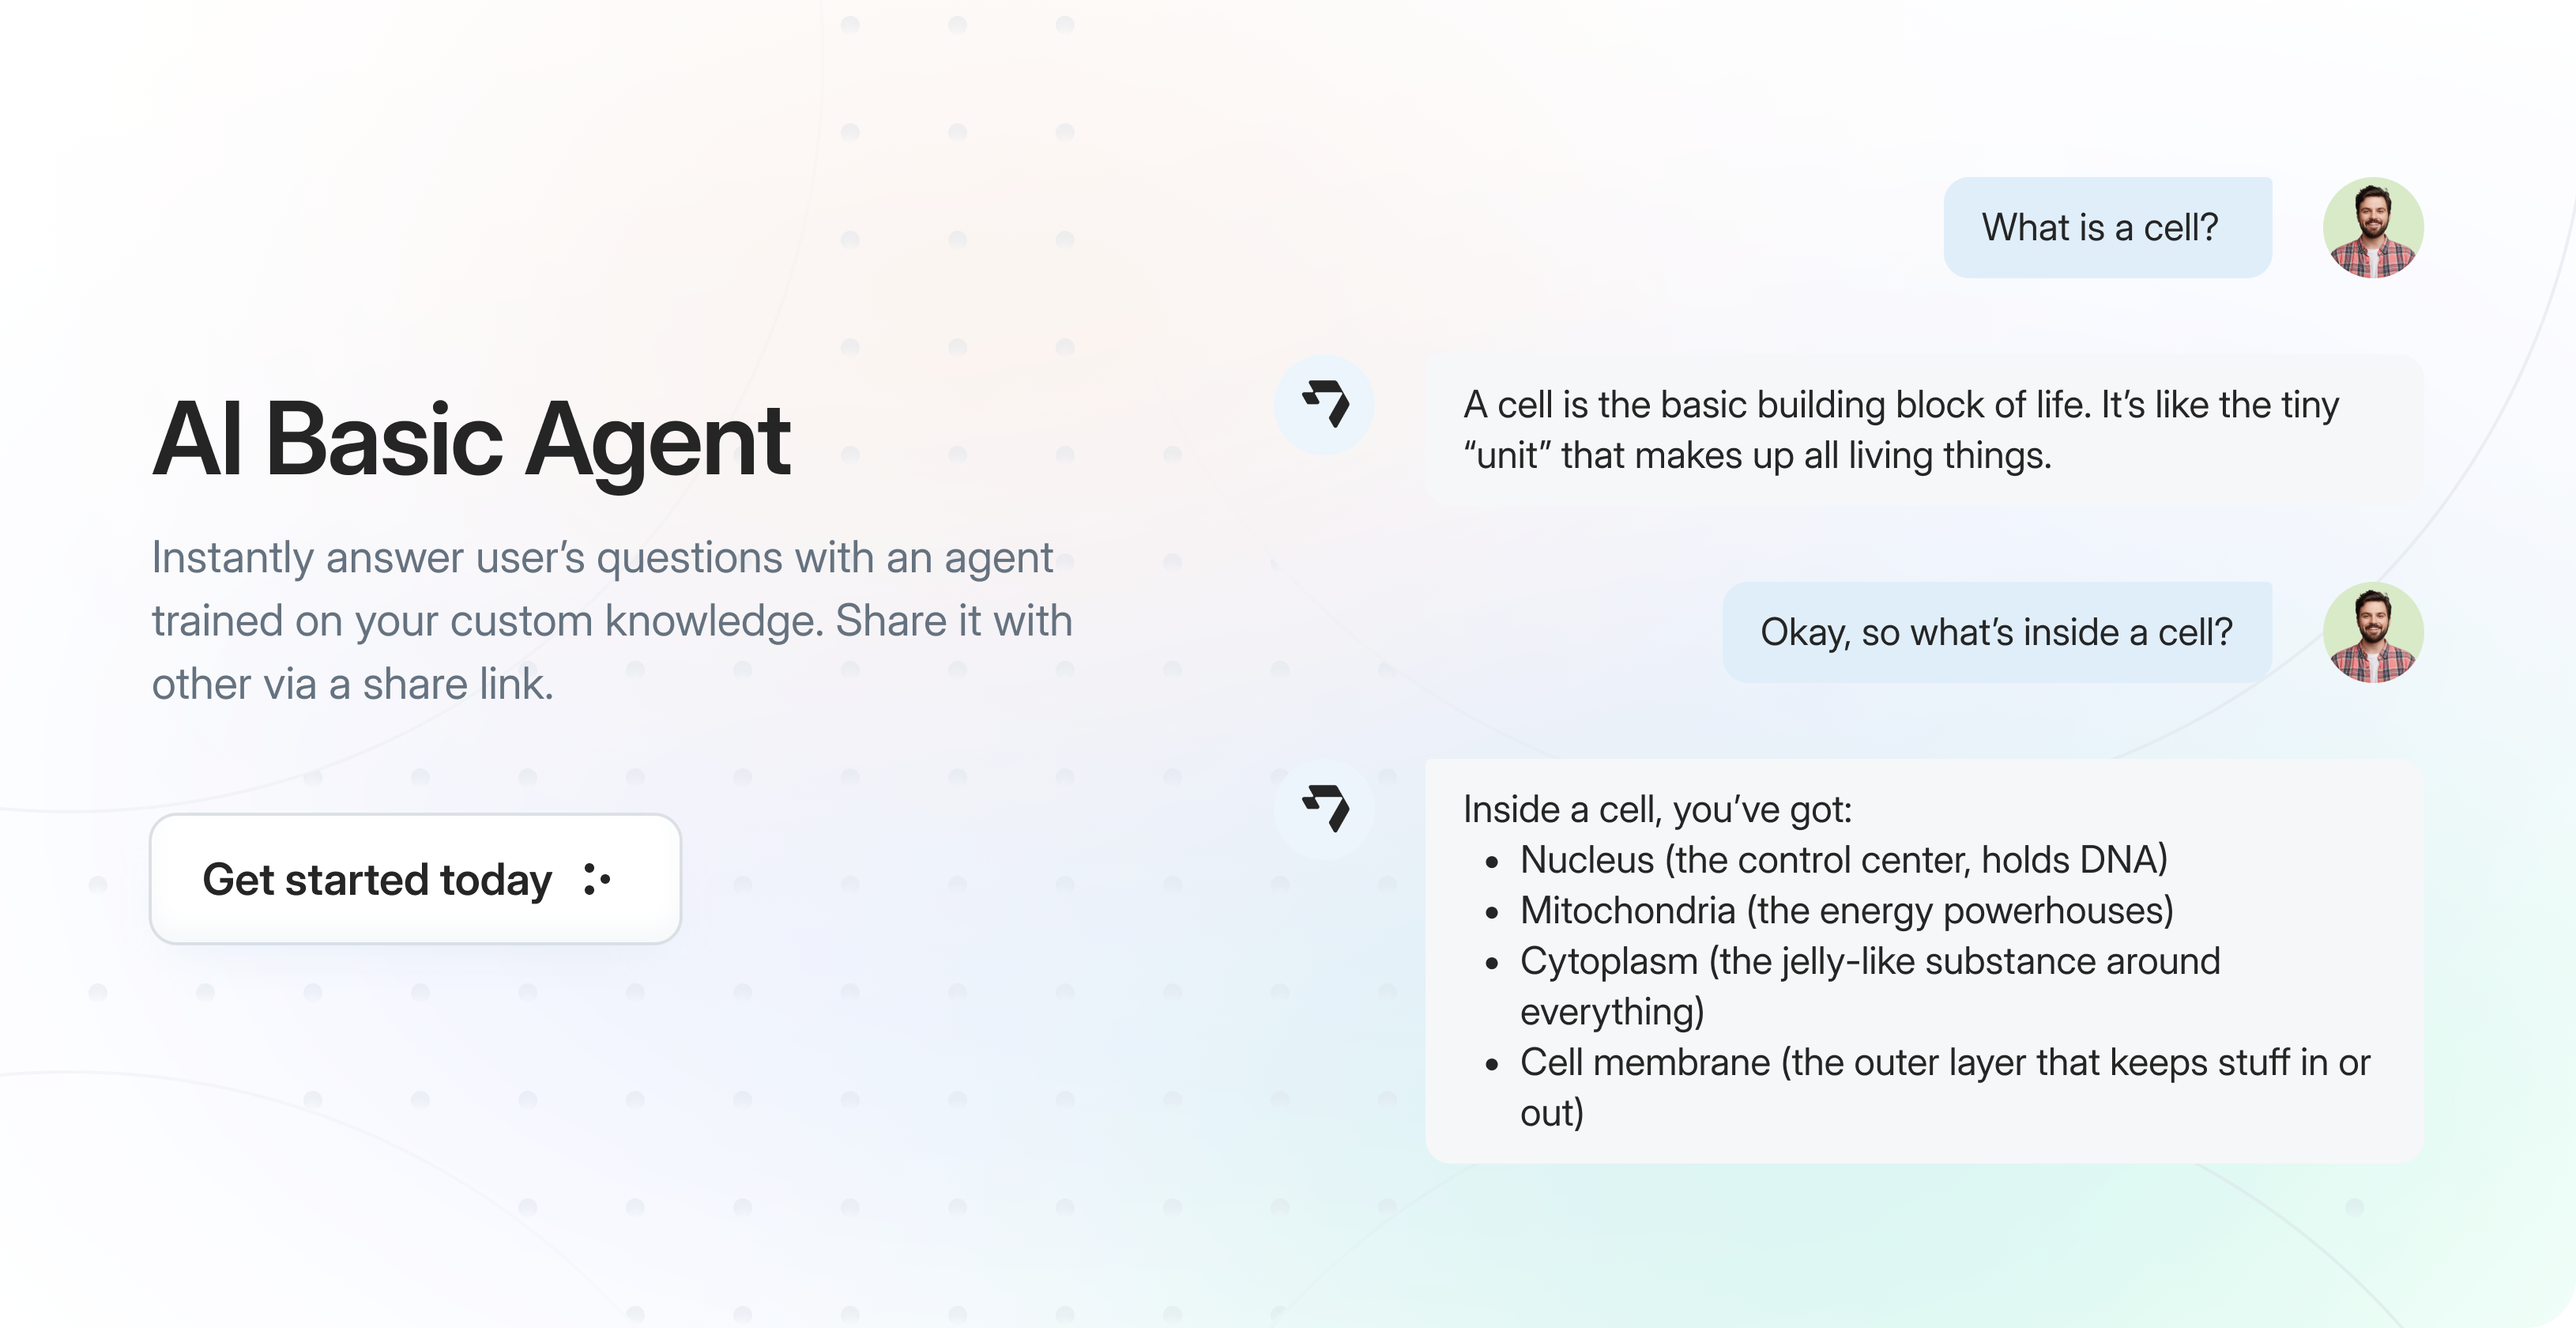
What is a Basic Agent?
It is an LLM-based agent that you can use for Q/A and/or share with others via a link. The agent:- Learns from your knowledge sources including website content, PDFs, Google Drive documents, YouTube videos, and other documents
- Provides real-time responses to queries based on your specific information
- Answers following your configured behavior and tone
Setting Up Your Basic Agent
In the Droxy dashboard, go to the Agents section and click on +Add. Then select Basic Agent.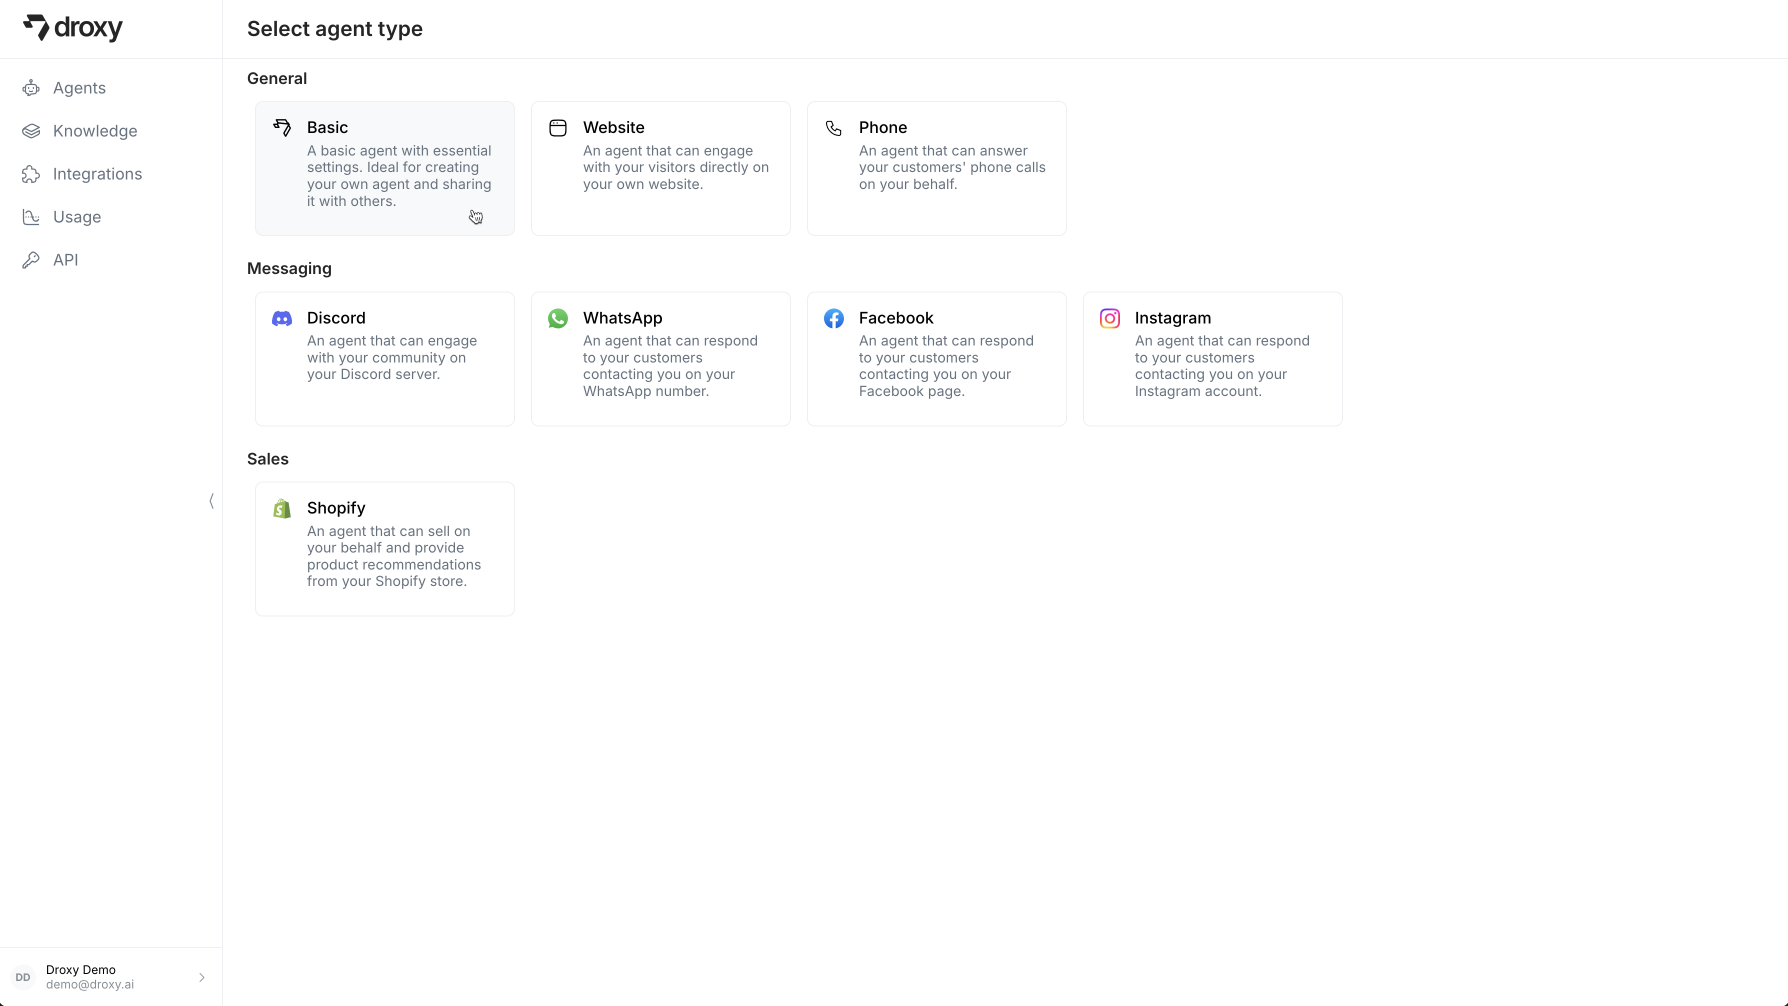
1. Knowledge Configuration
Before your agent can answer questions, you’ll need to ground it with knowledge. This will help it understand your specific information and answer questions more accurately.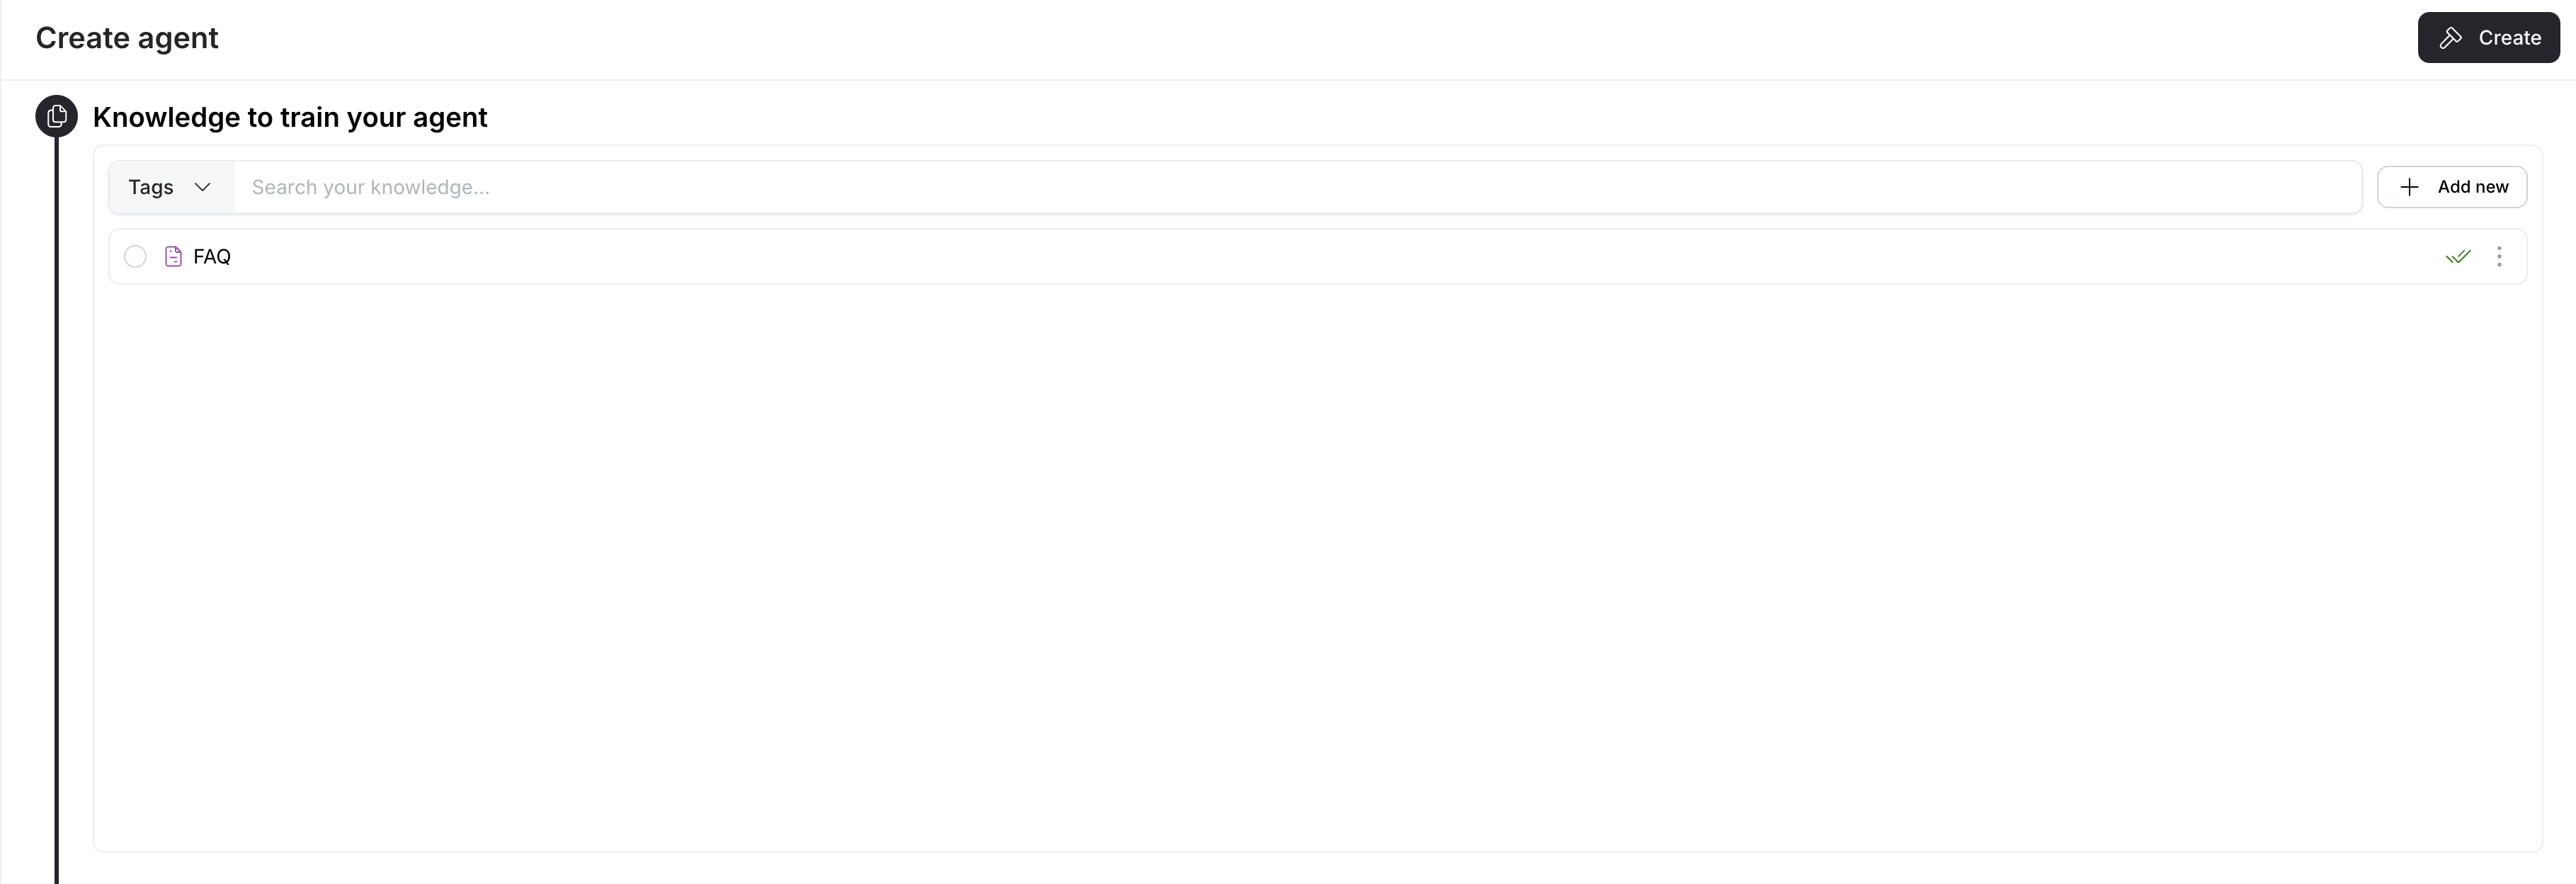
- Upload relevant documents (PDFs, text files, Google Drive documents, etc.)
- Add website URLs for the agent to learn from
- Link YouTube videos that contain relevant informations or tutorials
- Import custom knowledge bases or FAQs
2. Agent Configuration
Configure your agent’s behavior and capabilities:
- Behavior: Define the agent’s role, personality, and communication style. Be specific about how the agent should interact. Use the built-in prompt generator to create and refine your agent’s instructions.
- Model: Select the LLM powering your agent (e.g., GPT-4, GPT-4o mini). Each model consumes different amounts of tokens and has different capabilities.
- Knowledge Restrictions: Choose whether to restrict the agent’s responses to only your provided knowledge content. Make sure to specify to the agent what to answer if the knowledge base doesn’t contain an answer.
- Emoji Support: Enable or disable emoji in the agent’s responses.
3. Customization
Personalize your agent’s appearance to your liking: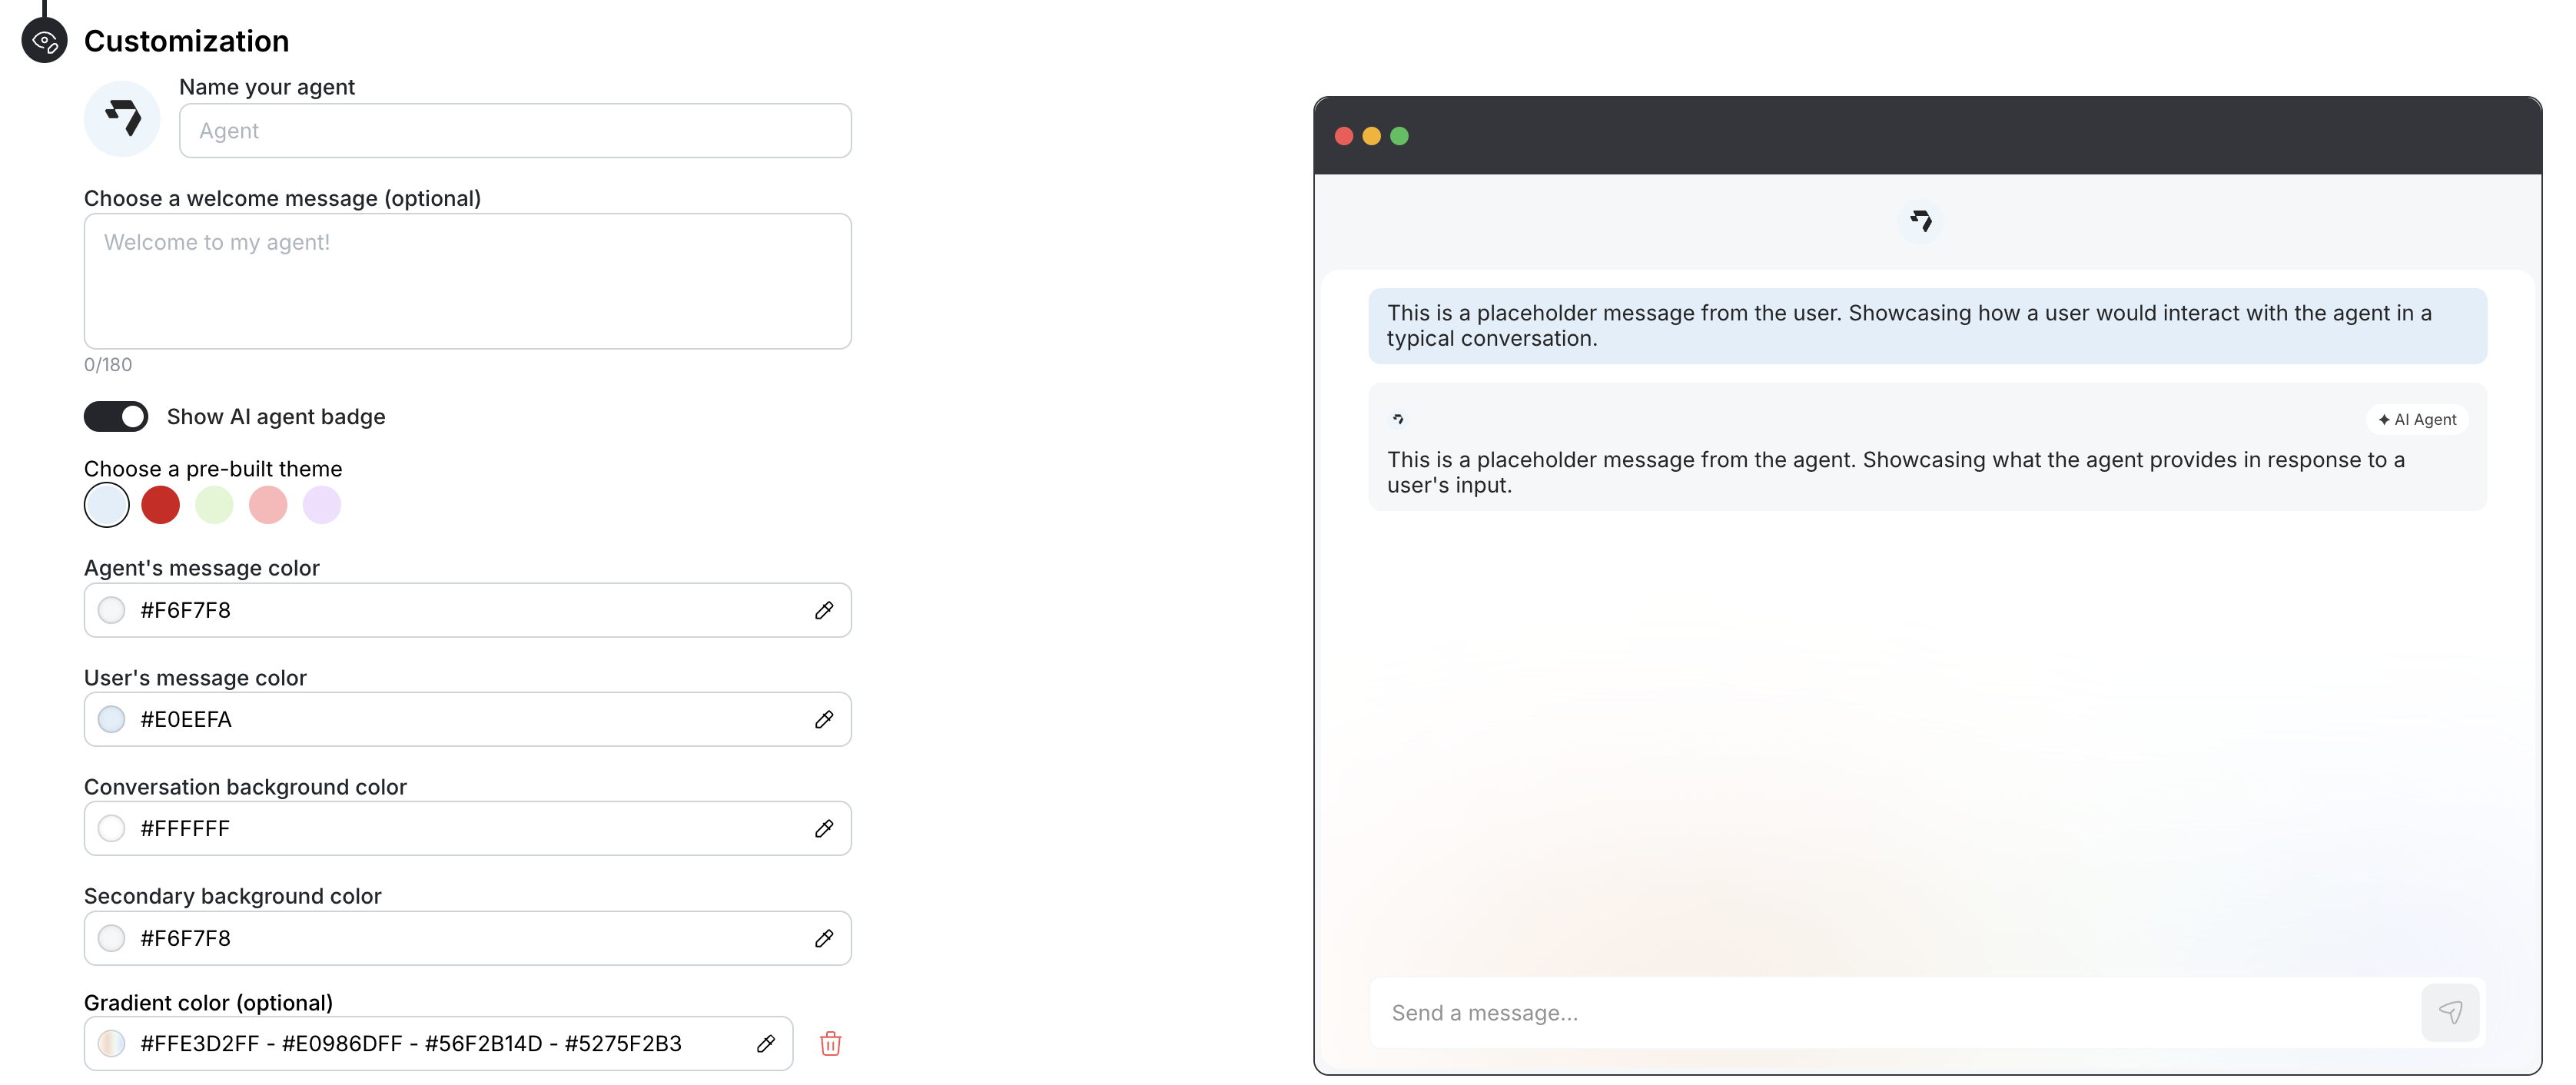
- Agent Name: Give your agent a name that reflects its role and purpose
- Welcome Message: Set an optional greeting message that appears in a chat bubble when visitors first use the agent
- Theme Selection: Choose from pre-built color themes or create your own custom theme
- Appearance: Fully customize the look and feel of your agent including colors, backgrounds, and styling to match your brand identity
Share Your Agent
Now that your agent is created and configured, you can share it with others via a link. To share your agent: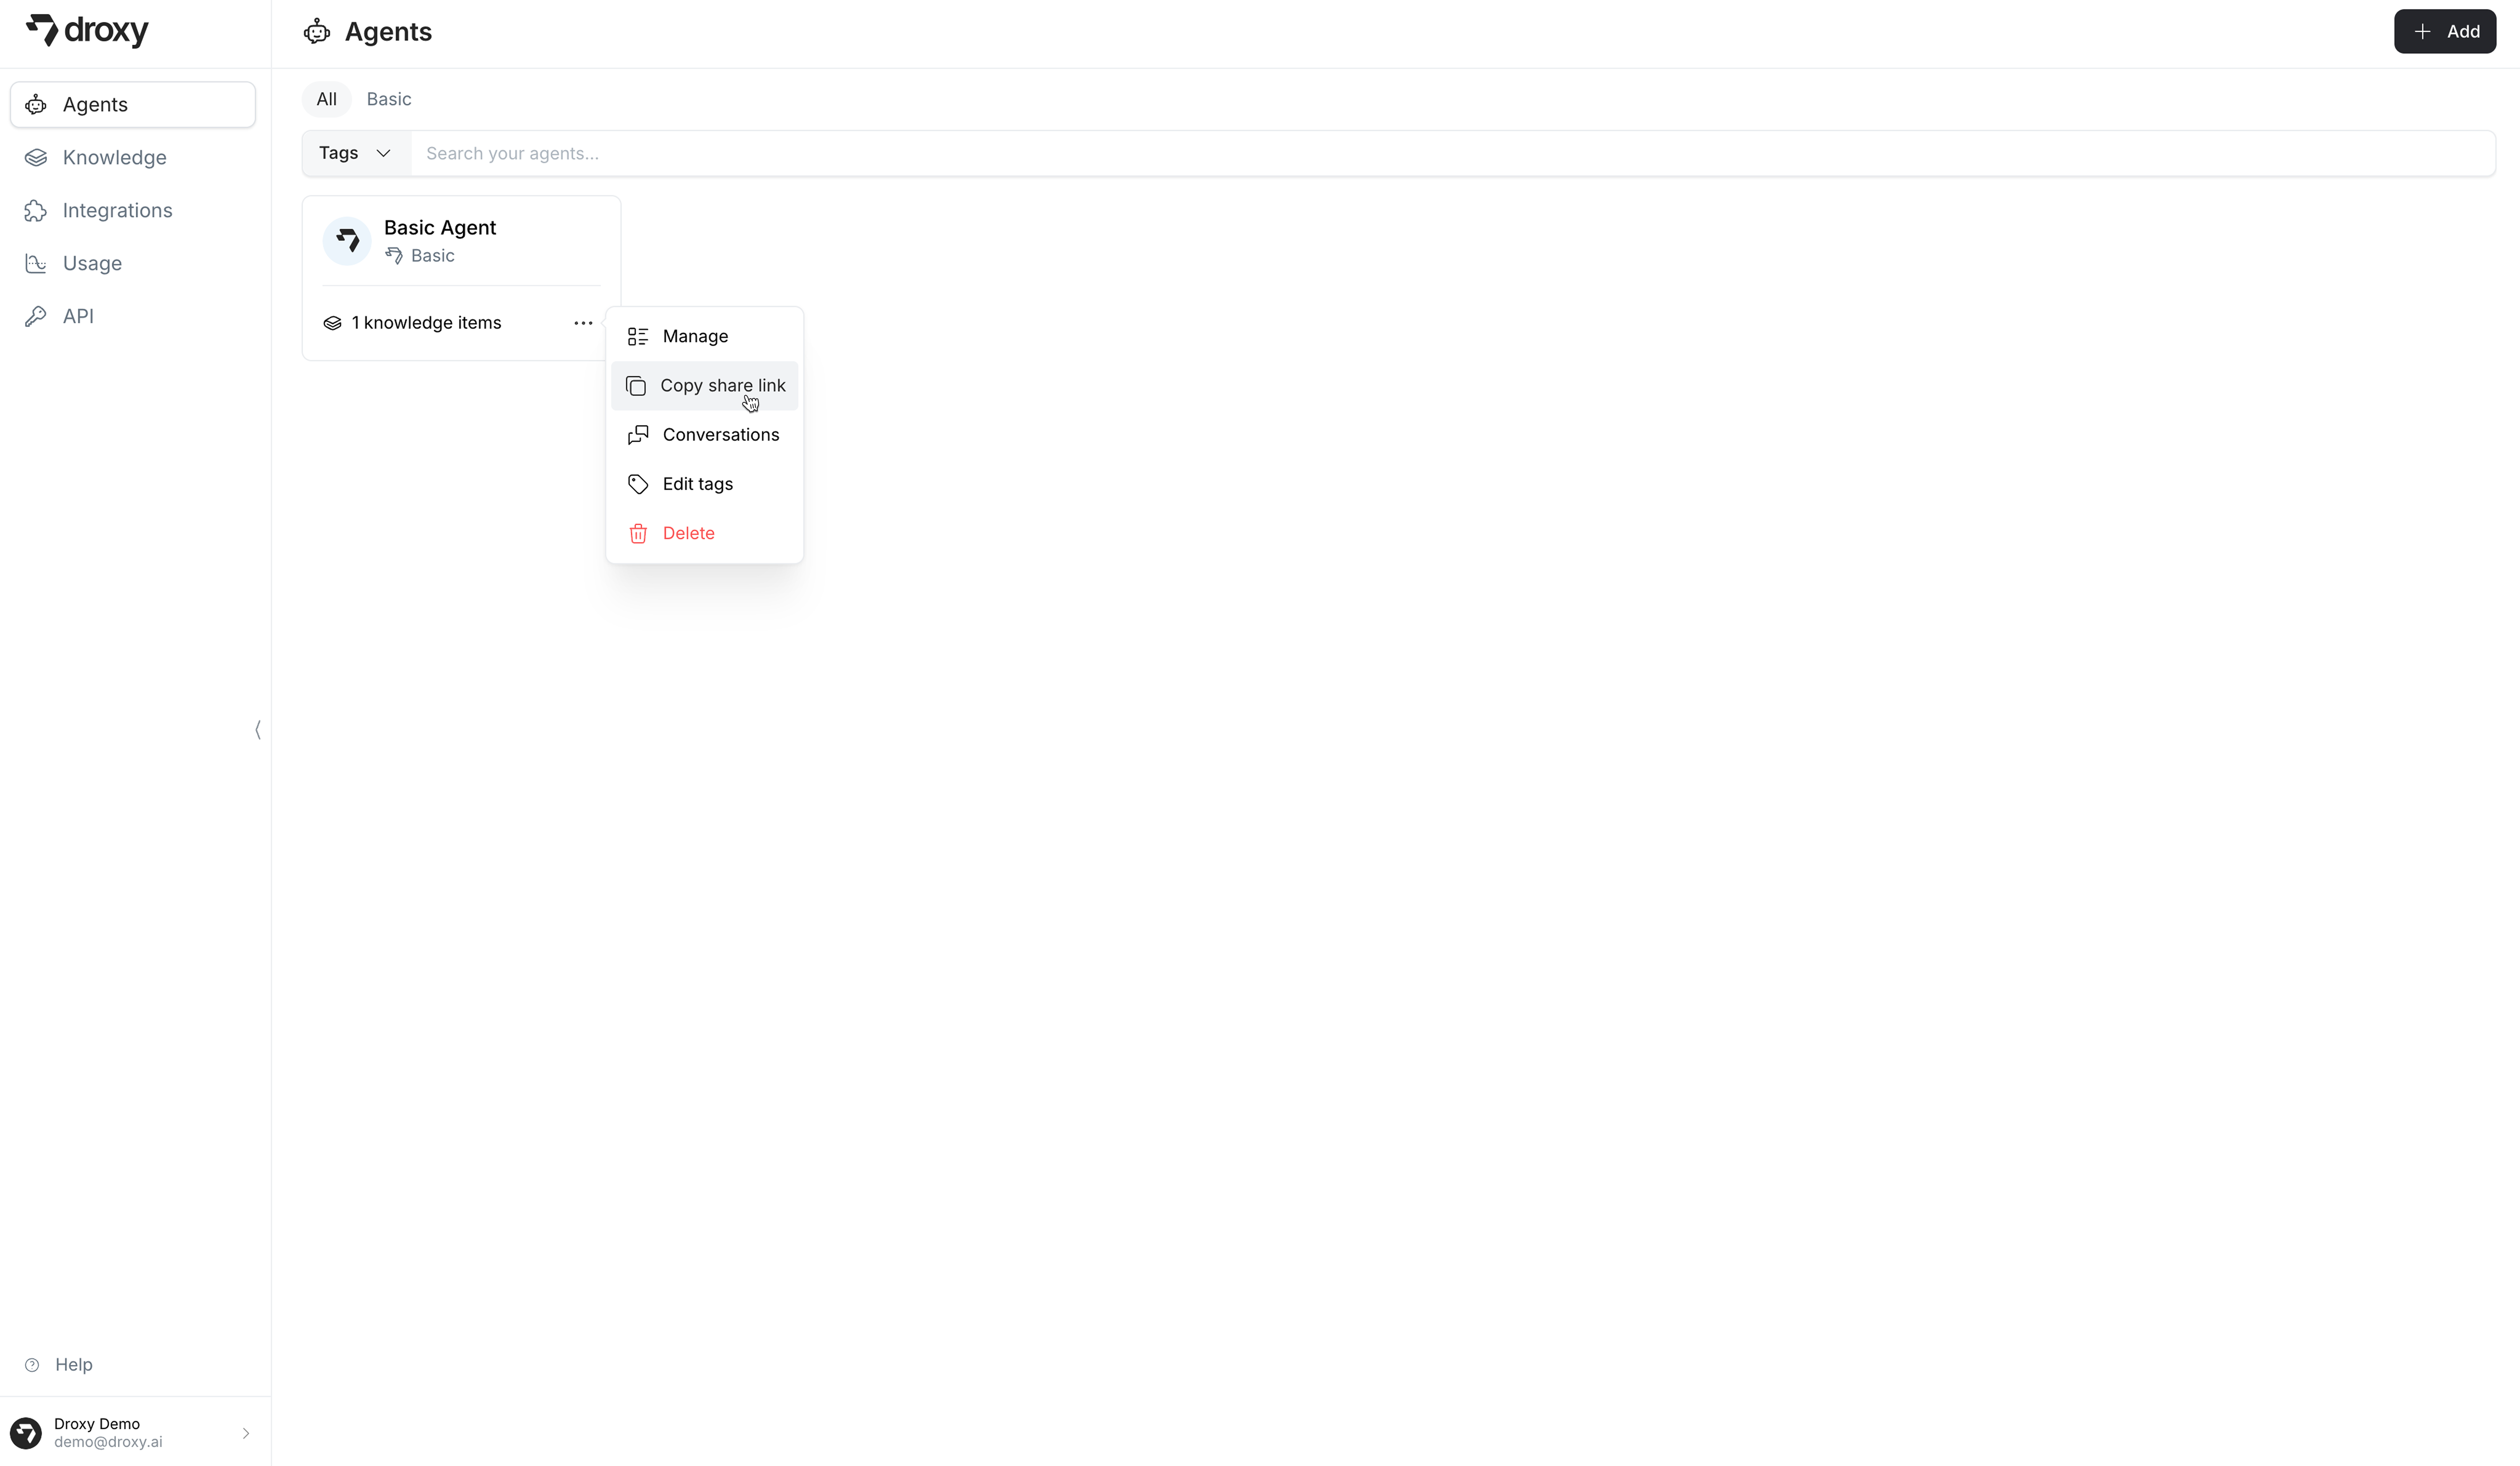
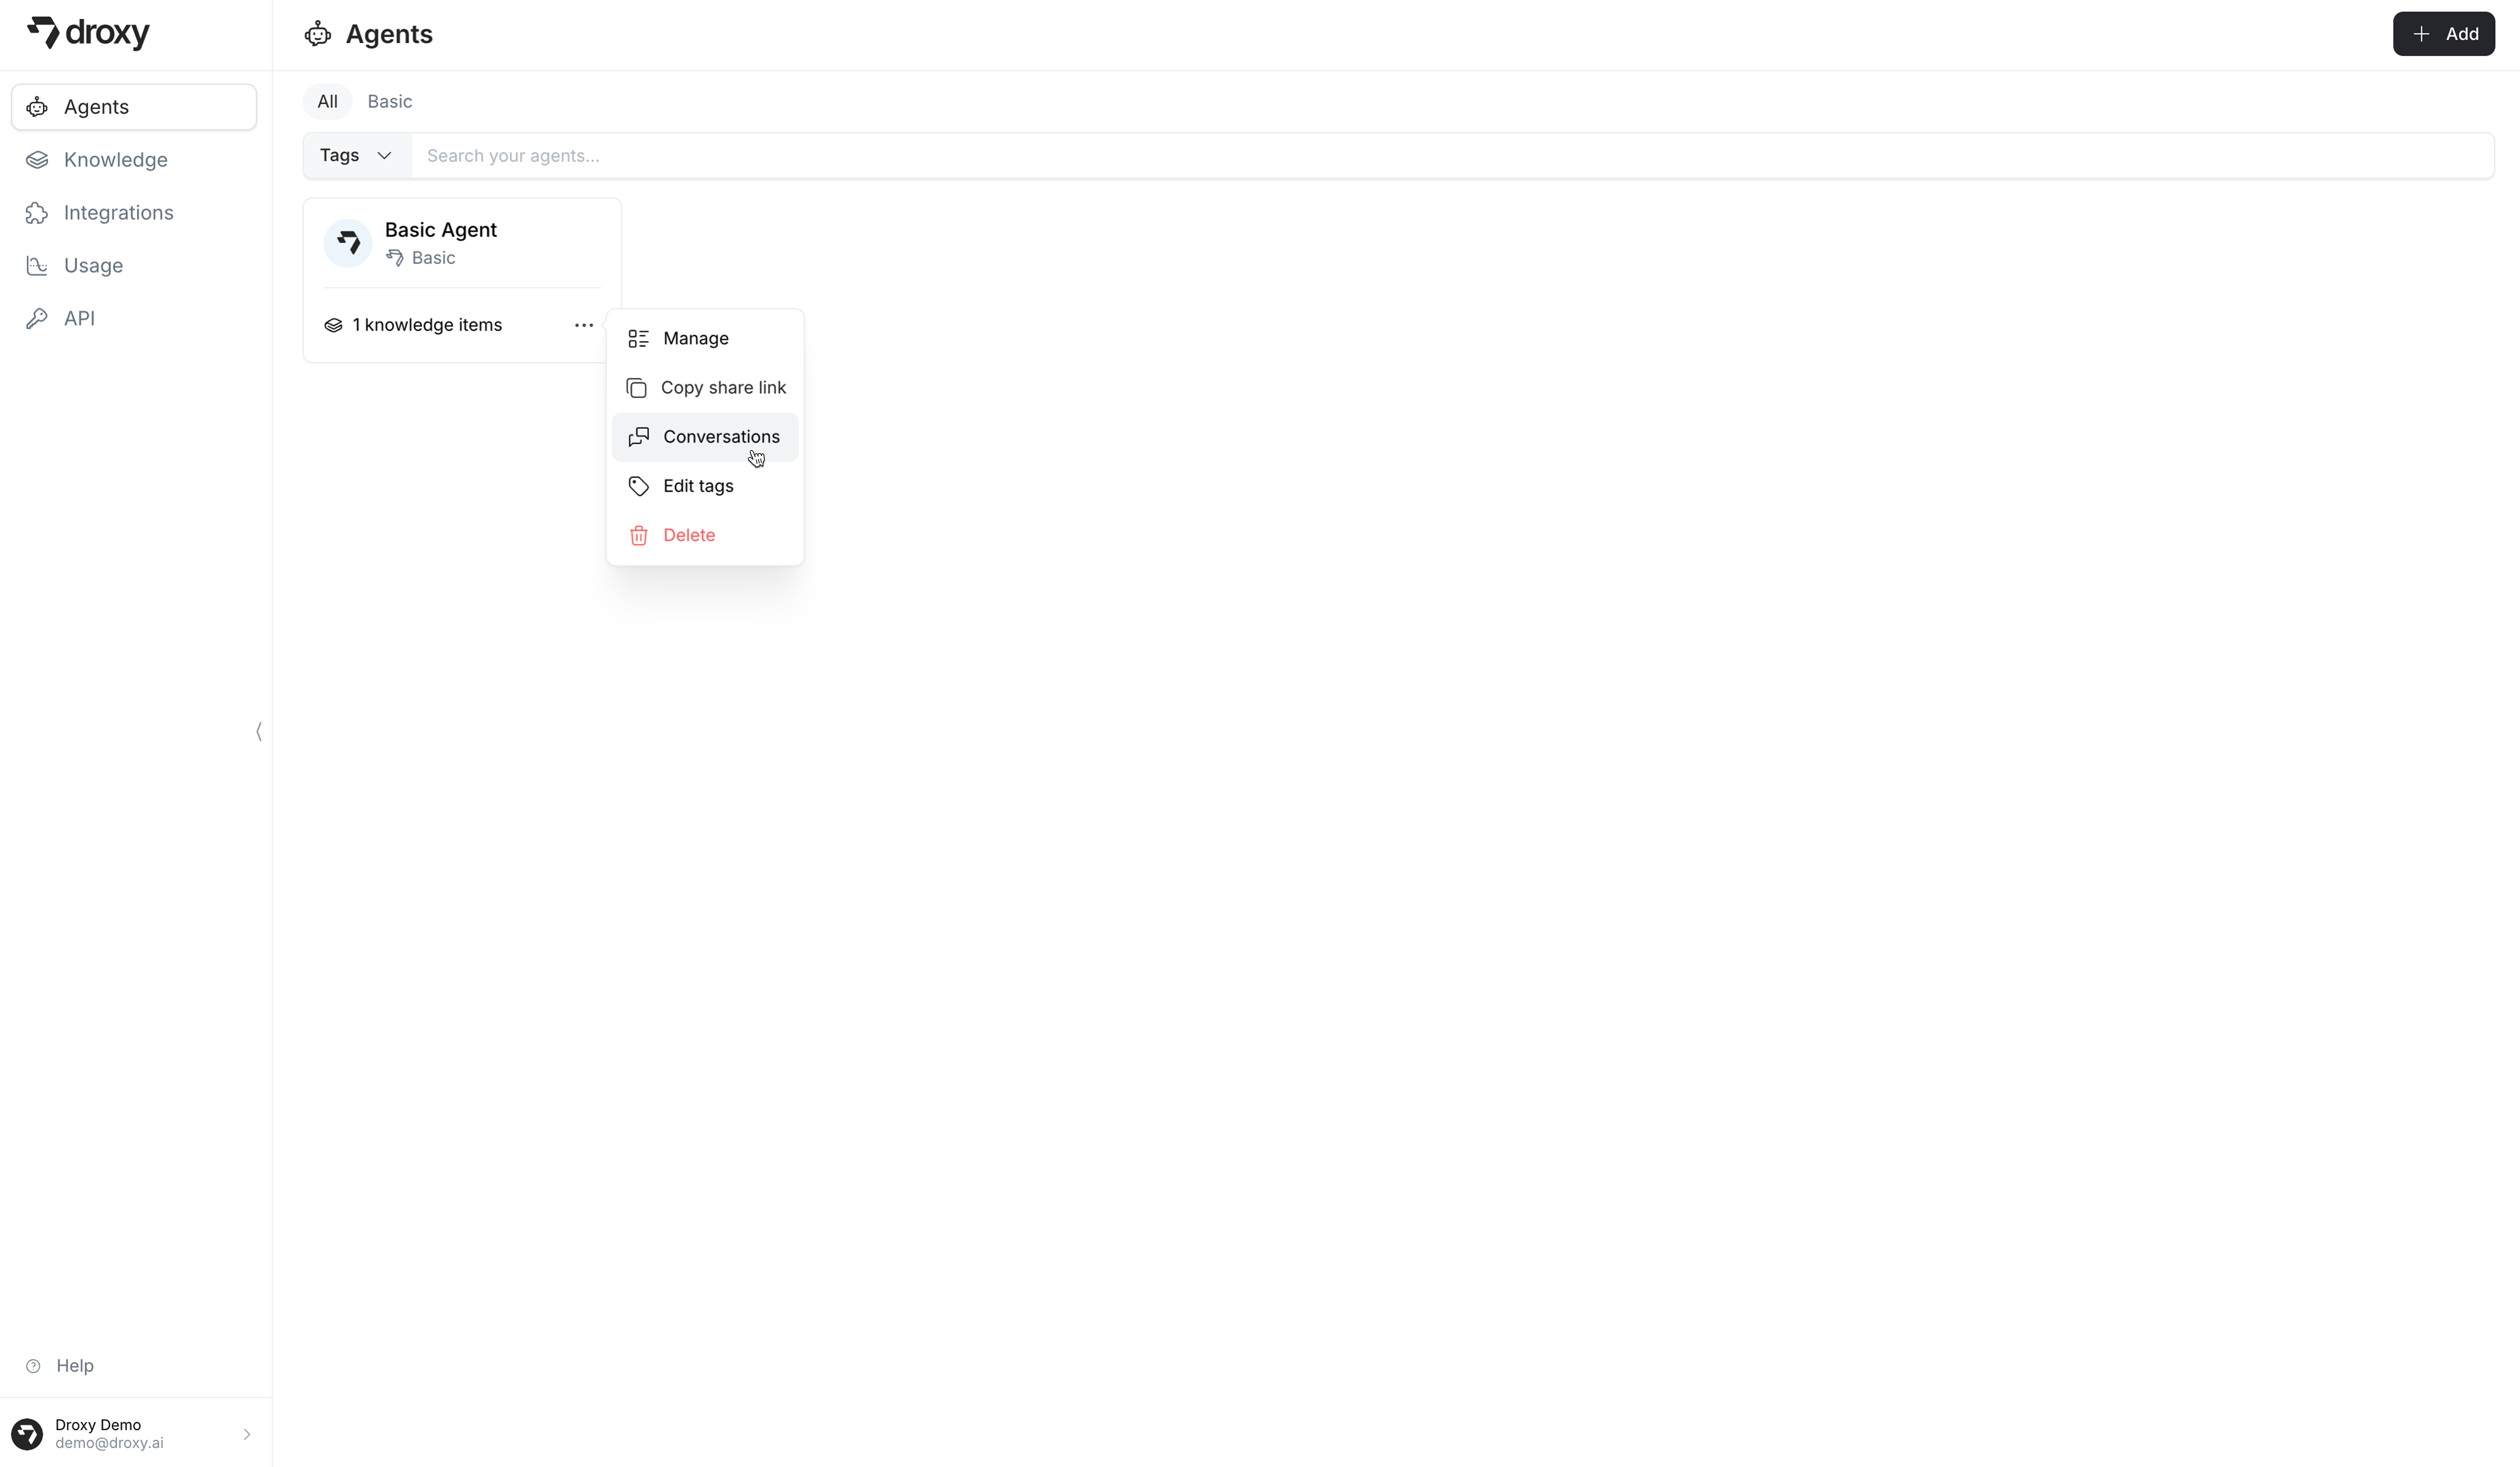
- Click the
...menu on your agent’s card - Select Copy share link
- Send the link to others to allow them to use your agent.
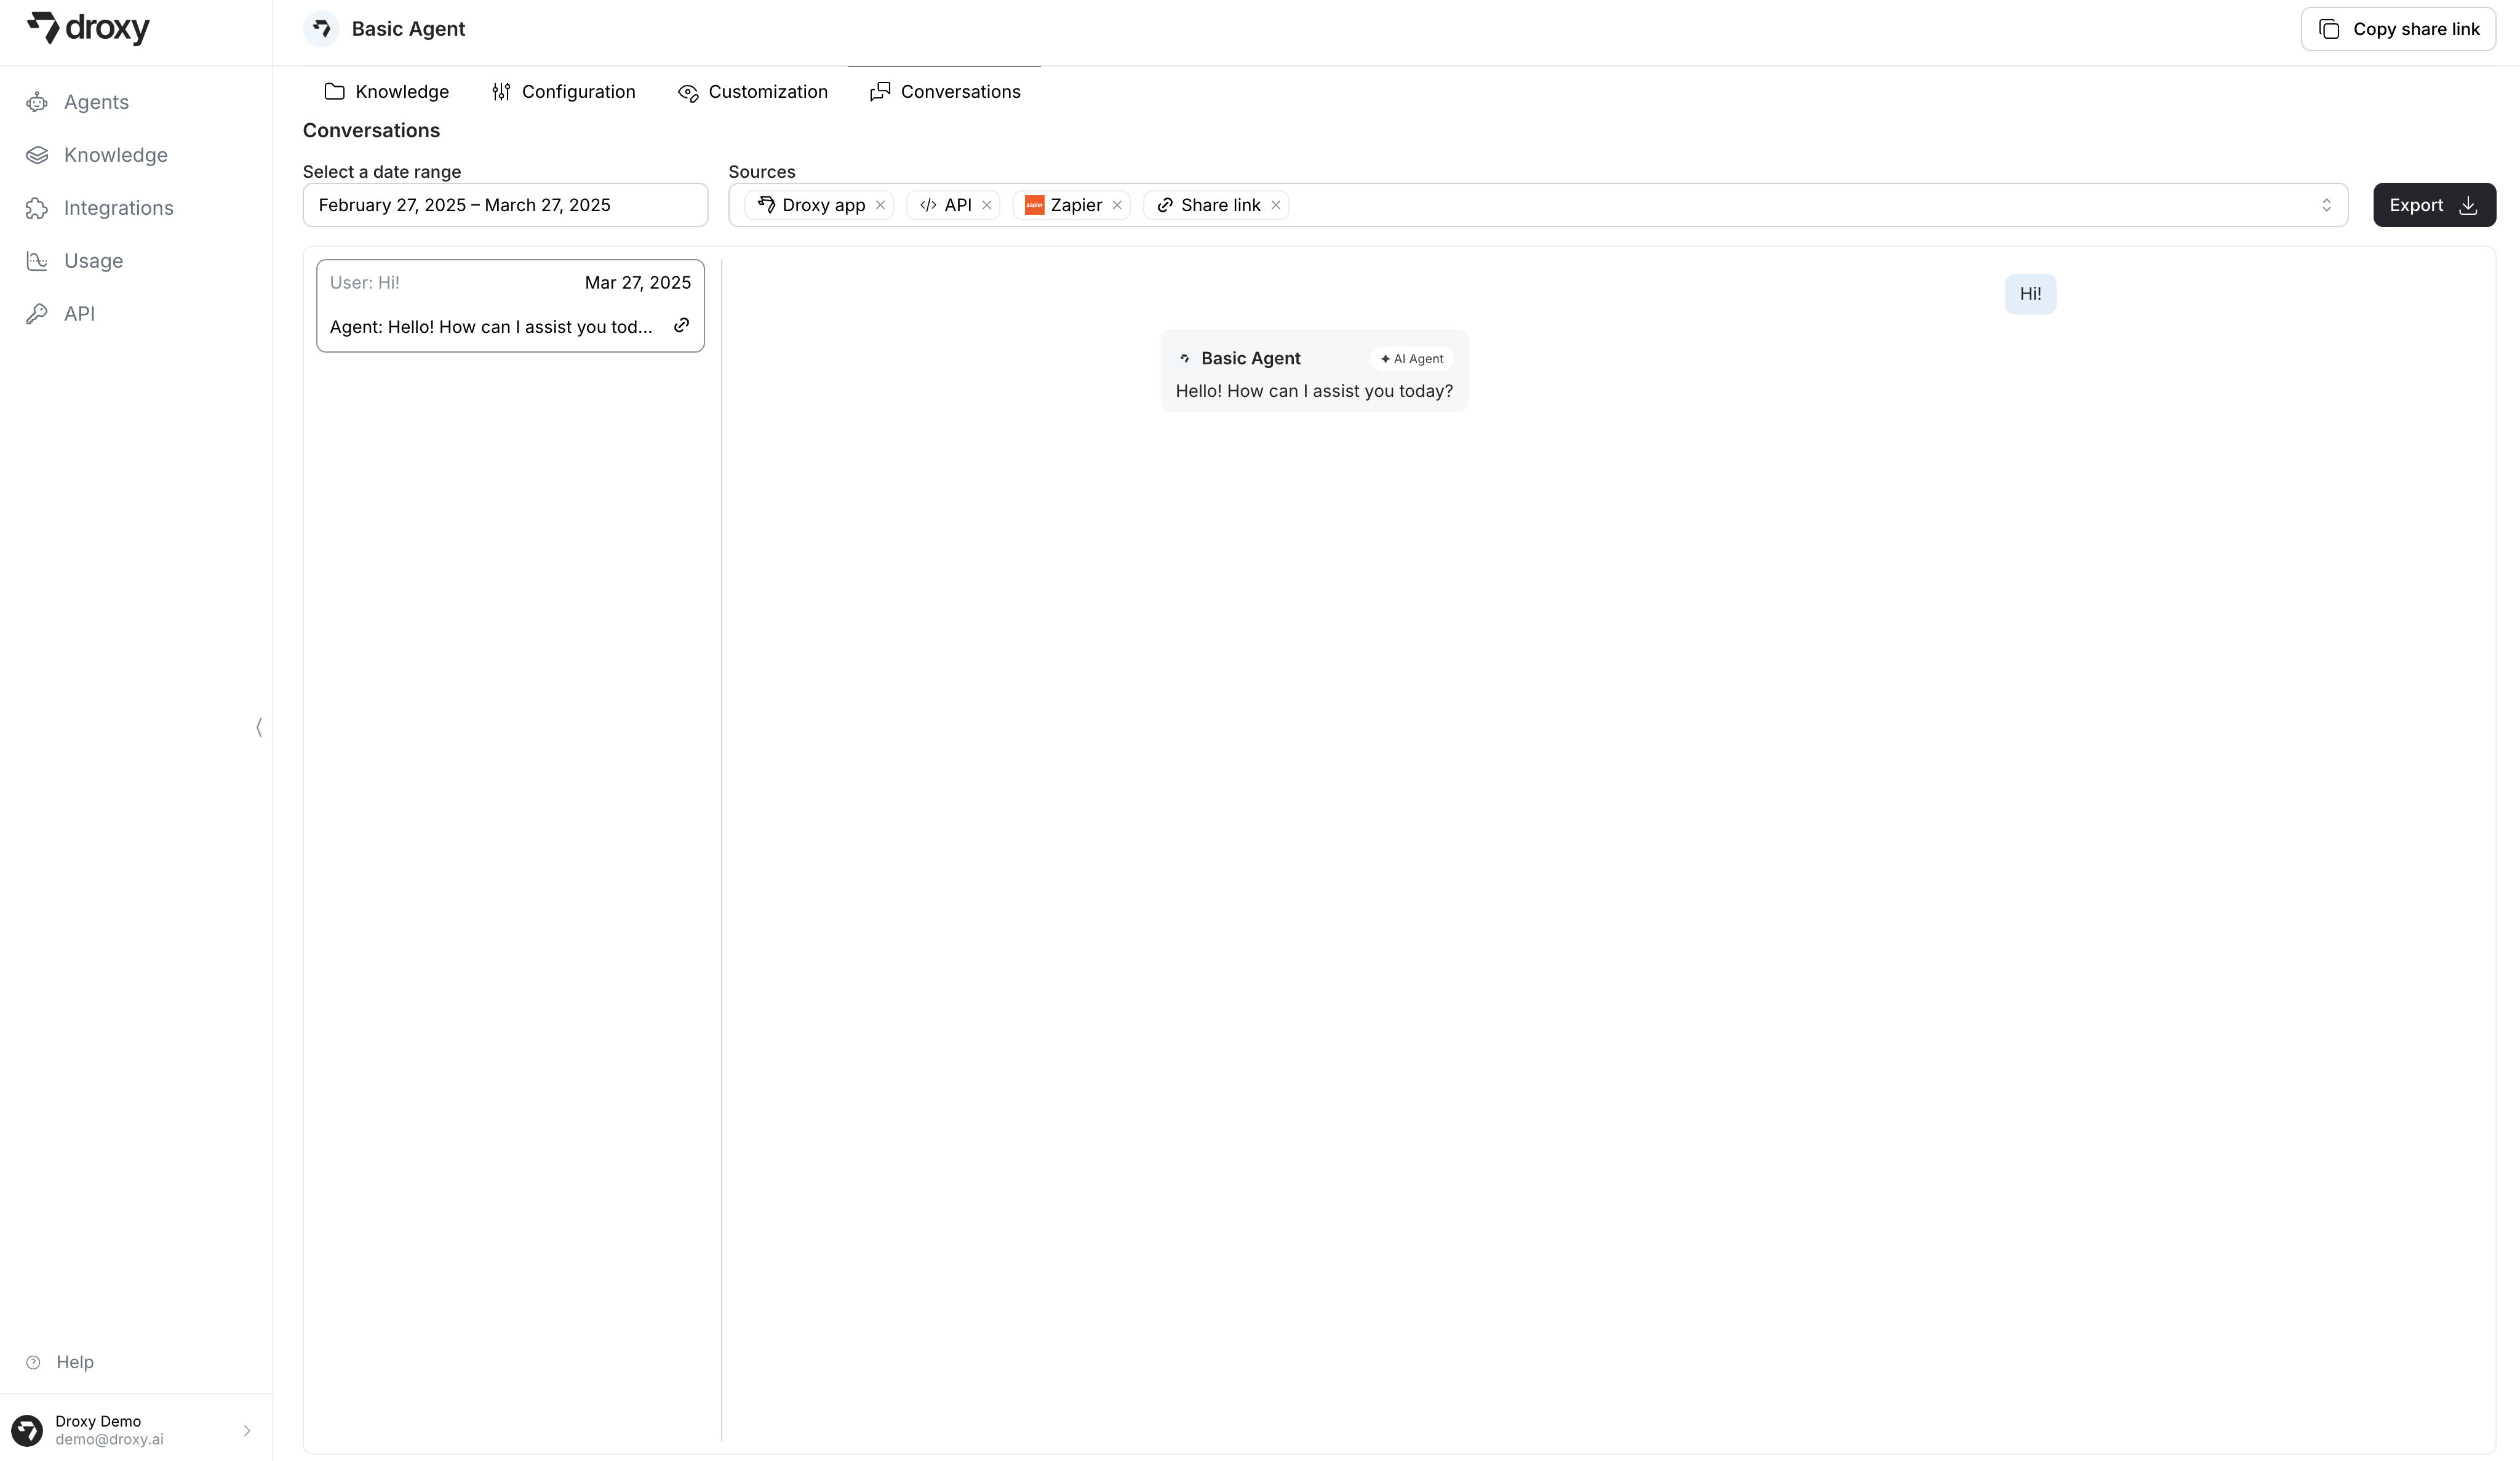
View Conversation History
To view the conversation history of your agent:- Click the
...menu on your agent’s card - Select Conversations
