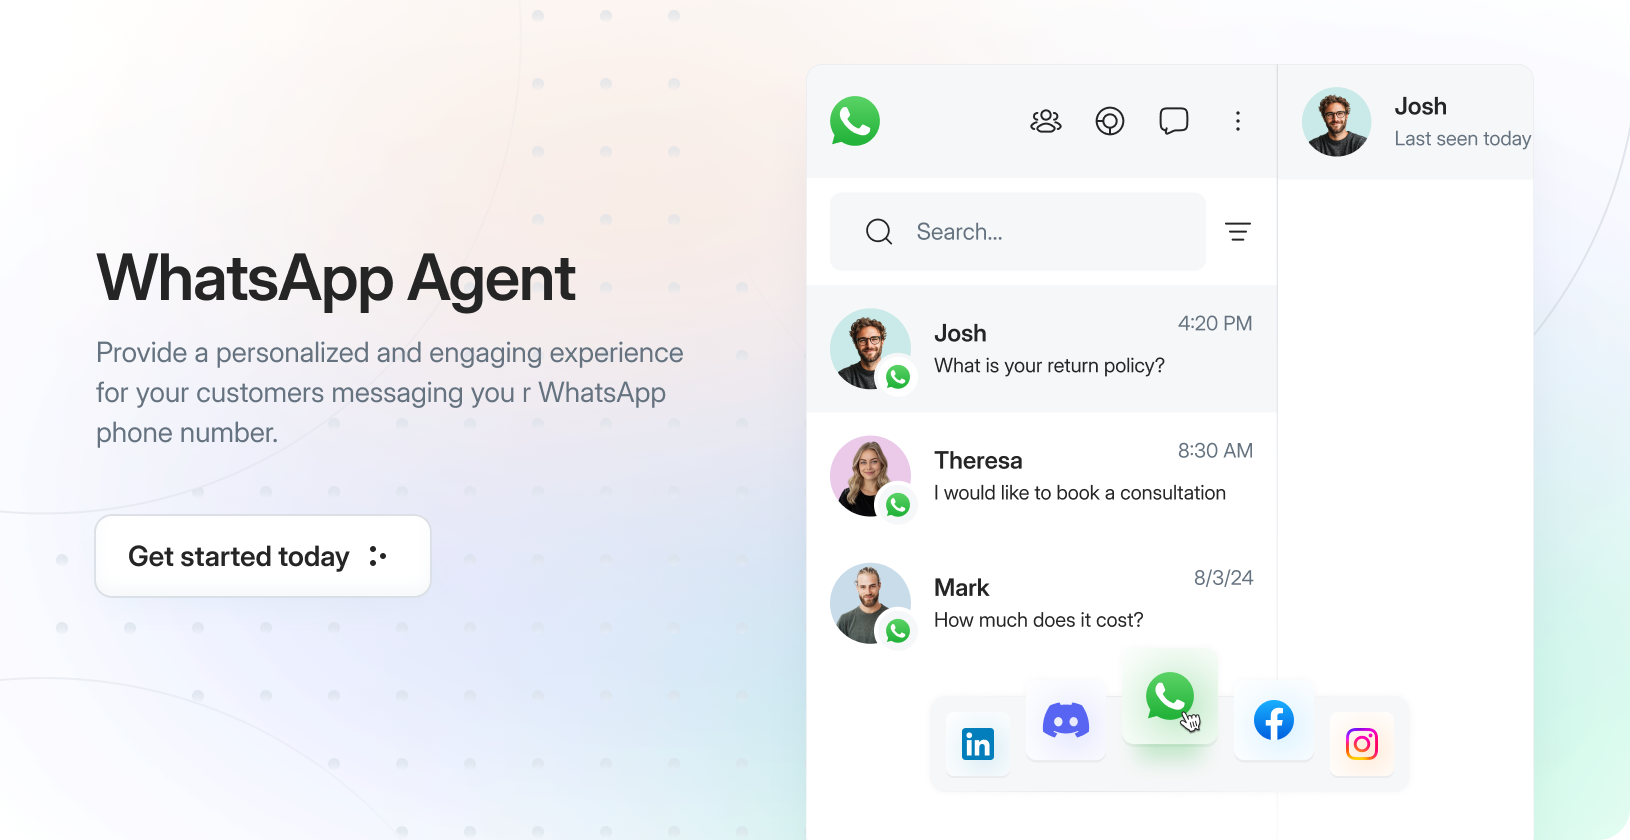
What is a WhatsApp Messaging Agent?
It is an LLM-based agent that you can connect to your WhatsApp business account to provide instant support and answers to your customers. The agent:- Learns from your company’s knowledge sources including website content, PDFs, YouTube videos, and other documents
- Provides real-time responses to customer queries based on your specific business information
- Integrates seamlessly with your WhatsApp Business Account
- Answers in your brand’s voice in a natural and conversational manner through WhatsApp chats
- Handles multiple customer conversations simultaneously
- Available 24/7 to respond to customer inquiries via WhatsApp
Connect A WhatsApp Business Account
In the Droxy dashboard, go to the Integrations section and click on the WhatsApp card.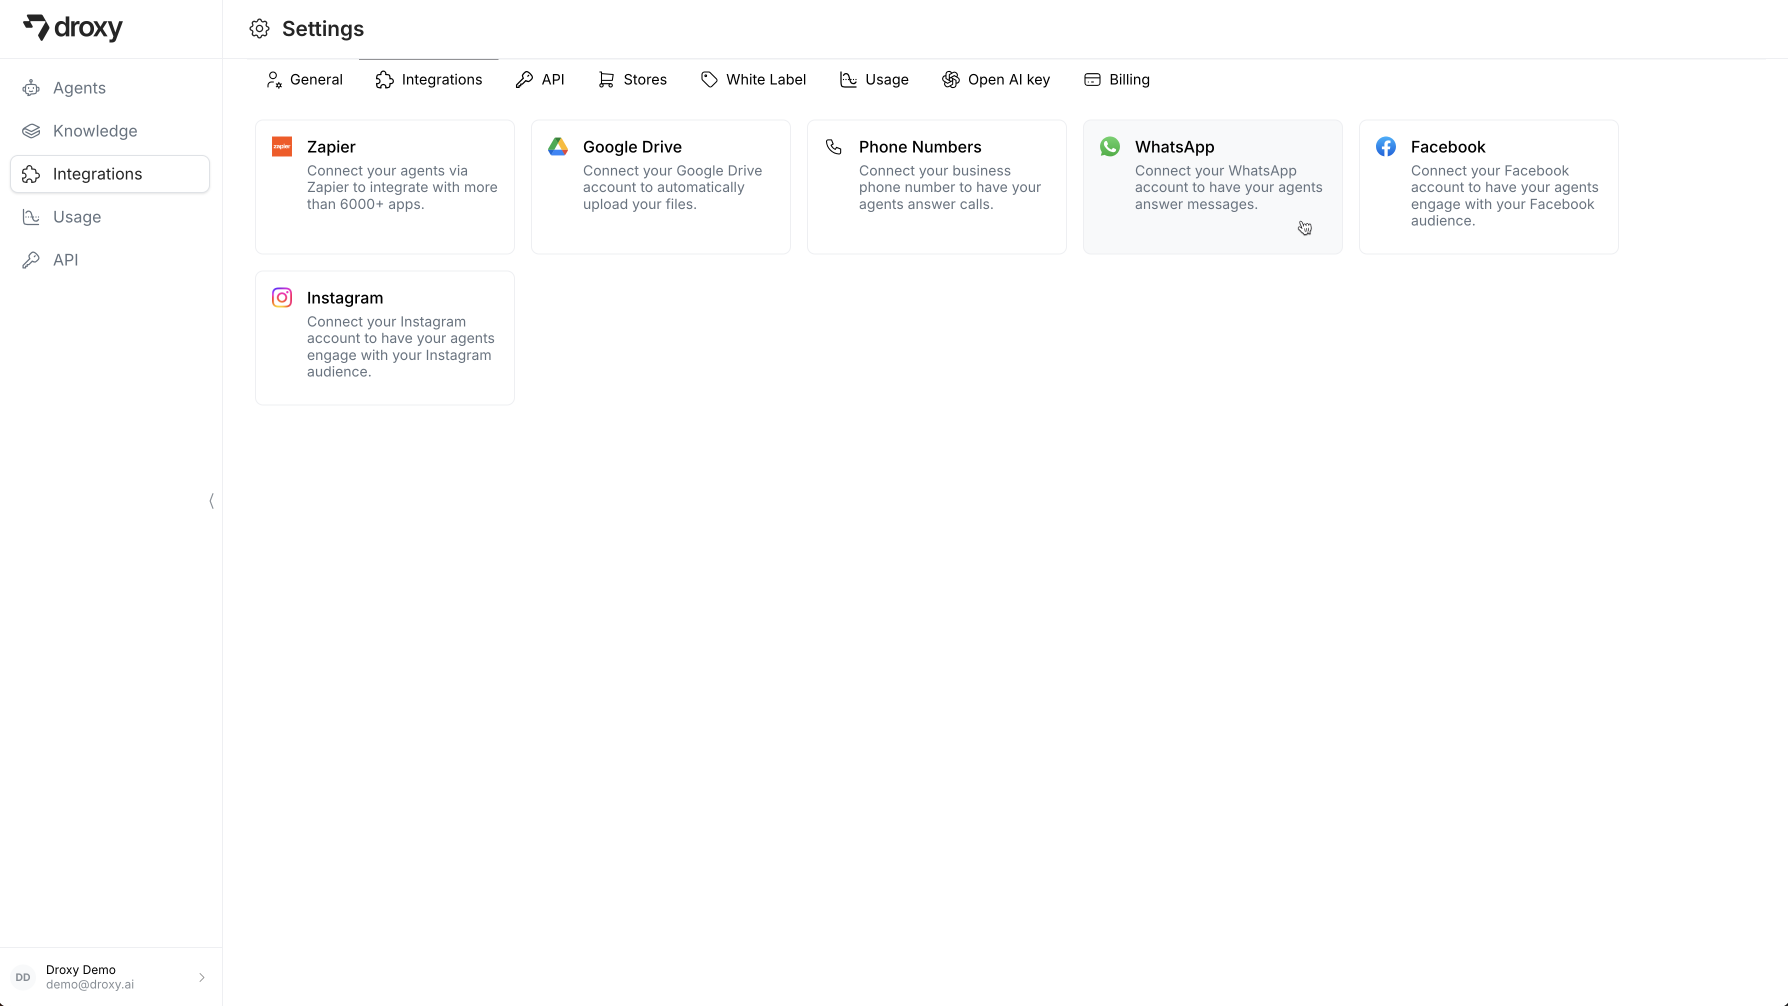
1. Start the connection process
Click on the Connect button to connect a WhatsApp Business Account.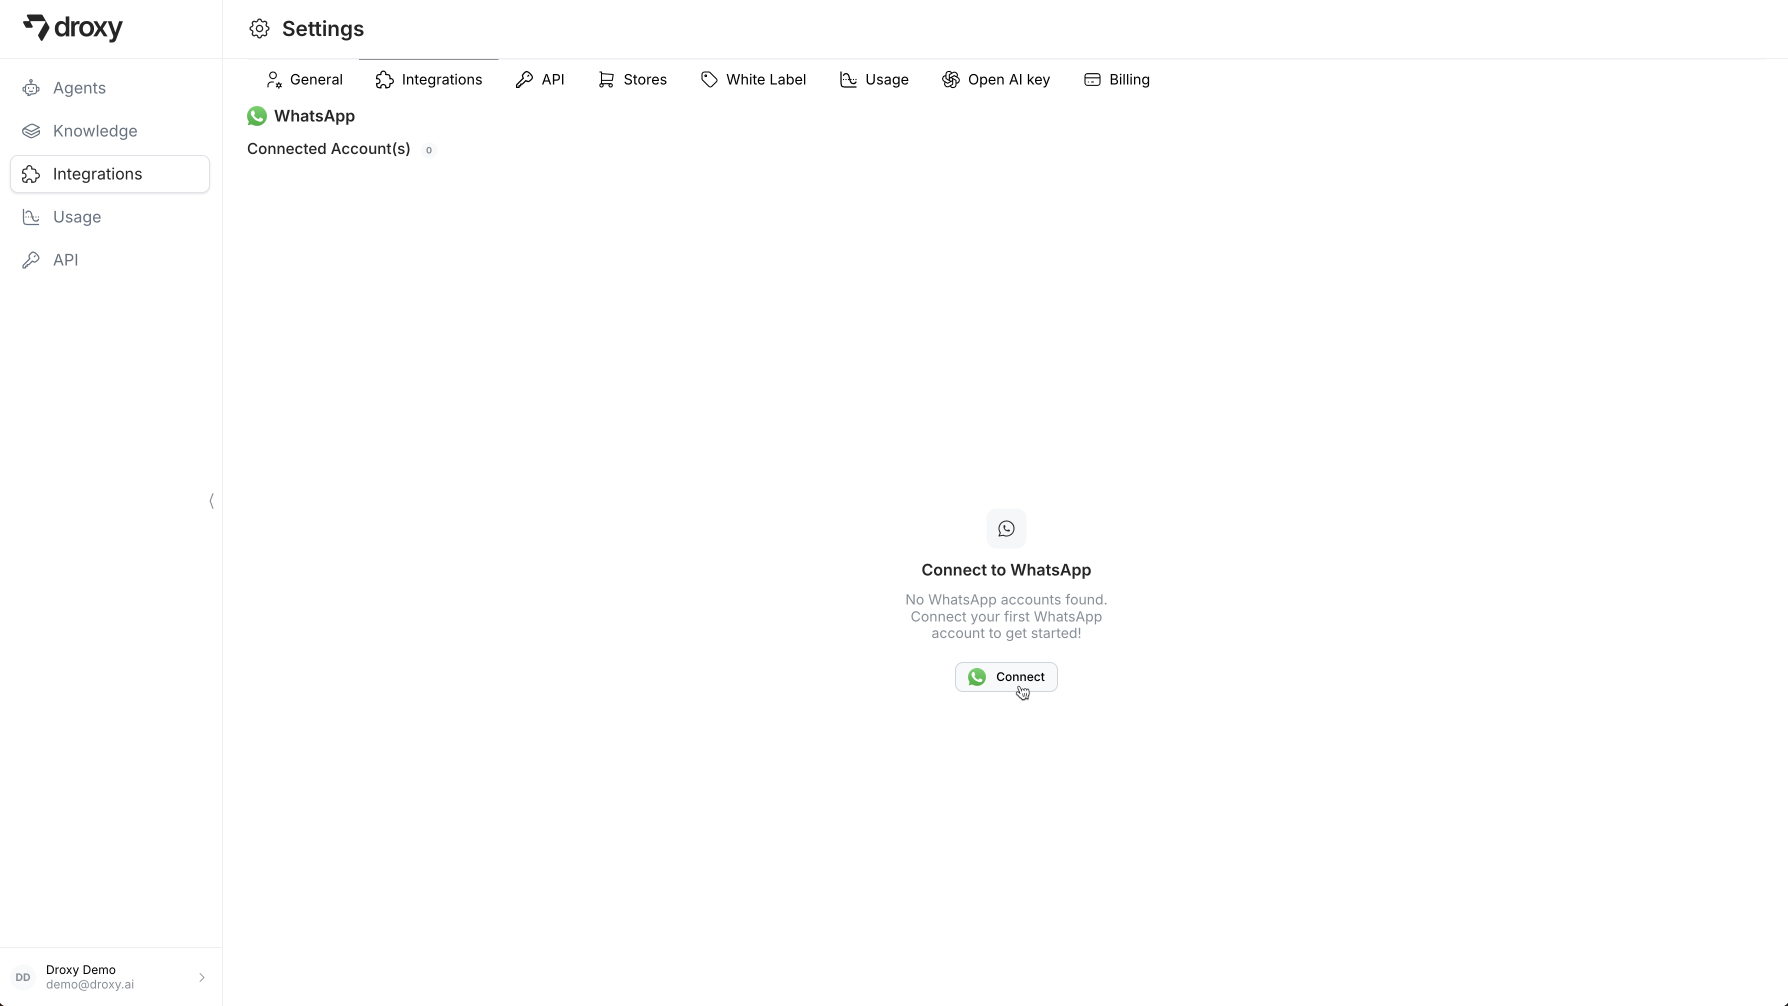
The WhatsApp phone number integrated with the agent can only be used by the agent. It cannot be used on WhatsApp or WhatsApp Business. If you are already using this phone number with WhatsApp, you must delete your account first to free up the number.Steps to delete WhatsApp account:
- Open the WhatsApp or WhatsApp Business app.
- Navigate to Settings > Account > Delete my account.
- Confirm the deletion by entering the phone number.
- Select ‘Delete my account’. After a few minutes, your number will be available again.
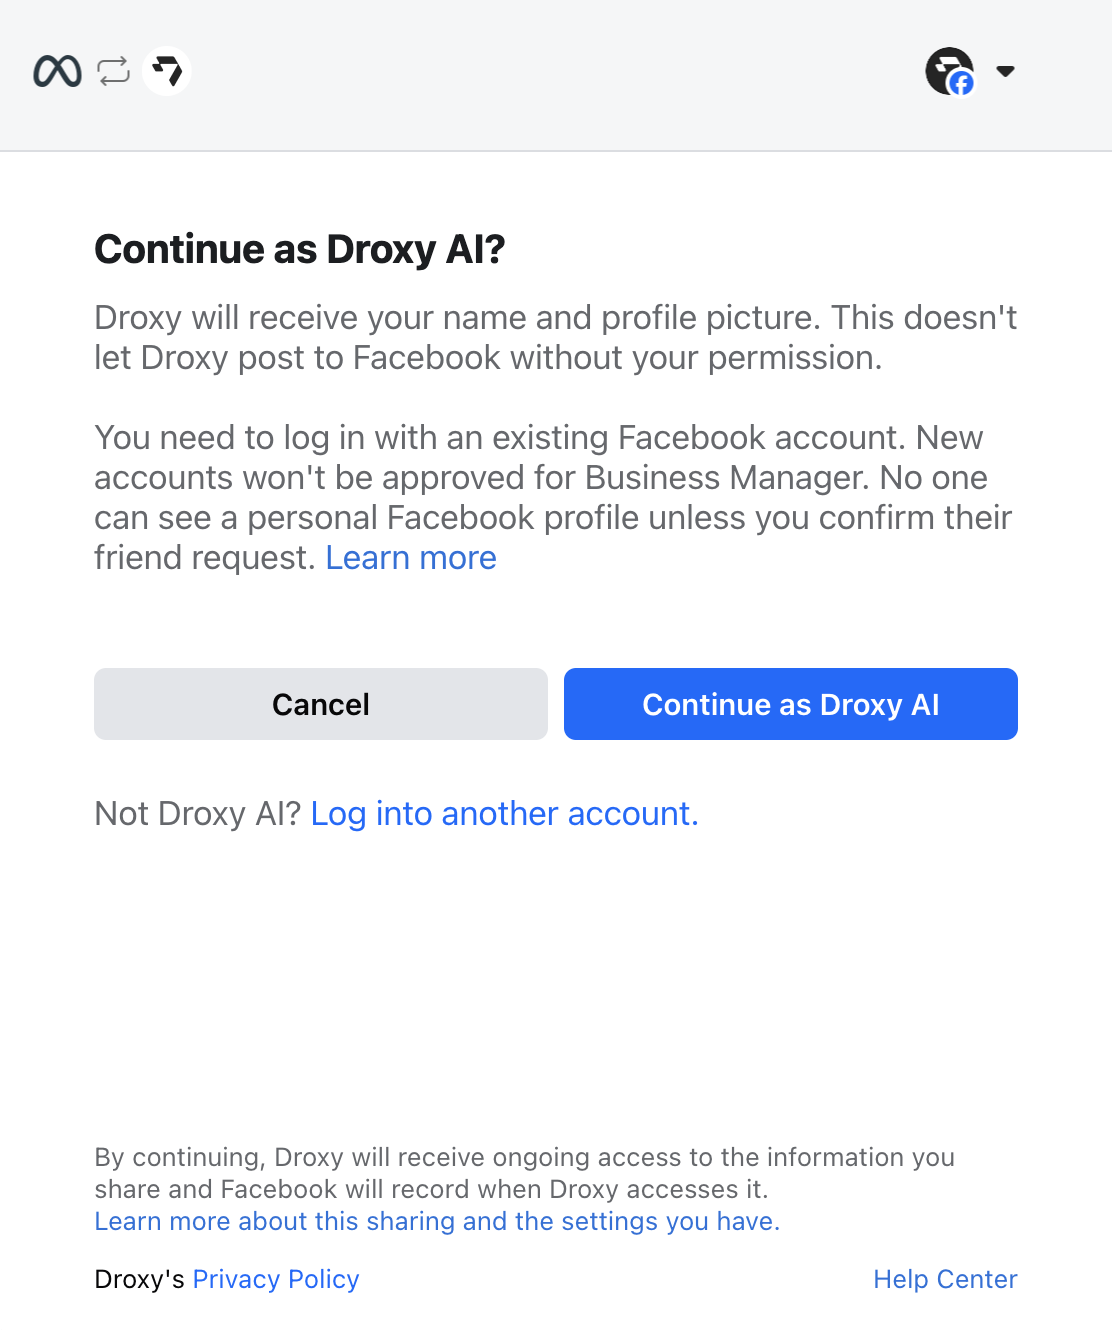
2. Login with your Facebook account
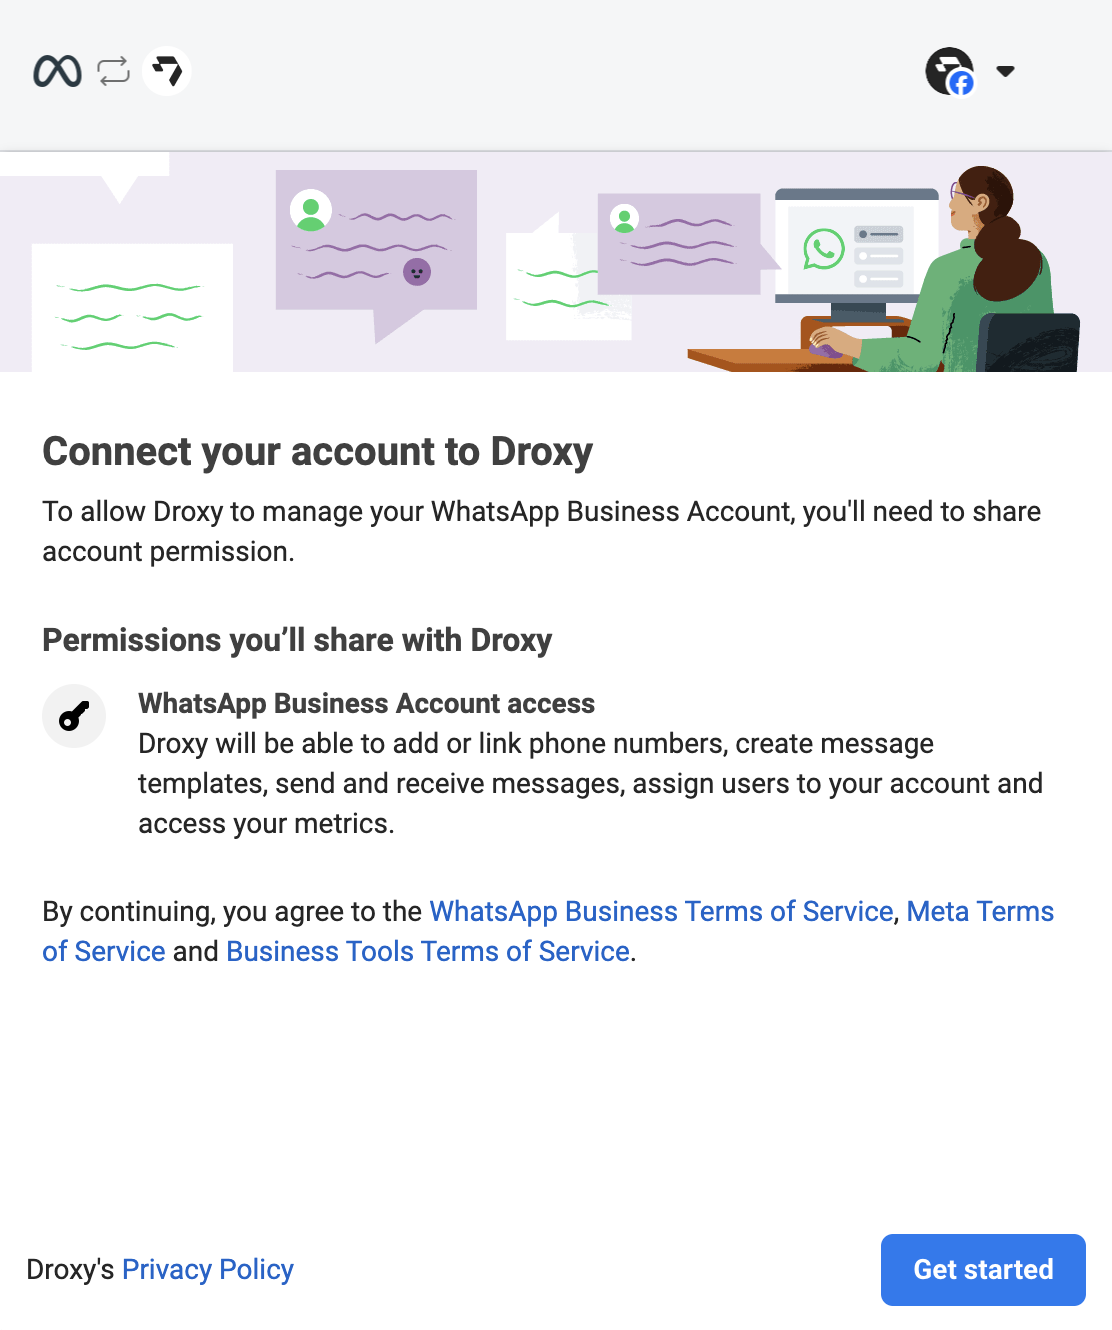
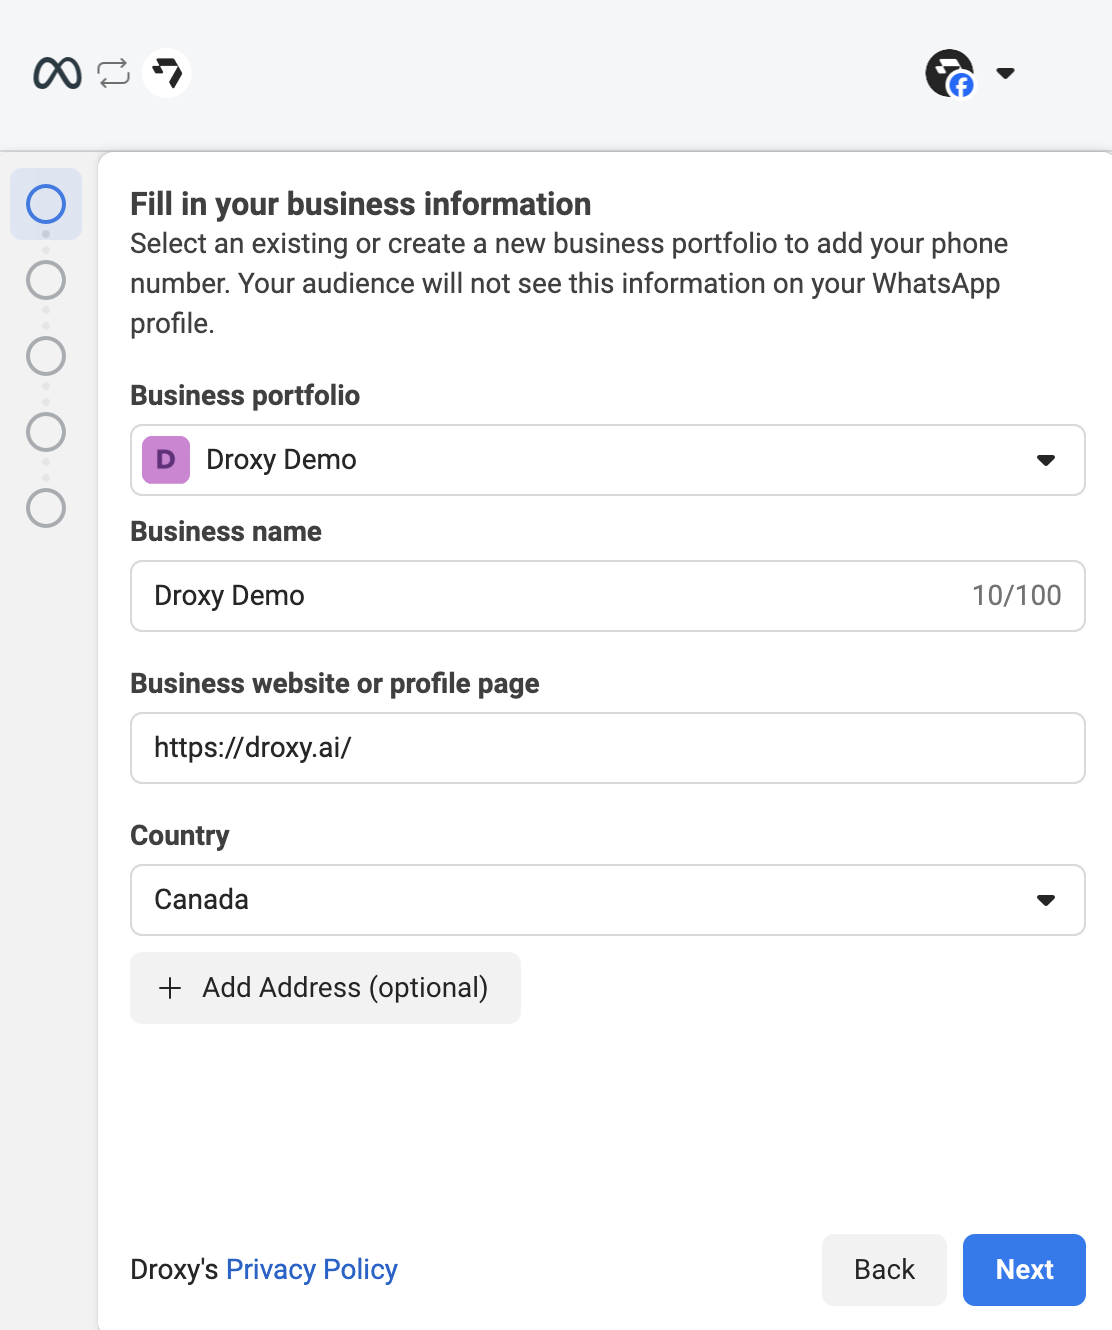
3. Choose or create a business profile
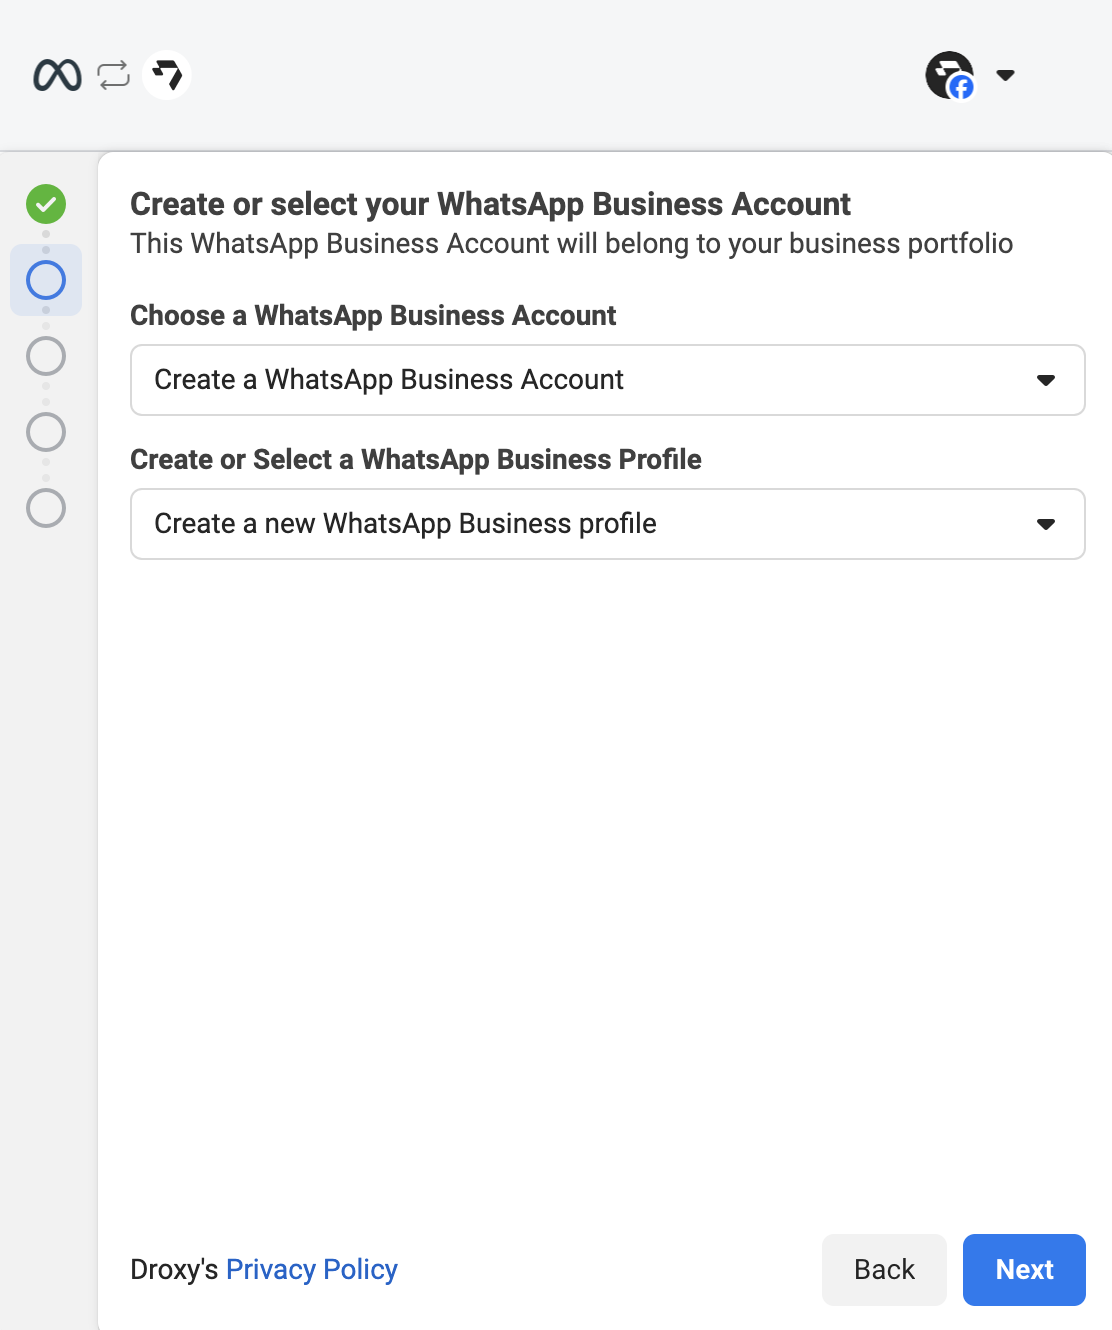
4. Choose or create a WhatsApp Business Account
5. WhatsApp Business Profile (Optional)
If you chose to create a new business account, fill in the required information for your WhatsApp Business Profile.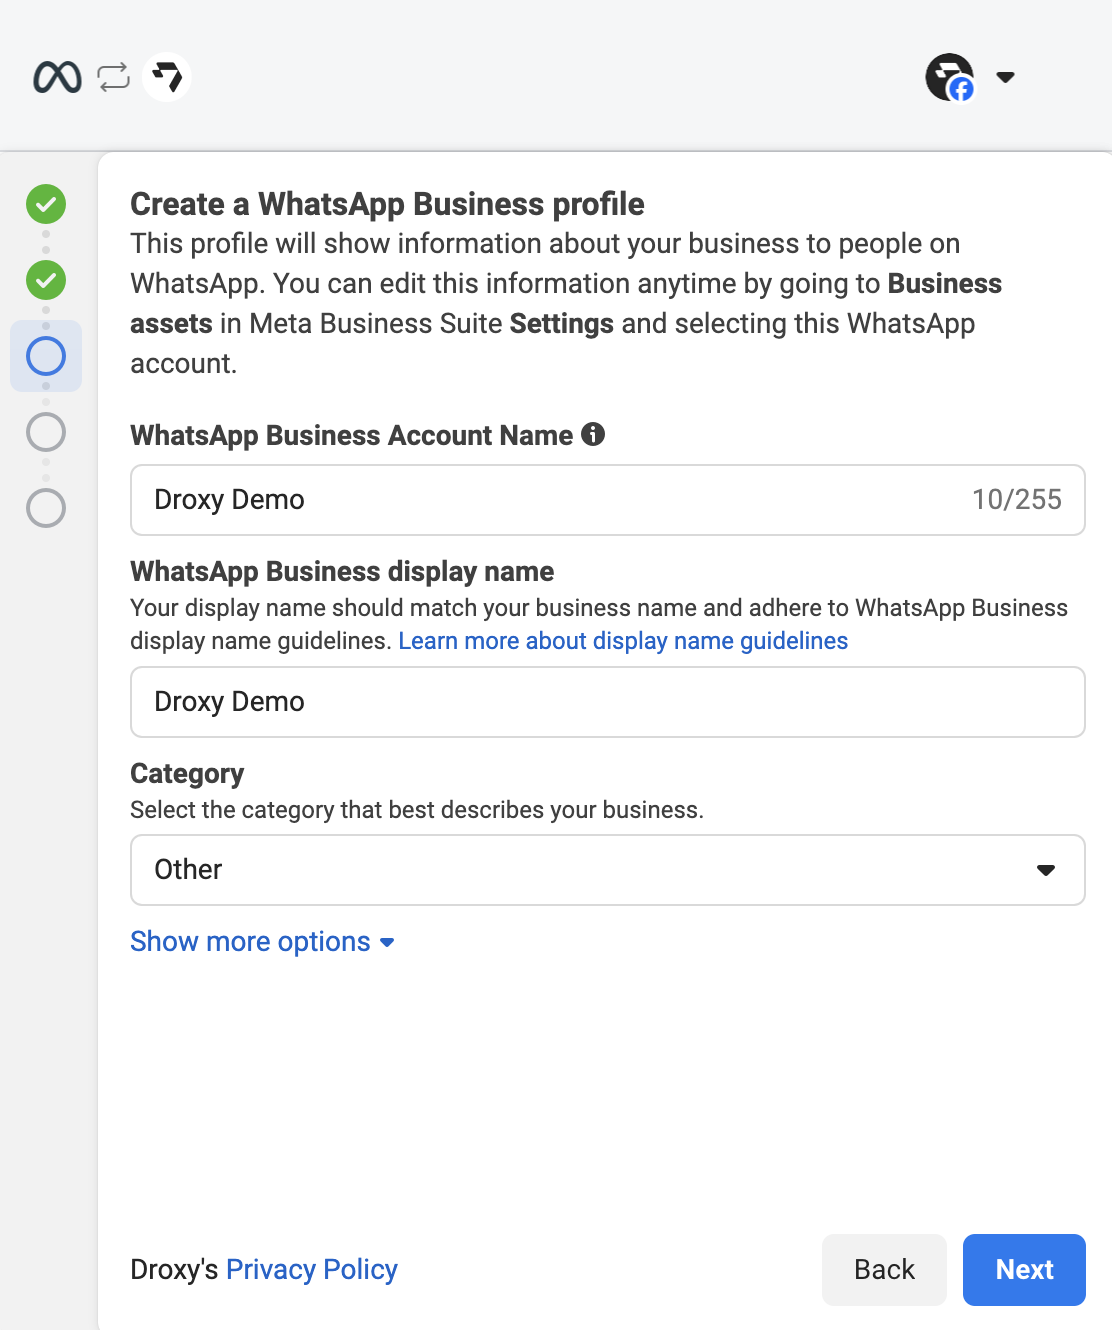
6. WhatsApp Business Phone Number (Optional)
If you do not have a phone number in your WhatsApp Business Account, add a phone number and verify it.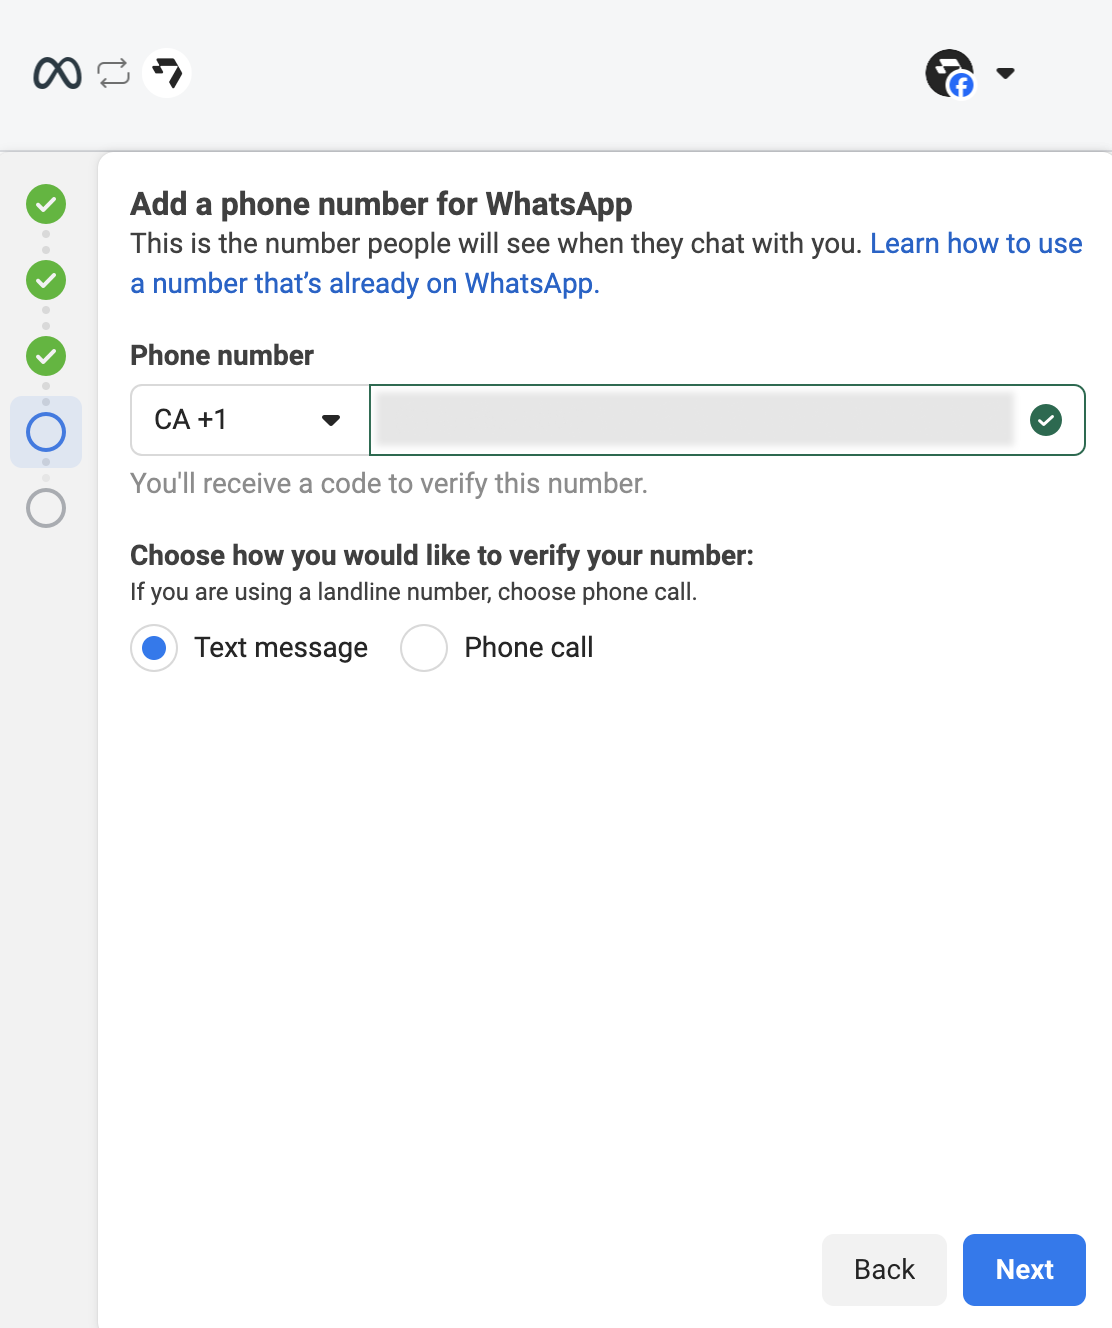
7. Confirm the connection
Click on Continue to allow Droxy to access your WhatsApp Business Account.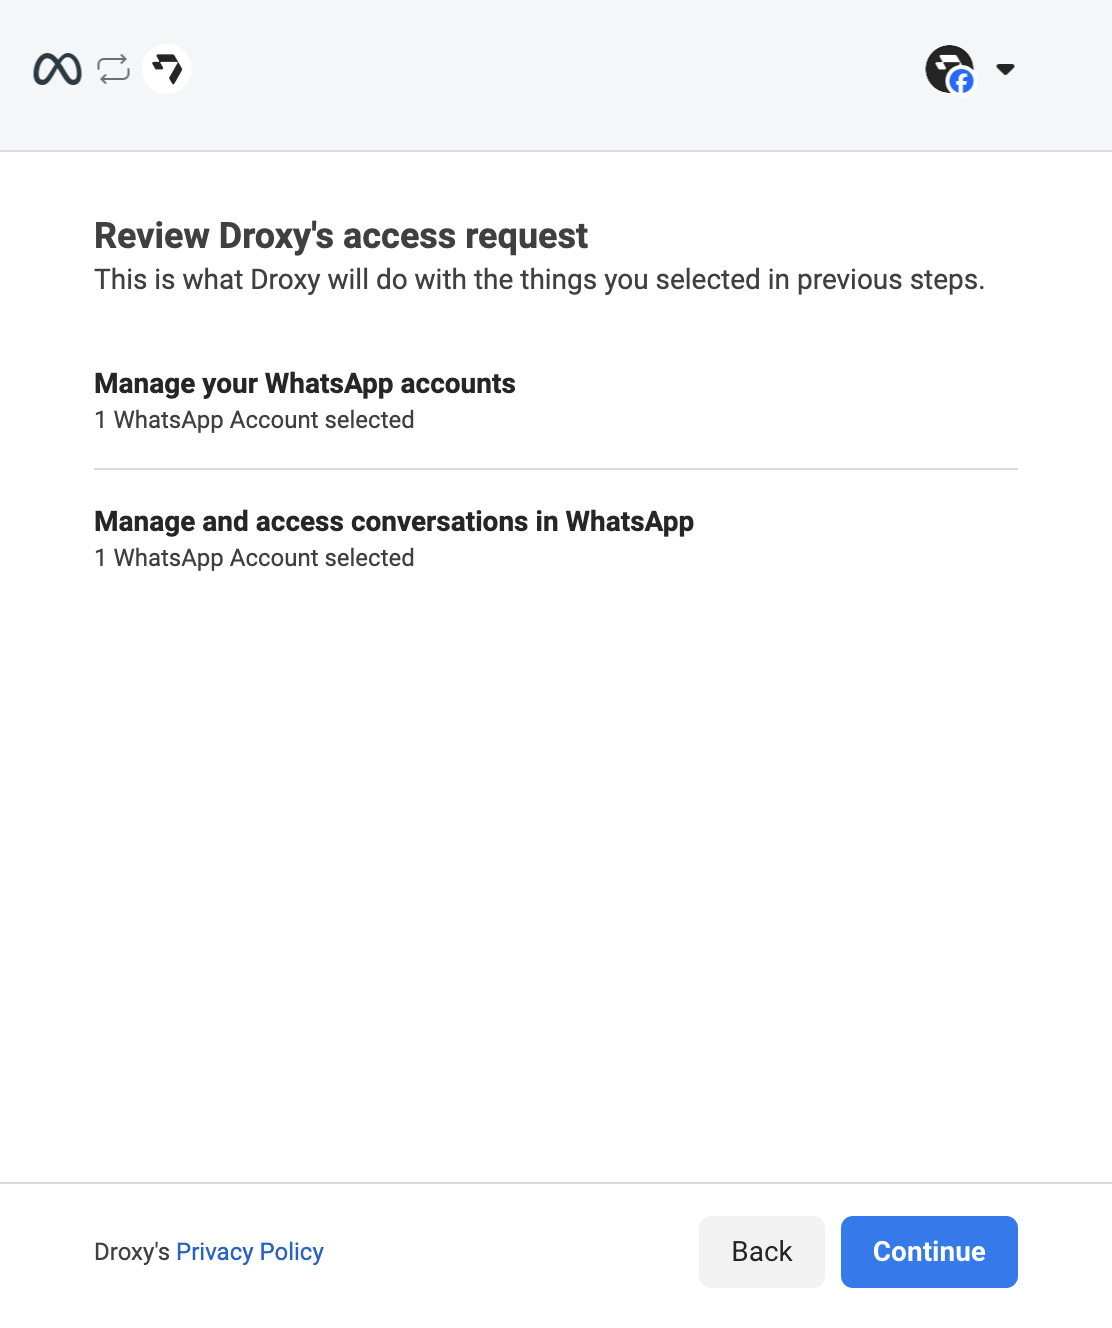
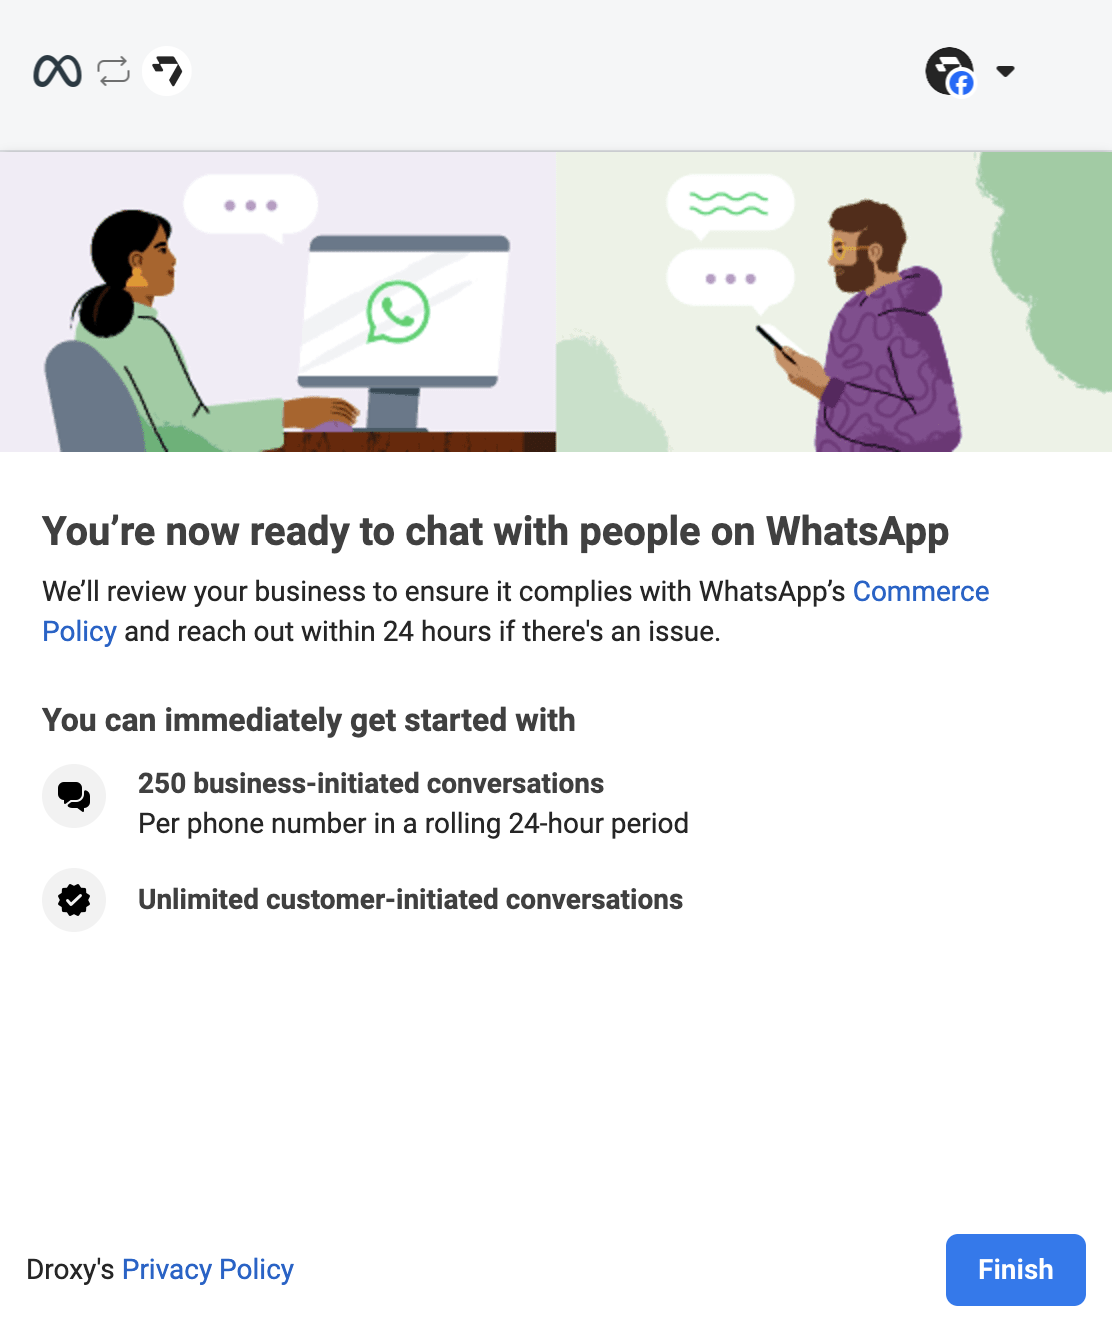
Setting up your WhatsApp Messaging Agent
In the Droxy dashboard, go to the Agents section and click on + Add. Then select WhatsApp Agent in the Messaging category.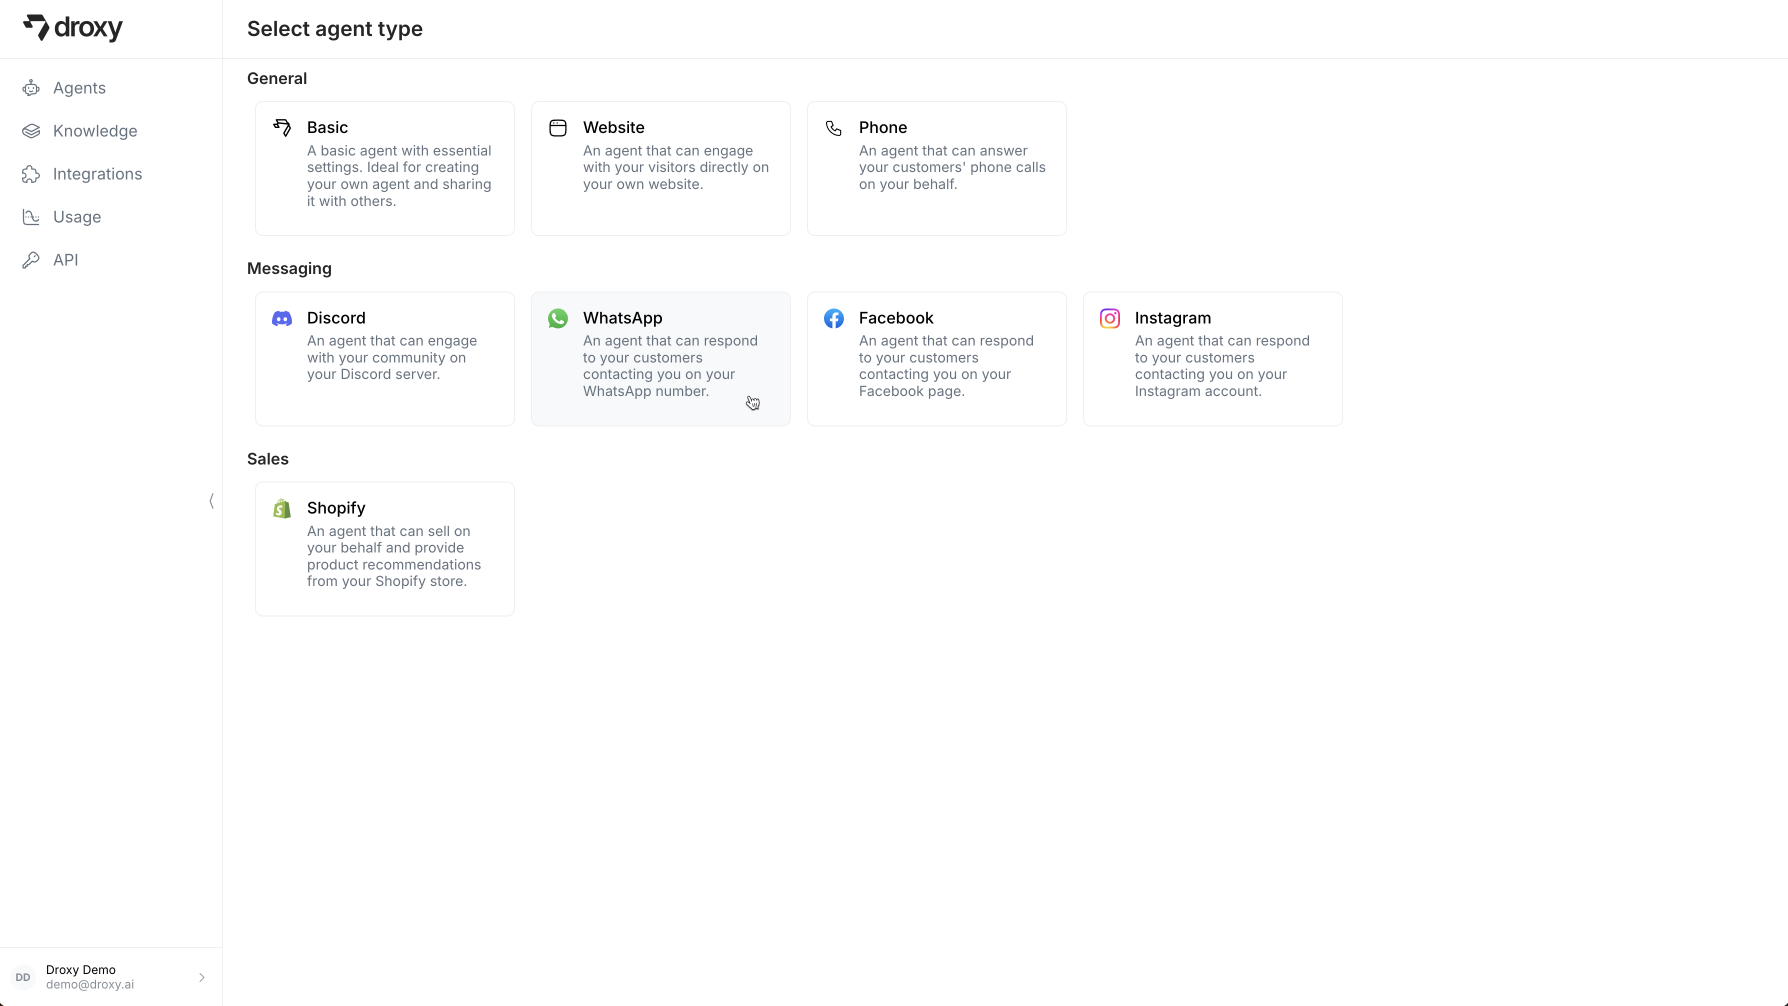
1. Basics
Configure the basics for your WhatsApp agent:
- Name and Avatar: Give your agent a name and upload an avatar image that will be displayed in your dashboard
- Connected Account: Choose a WhatsApp Business Account to connect to your agent
- Phone Number: Choose a WhatsApp phone number to connect to your agent
2. Configuration
Configure your agent’s behavior to suit your business needs:
- Behavior: Define the agent’s role, personality, and communication style. Be specific about how the agent should interact with visitors. Use the built-in prompt generator to create and refine your agent’s instructions.
- Model: Select the LLM powering your agent (e.g., GPT-4, GPT-4o mini). Each model consumes different amounts of tokens and has different capabilities.
- Knowledge Restrictions: Choose whether to restrict the agent’s responses to only your provided knowledge content. Make sure to specify to the agent what to answer if the knowledge base doesn’t contain an answer.
- Emojis: Choose whether to enable emojis in the agent’s responses
3. Knowledge Base
Ground your agent with relevant business information to help it answer customer questions accurately: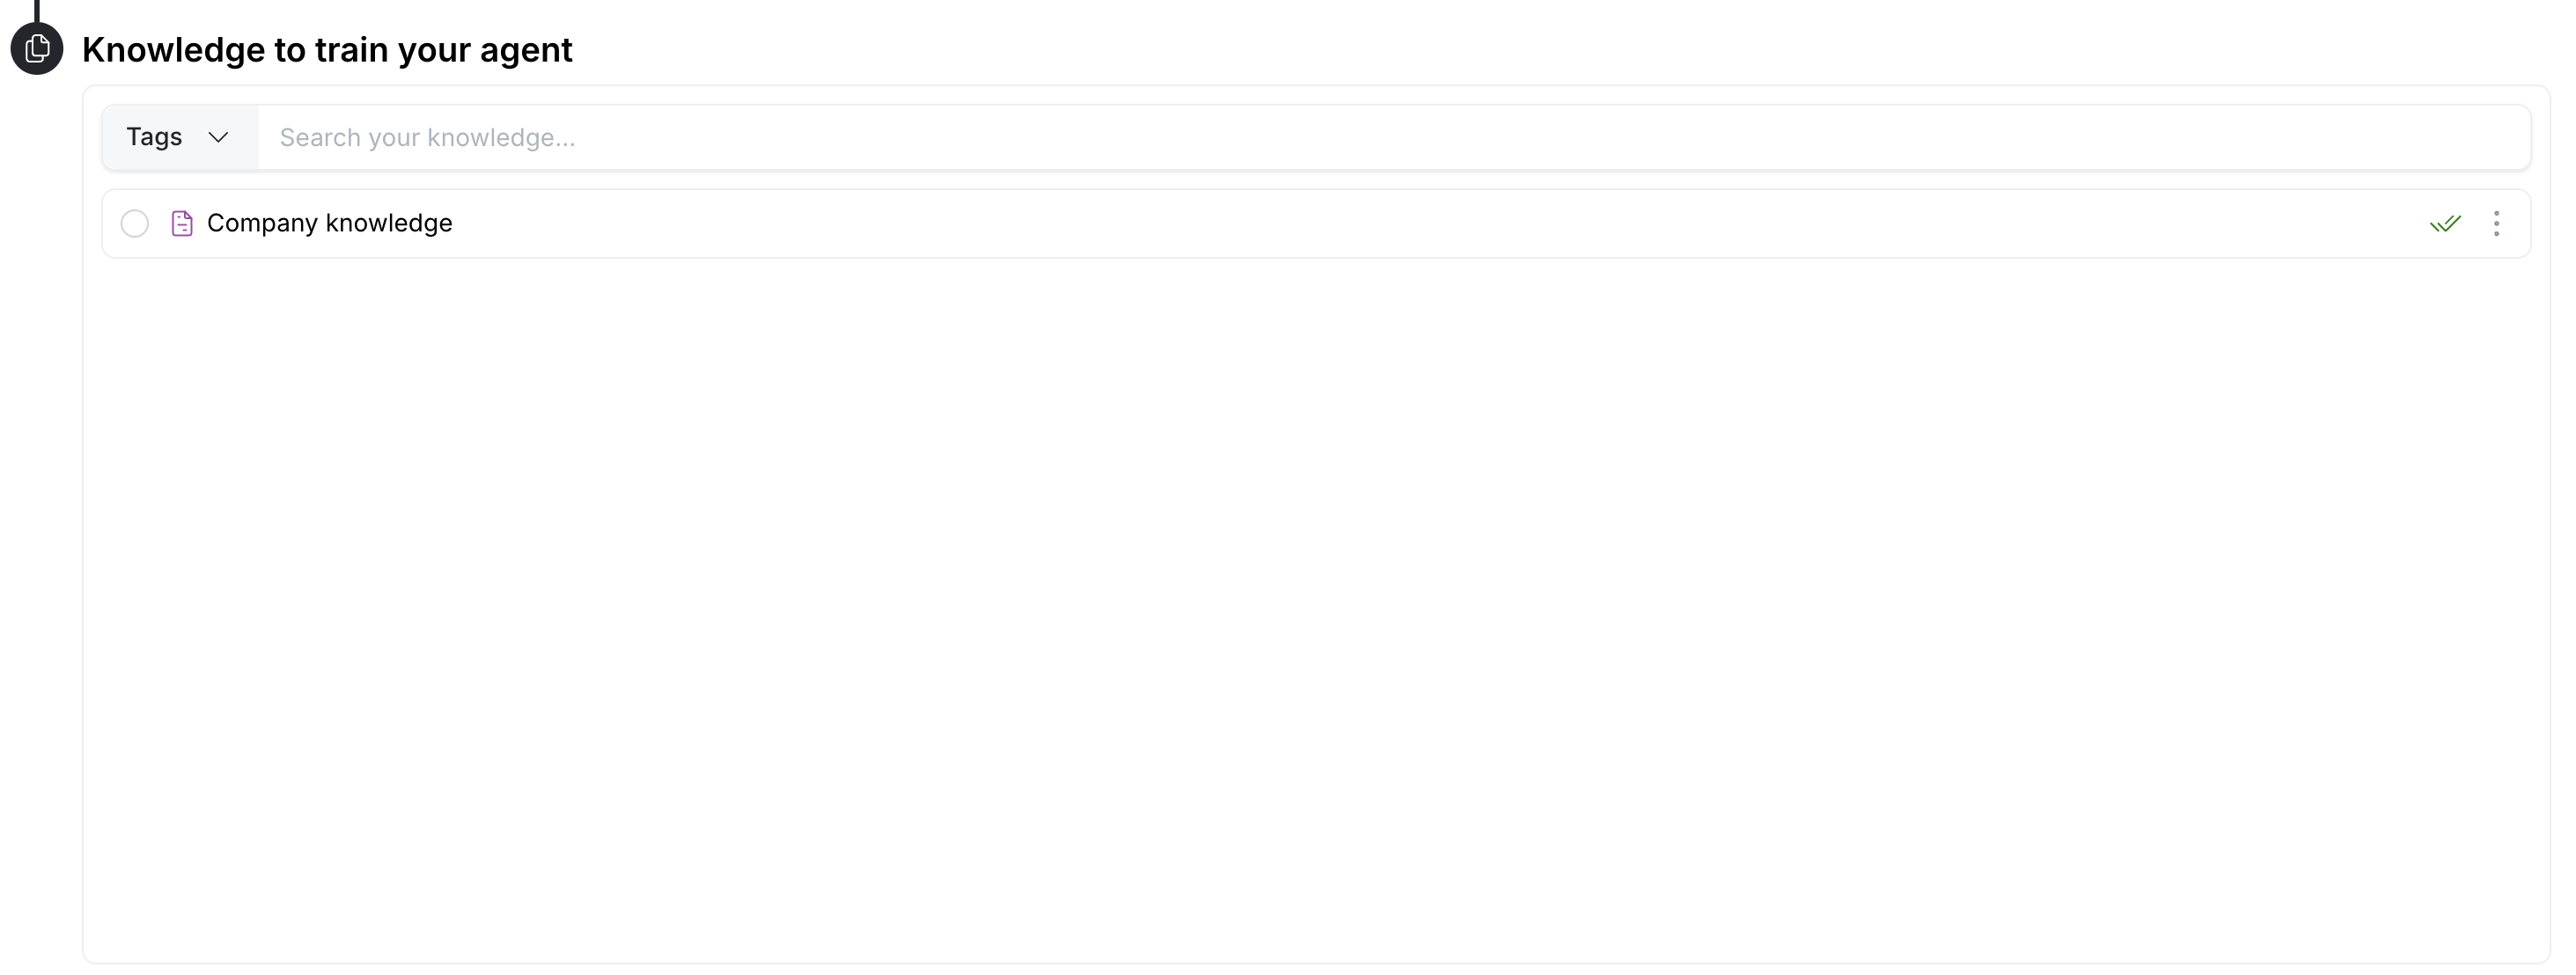
- Upload relevant company documents (PDFs, text files, Google Docs, etc.)
- Add website URLs for the agent to learn from
- Link YouTube videos that contain product information or tutorials
- Import custom knowledge bases or FAQs
4. Tools
You can enable the following tools to enhance messaging agent functionality:
- Takeover Request: Enables the agent to automatically request a conversation to be taken over by a human agent when appropriate or when the user requests to speak to a human. You will receive a notification about the takeover request.