> ## Documentation Index
> Fetch the complete documentation index at: https://docs.droxy.ai/llms.txt
> Use this file to discover all available pages before exploring further.
# Cal.com
> Learn how to connect your Cal.com account to Droxy
 ## Overview
To enable your Phone Agents to schedule appointments, you'll need to connect your Cal.com account to Droxy. This integration allows your agents to:
* Check real-time calendar availability
* Connect other calendars (Google, Apple, Outlook, etc.)
* Book appointments directly into your calendar
* Handle time zone conversions
* Send confirmation emails to attendees
## Create a Cal.com Account
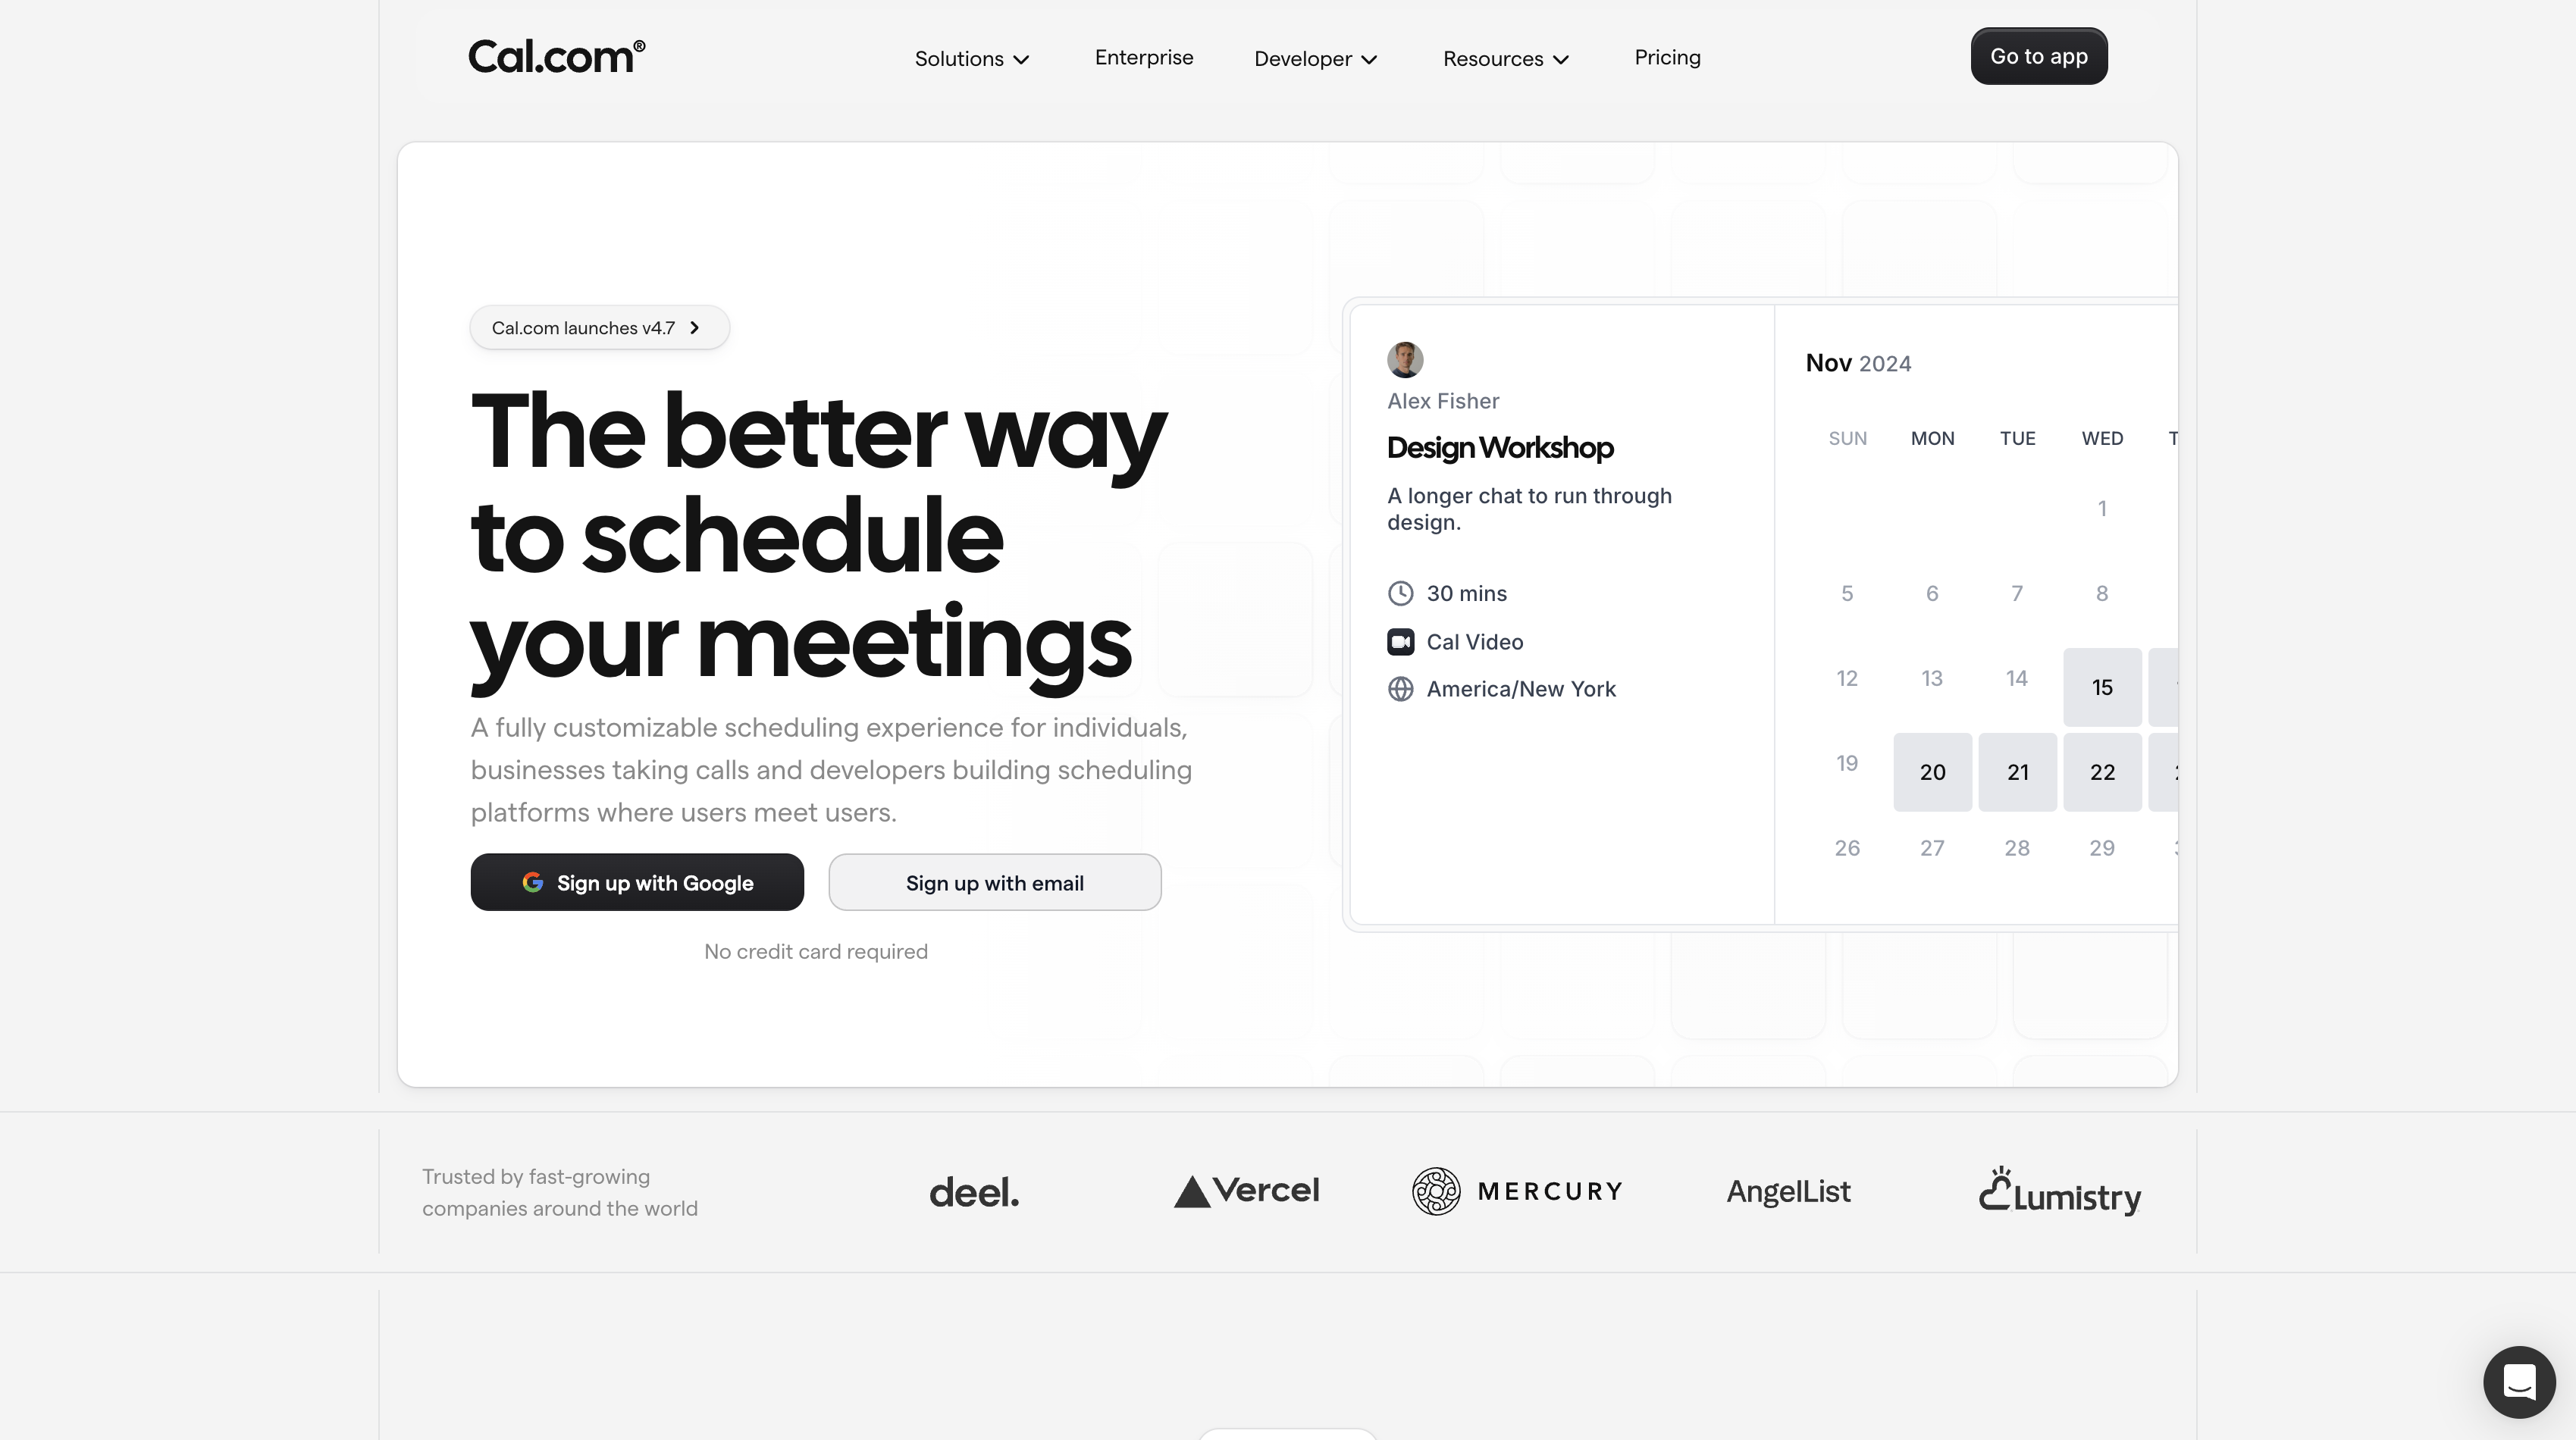
1. Visit [Cal.com](https://cal.com) to create your account
## Overview
To enable your Phone Agents to schedule appointments, you'll need to connect your Cal.com account to Droxy. This integration allows your agents to:
* Check real-time calendar availability
* Connect other calendars (Google, Apple, Outlook, etc.)
* Book appointments directly into your calendar
* Handle time zone conversions
* Send confirmation emails to attendees
## Create a Cal.com Account
1. Visit [Cal.com](https://cal.com) to create your account
 ## Connect Your Cal.com Account
### 1. Generate an API Key
First, you'll need to create an API key in your Cal.com account:
1. Go to Settings in your Cal.com dashboard
## Connect Your Cal.com Account
### 1. Generate an API Key
First, you'll need to create an API key in your Cal.com account:
1. Go to Settings in your Cal.com dashboard
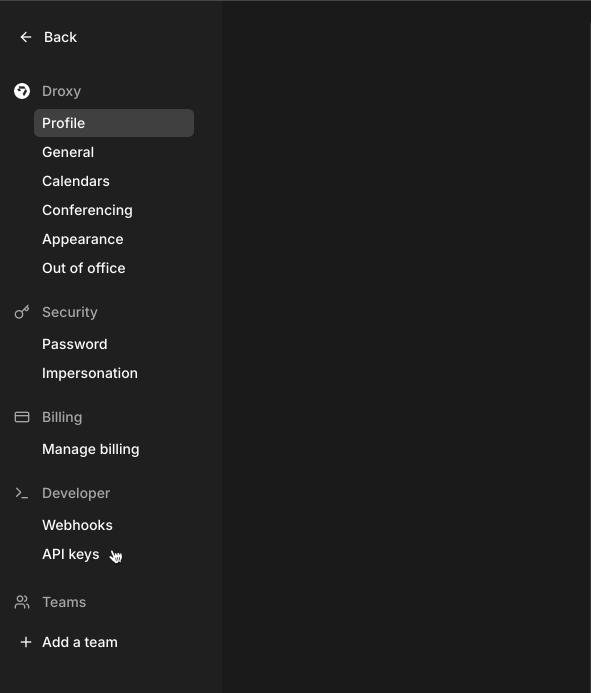
 2. Select **API Keys** from the sidebar menu
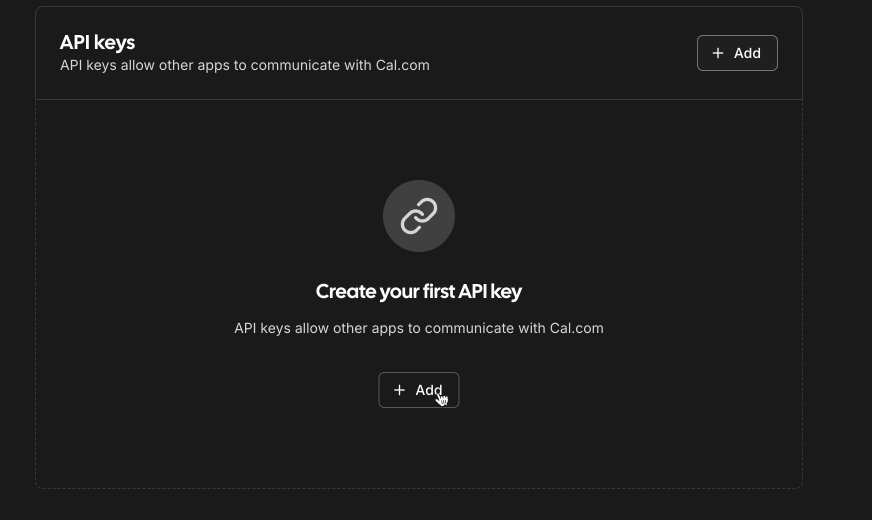
 3. Click **Add** to create a new API key
 4. Configure your API key:
* Enter a descriptive name (e.g., "Droxy Integration")
* **Important**: Set the expiration to **Never expires** to prevent integration disruption
* Click **Save**
4. Configure your API key:
* Enter a descriptive name (e.g., "Droxy Integration")
* **Important**: Set the expiration to **Never expires** to prevent integration disruption
* Click **Save**
 5. **Copy the generated API key** - you'll need this in the next step
### 2. Add Cal.com to Droxy
Now that you have your API key, connect it to Droxy:
1. In your Droxy dashboard, go to **Settings** > **Integrations**
2. Find and select **Cal.com**
5. **Copy the generated API key** - you'll need this in the next step
### 2. Add Cal.com to Droxy
Now that you have your API key, connect it to Droxy:
1. In your Droxy dashboard, go to **Settings** > **Integrations**
2. Find and select **Cal.com**
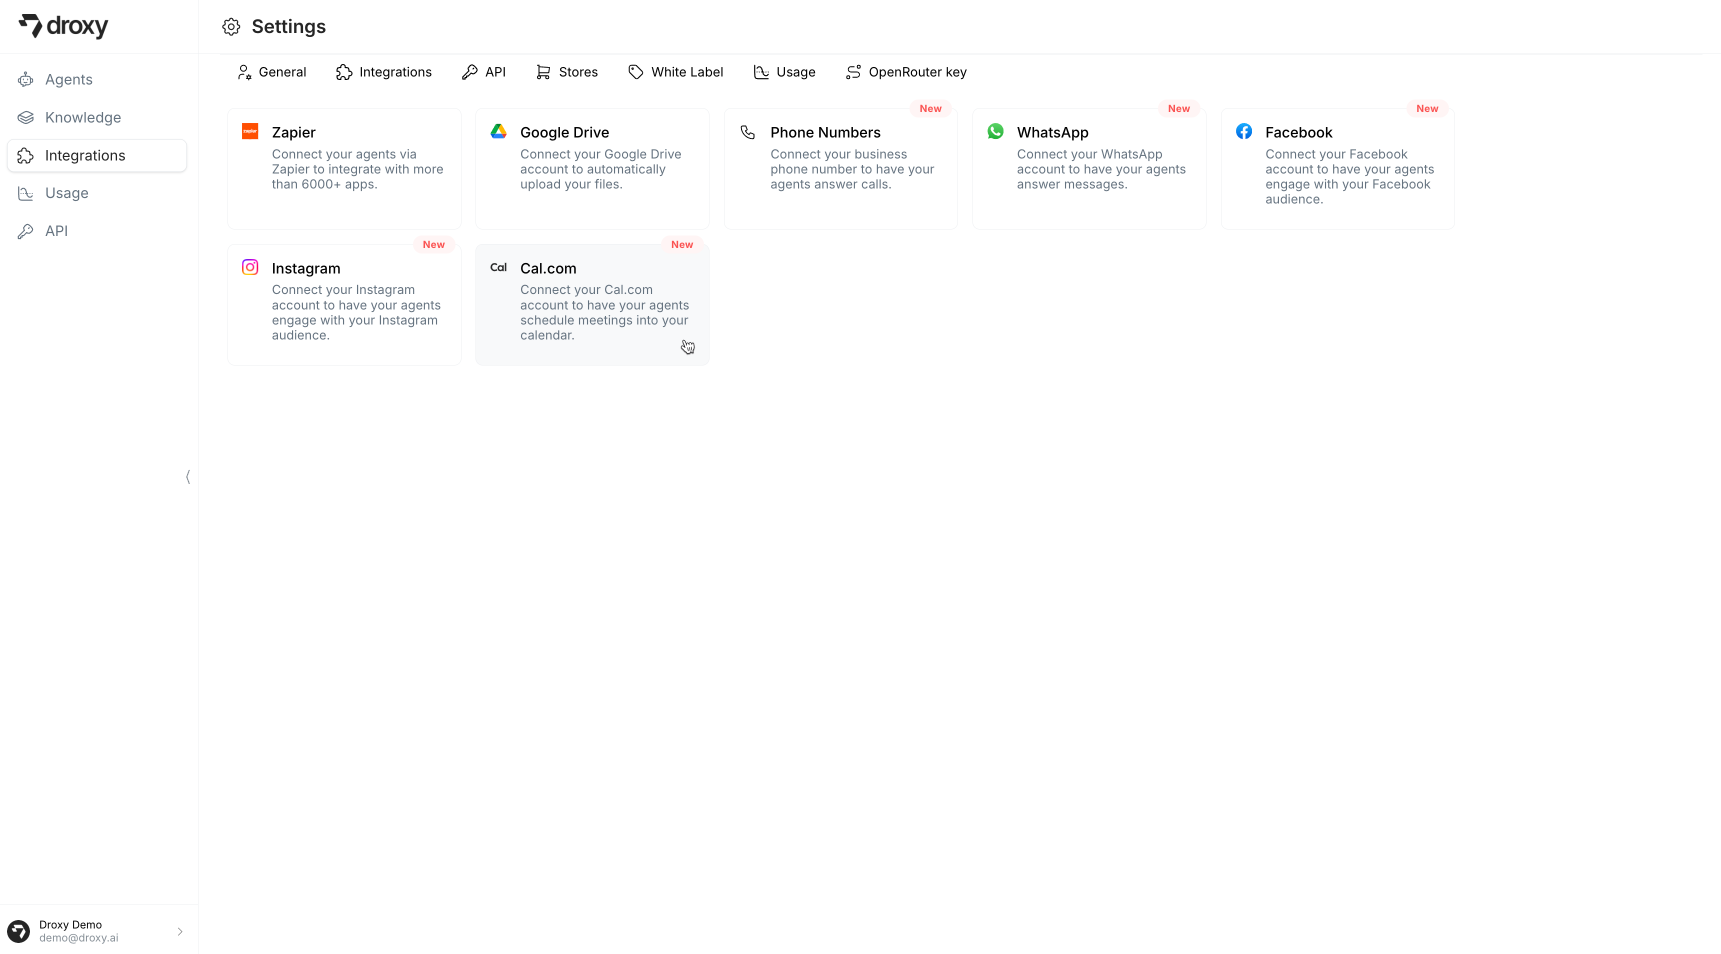 3. Click **Connect** to add a new account
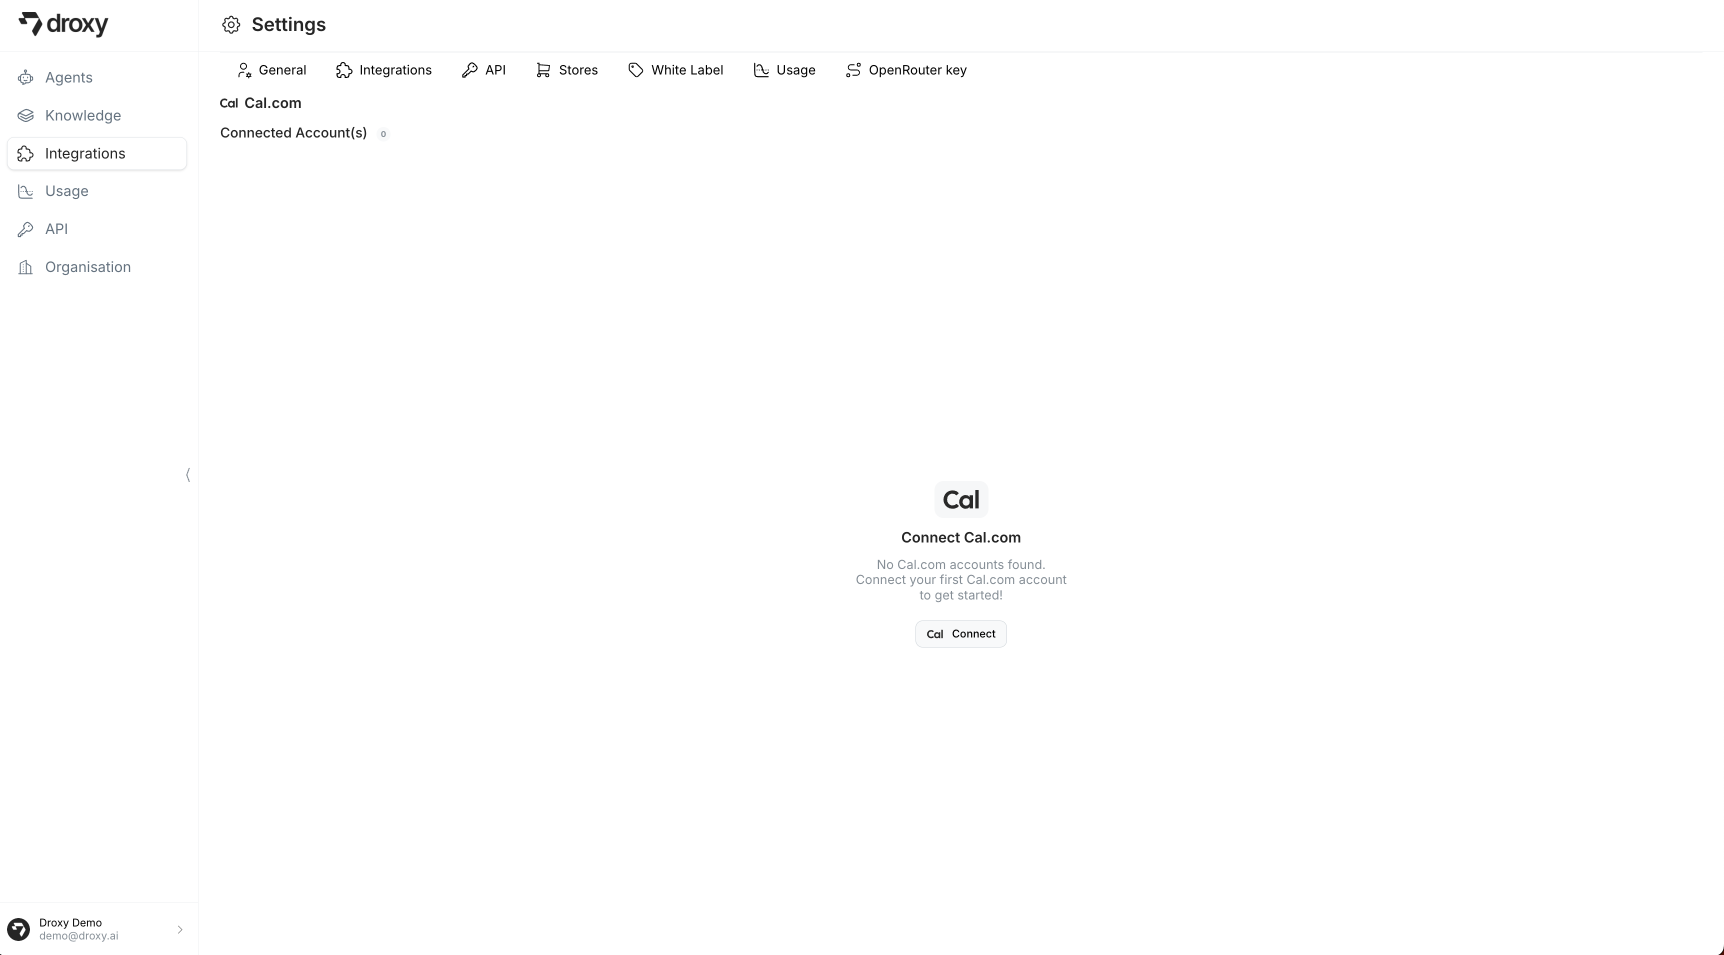 4. Enter your Cal.com API key
 5. Click **Connect** to complete the integration
Droxy will validate your API key and establish the connection. Once connected, you can start using the Appointment Scheduling tool with your Phone Agents.
## Connect Your Business Calendar
You can connect your existing business calendar (Google Calendar, Outlook, Apple, etc.) to Cal.com, which will then be available to your Droxy Phone Agents. This means appointments booked through your agents will appear directly in your business calendar.
### Connect a Calendar
1. In your Cal.com dashboard, go to **Settings** > **Calendars**
5. Click **Connect** to complete the integration
Droxy will validate your API key and establish the connection. Once connected, you can start using the Appointment Scheduling tool with your Phone Agents.
## Connect Your Business Calendar
You can connect your existing business calendar (Google Calendar, Outlook, Apple, etc.) to Cal.com, which will then be available to your Droxy Phone Agents. This means appointments booked through your agents will appear directly in your business calendar.
### Connect a Calendar
1. In your Cal.com dashboard, go to **Settings** > **Calendars**
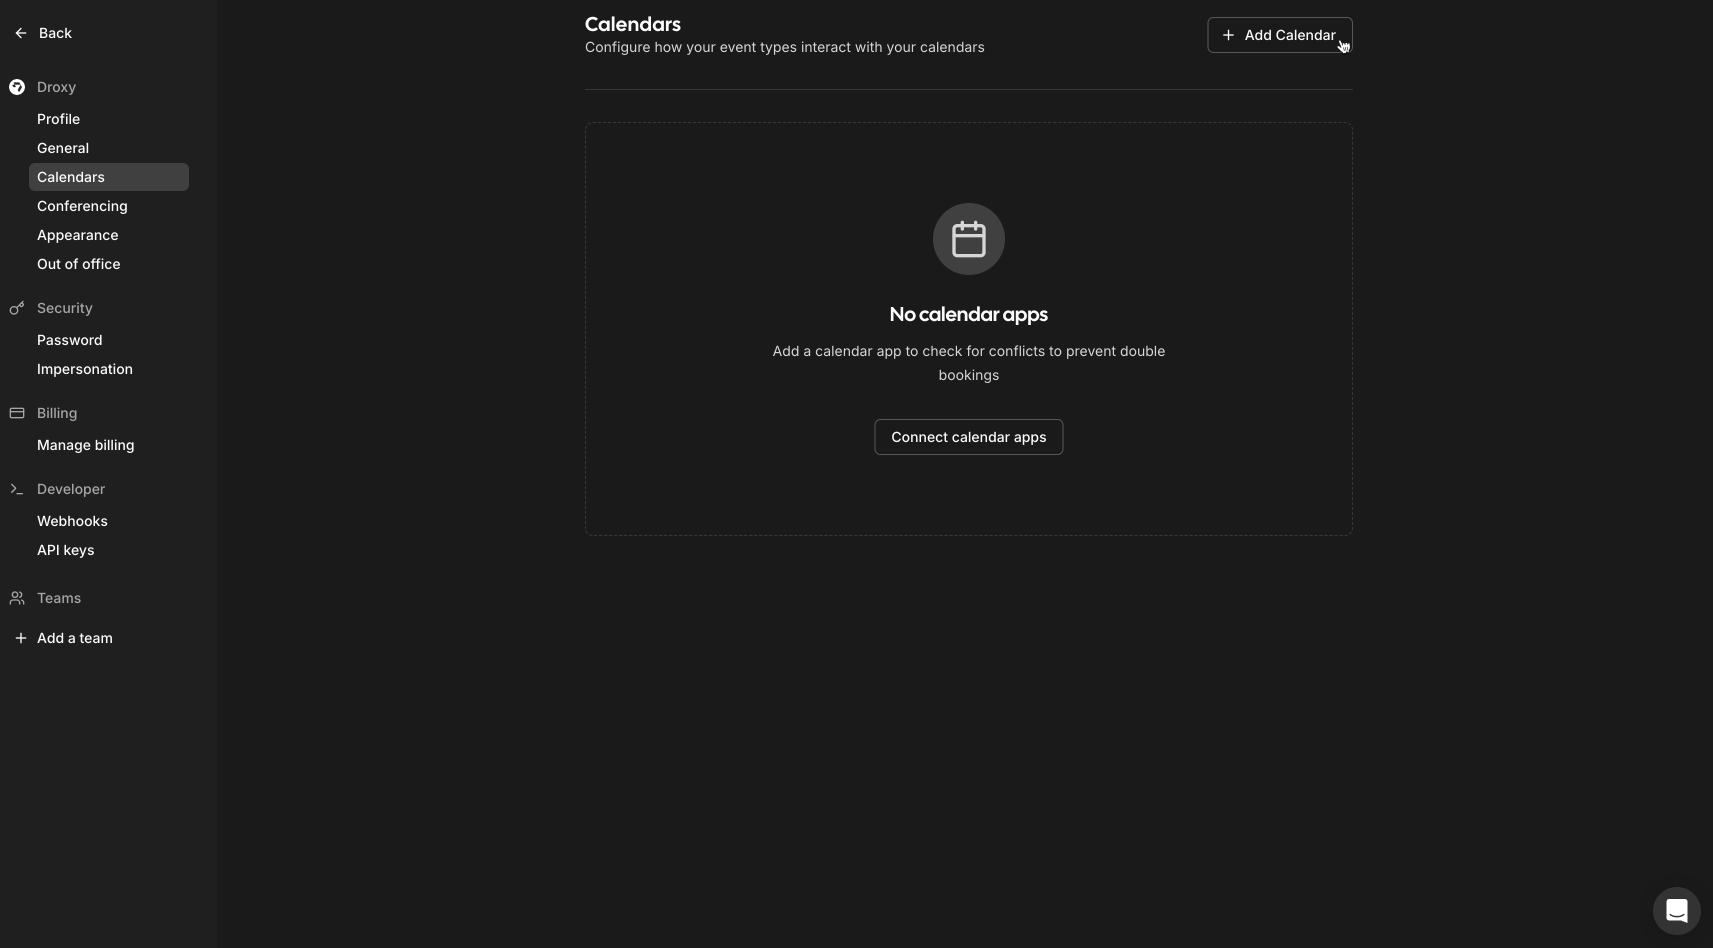 2. Click **Add Calendar** to see the available calendar integrations
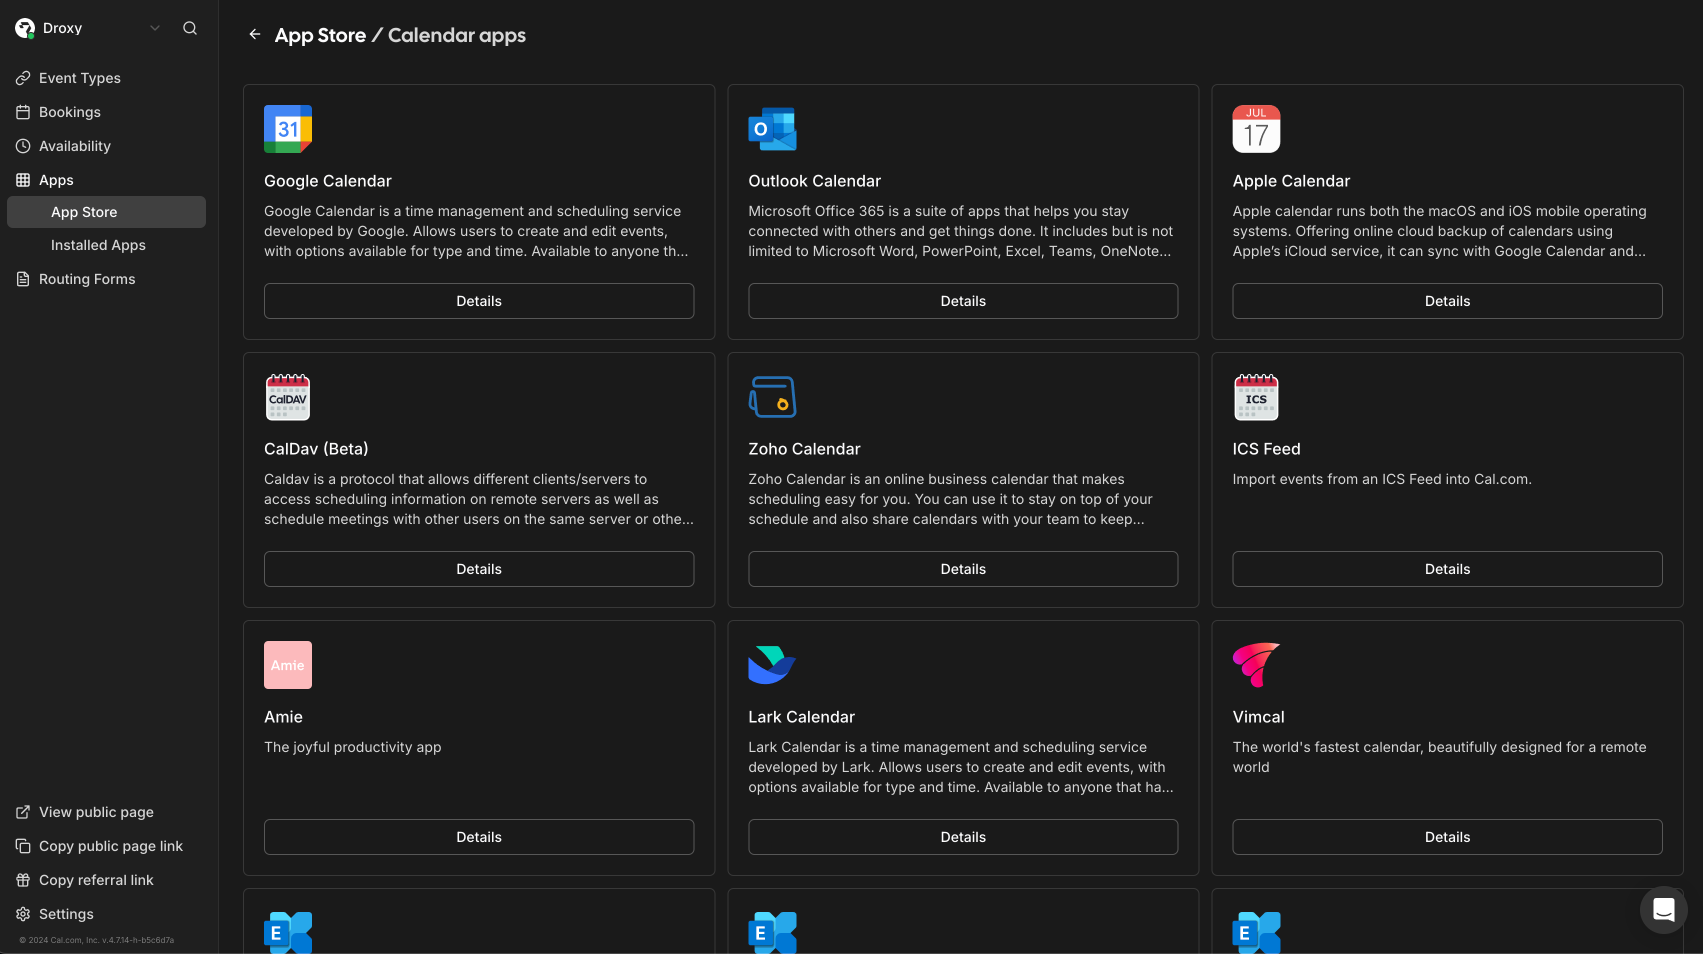 3. Select your calendar provider and follow the authentication steps
Once connected, your Phone Agents will automatically:
* Check for conflicts with your existing calendar events
* Book new appointments directly into your calendar
* Ensure no double bookings occur
Make sure to:
* Enable the connected calendar in your availability settings to check for conflicts
* Configure your event types to book appointments into this calendar
Otherwise, the booked appointments won't show up in your calendar.
For a detailed walkthrough of calendar setup, you can watch Cal.com's [video tutorial](https://www.youtube.com/watch?v=OUOume6QKuw).
## Next Steps
After connecting your Cal.com account:
1. [Create Event Types](/documentation/agents/phone/appointments#prerequisites) for your appointments
2. [Configure your availability](/documentation/agents/phone/appointments#3-configure-availability-settings) in Cal.com
3. [Add the Appointment Scheduling tool](/documentation/agents/phone/appointments#setting-up-the-tool) to your Phone Agent
## Troubleshooting
If you encounter any issues:
* Verify that your API key is set to never expire
* Ensure you've copied the full API key correctly
* Check that your Cal.com account has active event types configured
* Confirm your availability settings are properly set up
3. Select your calendar provider and follow the authentication steps
Once connected, your Phone Agents will automatically:
* Check for conflicts with your existing calendar events
* Book new appointments directly into your calendar
* Ensure no double bookings occur
Make sure to:
* Enable the connected calendar in your availability settings to check for conflicts
* Configure your event types to book appointments into this calendar
Otherwise, the booked appointments won't show up in your calendar.
For a detailed walkthrough of calendar setup, you can watch Cal.com's [video tutorial](https://www.youtube.com/watch?v=OUOume6QKuw).
## Next Steps
After connecting your Cal.com account:
1. [Create Event Types](/documentation/agents/phone/appointments#prerequisites) for your appointments
2. [Configure your availability](/documentation/agents/phone/appointments#3-configure-availability-settings) in Cal.com
3. [Add the Appointment Scheduling tool](/documentation/agents/phone/appointments#setting-up-the-tool) to your Phone Agent
## Troubleshooting
If you encounter any issues:
* Verify that your API key is set to never expire
* Ensure you've copied the full API key correctly
* Check that your Cal.com account has active event types configured
* Confirm your availability settings are properly set up